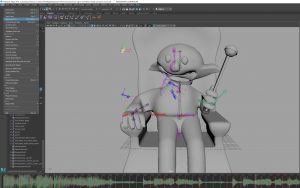
After animating Tom in Maya, the next step is to use the Weigl Animation converter to convert the rotation data in either X-axis, Y-axis or Z-axis to data recognized by servo motors.
Steps to be followed to use the 3D converter software are as follows:
1. After completing the animation, save the file as an ASCII file. To save the file go to File -> Save Scene As -> Select the box -> Change the extension to ASCII -> Name the file and click on Save Scene As.
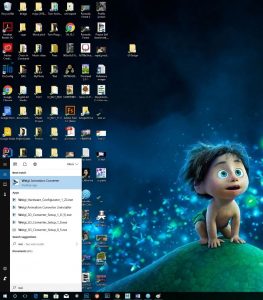
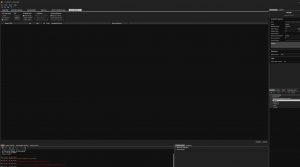
2. After saving the file open the Weigl animation converter. (To install the converter please refer to the technical documentation).
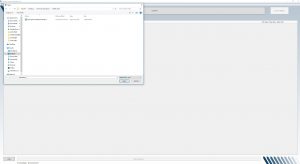
3. On opening the animation converter and click on Load file at the very top to load the Maya ASCII file.

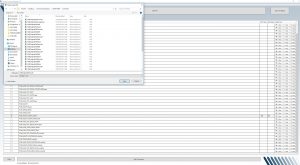
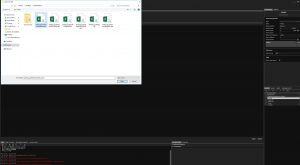
4. Now select the Maya ASCII file to be converted and click on Open.
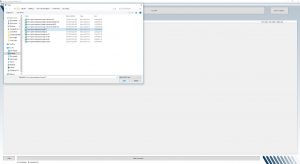
5. After opening the file the ASCII file gets loaded in the converter which can be seen in the top left when the name of the file gets displayed in the converter.

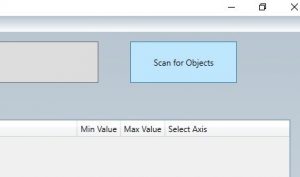
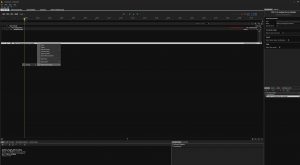
6. After the file is loaded click on Scan For Objects button on the top right of the converter to load the joints.
7. On clicking on the button a new window is displayed which will ask to enter keywords to identify the joints. Therefore for the joints a naming convention needs to be used which of the format for head turn, head tilt and mouth functions as TOM_HEAD_TURN_SERVO_MAIN, TOM_HEAD_TILT_SERVO_MAIN and TOM_MOUTH_SERVO_MAIN whereas for the Torso and scepter functions the joints are named as TORSO_BEND and SCEPTER_MOVE.
8. For example if the data for the joint TOM_MOUTH_SERVO_MAIN needs to be converted one needs to enter TOM as the keyword to locate the joints.
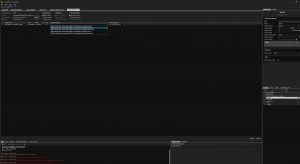
9. Click on continue to locate the joints.
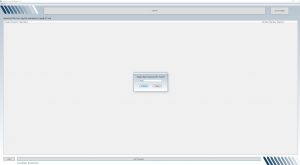
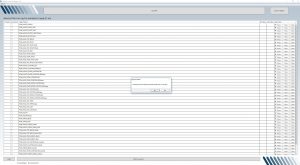
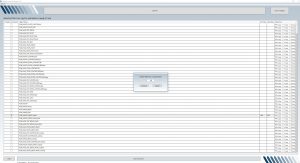
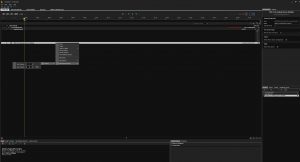
10. After clicking on continue button all the joints with the word TOM in the joint name will get loaded.
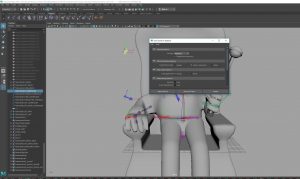
11. Click on the No on the pop up message displayed with the message as Input Values? “Would you like to min/max values from a CSV file?”
12. Locate the TOM_MOUTH_SERVO_JOINT and enter the minimum and maximum values with the direction as X-axis. The min and max value for the MOUTH is as -200 to +200.
13. After selecting the joint and the minimum and maximum values with the direction then click on Start Conversion.

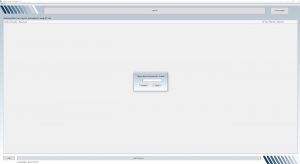
14. On clicking on Start Conversion a pop up message is displayed to enter the frame rate and since the frame rate used in Maya for animations is 24 frames ( 1 second = 24 frames) then enter the frame rate as 24.
15. Click on continue after entering the frame rate a new window will be displayed to save the CSV file. Enter the name to be used for file ( We used naming convention as WAEOutputFileDialogue1mouth). Ensure that the file format is CSV.
16. Click on Save button to save the CSV file.
17. After saving the CSV file in order to move to next joint, click on the next joint, enter the minimum and maximum values and click on start conversion and save the CSV file.
18. Repeat Steps 12-16 for all the other joints to get the files converted for each joint.
19. For the head turn the minimum and maximum values are as -450 to +450 and the axis is Y-axis.

20. For the head tilt function the minimum and maximum values are as -367 to +300 and the axis is Z-axis.

21. For the torso function the minimum and maximum values are as -105 to -22 and the axis is Y-axis.

22. For the scepter function the minimum and maximum values are as -72 to +48 and the axis is Y-axis.

23. After creating the CSV files for all 5 functions for 1 dialogue click on clear button to clear the space for loading the next file.
24. After clearing the space click on load button to load another ASCII file for the next dialogue and repeat steps 4-17 to create CSV files for the other joints.
We have also created a video to demonstrate the conversion process from Maya to the actual mechanical design using the animation converter by Weigl which can found below:
Therefore this process can be used for converting the animations from Maya to CSV files which can be loaded into conductor to create show files which can be played on Tom’s mechanical rig.
USING CONDUCTOR PRO AFTER CONVERSION FROM MAYA:
For the animation pipeline we first convert all the animations from Maya using the 3D converter in the form of data recognizable by the motors. This data is stored in the form of CSV files. After the conversion the data needs to be imported into show controller software so that the animations can be played using the interface. The show controller software is also responsible for playing the audio, programming the lights and integration with another animatronic in the castle Father time.To set up the show controller files for importing the animations so that the user interface can be used to run the shows on the animatronic follow the below steps:
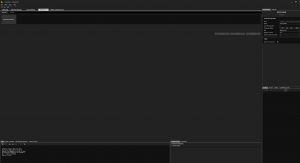
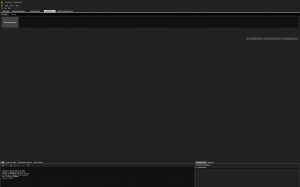
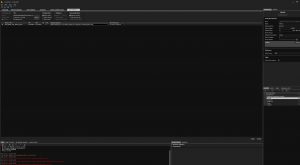
1. Click on the conductor pro software on your PC. On opening the conductor pro the timeline is first visible.
2. Click on the devices tab present in the top right to discover the weigl pro commander.
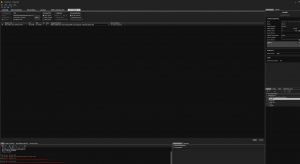
3. On discovering the weigl pro commander go back to the timeline and right click on the NEW SHOW timeline and select Add Device → Pro Commander 2. This will then add pro commander 2 on the timeline.
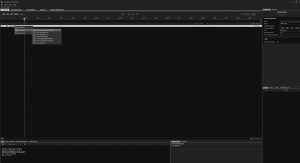
4. After adding pro commander 2 on the timeline right click on the pro commander under new show and select Add channel → Audio channel. This will add audio channel to the timeline where we can import audio for the shows.
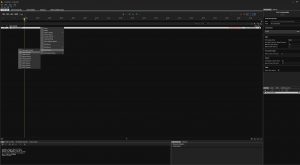
5. Now next step is to select the Pro commander again, right click and select Add Device → Pro I/O Analog Servo Module to add it to the timeline.
6. Select the Pro I/O Analog Servo Module added to the timeline, right click and select Add Channel Range → Analog → Displays the option of defining the number of channels needed, Enter 1 in first channel and 5 in last channel ( We need only 5 channels to represent the 5 functions for our animatronic Tom Foolery).
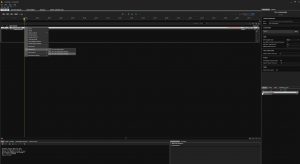
7. On defining the channel range it will then add five analog channels to the timeline. Now Rename all the channels on the timeline. NEW SHOW should be renamed to the show name like WELCOME 1 where Welcome is the show name and 1 is the dialogue number. For the analog channels name them in the order of the functions. NOTE :- The order of the channels should be as Mouth, Head Tilt, Head Turn, Torso, Scepter. Please stick to this order as the different motors are assigned to the channels , example Dynamixel for mouth is assigned to channel 1, Dynamixel for Head Tilt = Channel 2, Dynamixel for Head Turn= Channel 3, Torso = Channel 4 and Scepter = Channel 5. IMPORTANT : IF THE ORDER IS WRONG THEN THE ANIMATIONS MAY GET SWITCHED WHICH CAN BE DANGEROUS.
8. After creating the template for the show, we now start importing the CSV Files. For importing the CSV files go to the top menu and select Tools → Import CSV.
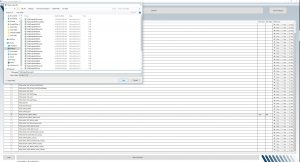
9. On selecting Import CSV it will display a new menu. Ensure that comma is selected. Click on open and go to the folder path for the converted CSVs.
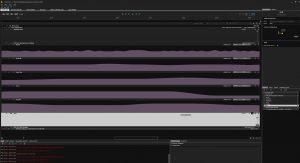
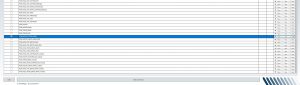
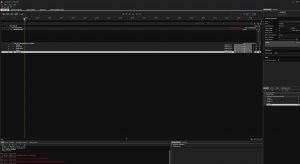
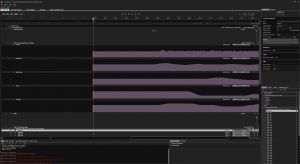
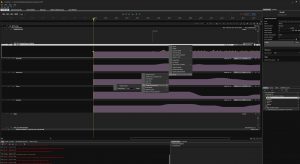
10. Select the CSV file and click on Open. This will create a line item under the tab CSV Import with the name of the joint eg . in the image below we imported the CSV for Head Tilt function . This created a line item with the name of the joint HEAD_TILT_SERVO_MAIN.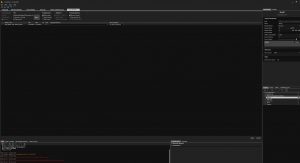
11. After importing the CSV next step is to assign the data to the right channel. Click on the drop down menu under assigned channel and select the corresponding channel for the data. Eg. in the image below the channel assigned is the head tilt for the data imported for head tilt function. Click on apply to apply the data to the channels
Click on apply to apply the data to the channels.
12. Repeat steps 8-11 for all the channels. NOTE: In the future if more functions are added to Tom you can create more channels for the other functions using step 6.
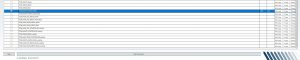
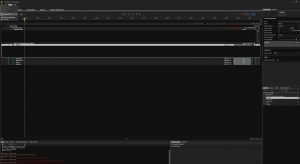
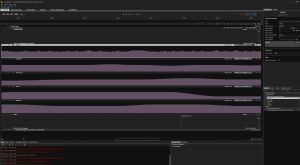
13. After importing the animation data for all the functions we need to make the curves smoother. NOTE:- This is an important step for making the animations smoother. Please do not miss this step. To do this we used an inbuilt feature of the show controller. Select the channel like eg head tilt channel. Right click on the channel and select Select All points.
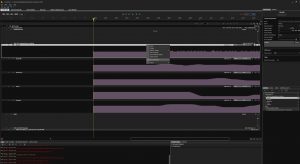

14. After selecting all the points, select the channel again, right click and select Points → Change Interpolations. This is will display a menu with the default linear on it. Select the drop down menu and select curve.
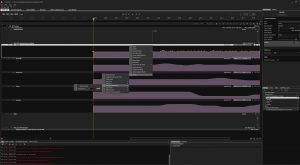 15. After selecting Curve click on Apply. This will make the curves further smoother. NOTE :- Ensure that the data is clean and there are no weird shapes being formed. Therefore ensure all the data is consistent in the channel before moving on to testing on the animatronic.
16. Repeat the steps 13-15 for all the channels for different shows.
17. NOTE :- If there is background music then please create an additional audio channel for it.