Replacing Servo Video
Before you begin:
- Take out the servo
- Note down the ID on the failed Dynamixel.
Programming a servo:
Before we can replace the dynamixel servo on Tom, we will need to program the new servo.
- You will need the Roboplus software. You can find the software here: http://en.robotis.com/service/download.php?no=14
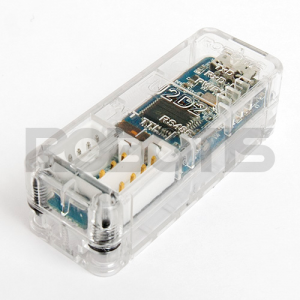
- You will also need U2D2. You can order one here: http://www.robotis.us/u2d2/
Steps:
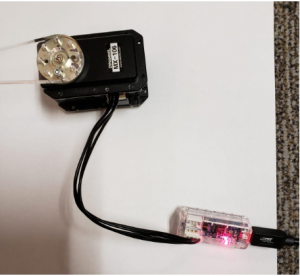
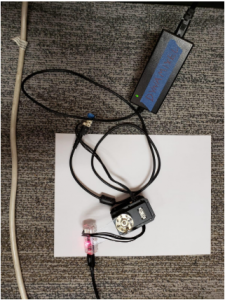
- Connect the U2D2 to the PC through a micro USB cable.
- Take a 4 wire pin connector and connect one end to the U2D2 and other to the new Dynamixel.
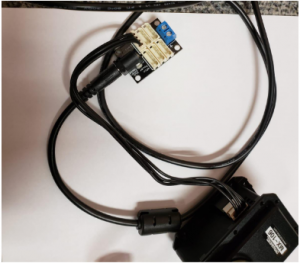
- Connect the Dynamixel Power Supply(also provided) to one end of the Dynamixel through the connector.
- Start the Roboplus software on the Computer and click on Expert.
- Click on Dynamixel Wizard.
- Click on Open Port button.
- Click on Start searching.
- If the Dynamixel doesn’t appear on the left pane of the window, change the COM port and search again.
- You should get all the attached Dynamixels on the left pane of the window. Click on ID:00[number].
- We need to modify only the following three properties:
- ID
- CW Angle Limit
- CCW Angle Limit.
- IT IS VERY IMPORTANT THAT YOU DO NOT MODIFY ANY OTHER SETTING.
- Double check that the Mode in [3: ID] field is set to Joint. It should be Joint by default.
- Now, once you have the Dynamixel info, change the ID to that of the damaged Dynamixel.
- Similarly, change the CW Angle and CCW Angle limits based on their ID
- Click on Apply.
- Remove the stickers from the old one and paste it on the new one at the same place. Make sure that the new one has the same ID.
- Click on Close port and close the Wizard.
- Congratulations. You have successfully configured the servo.
| ID | CW Angle | CCW Angle | Function |
| 1 | 1650 | 2047 | Mouth |
| 2 | 1750 | 2950 | Head Tilt |
| 3 | 1250 | 2600 | Head Turn |
You can find the video tutorial here :