MODELING
Requirements:
- Autodesk Maya 2017 0R 2018
- Zbrush
- Autodesk Revit.
Introduction:
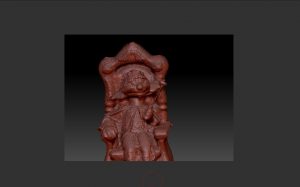
For creating a 3D model for Tom, we began by taking pictures of Tom in 360 and then combining them in Revit to create a 3D model of Tom, which is accurate as per the measurements of the existing puppet. This allowed us to obtain a 3D model, which is accurate as per the original puppet, and we used this model for design as well as pre-visualization for different functions of Tom.

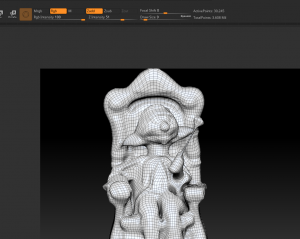
The model created using Revit was a high poly model and had certain parts joined and the model needed cleaning if we needed to use it to rig in Maya. Therefore, we then used ZBrush to reduce the polygon count by using ZRemesher and used different sculpting tools and brushes to clean up Tom.
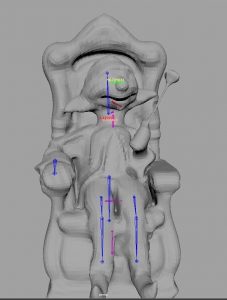
We then used the Zbrush model to help in the process for mechanical design as it helped our designer to determine and test different pivot points close to Tom’s anatomy. Since the model was a replica of the actual puppet, the measurements were accurate which helped our designer to design the functions at the pivot points that are anatomically accurate and make Tom look natural.
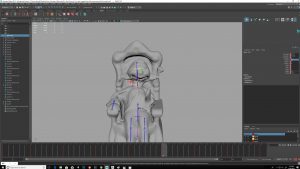
However due to the presence of high number of polygons we decided to use this model to create another 3D model with the exact measurements as Tom and then use that model for rigging and animating him for his story content.
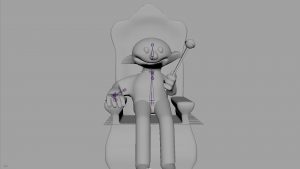
This low-poly Tom was created by modeling simple, low-poly shapes into the general mold of Tom’s body. Because this model was created from scratch and not from Revit photos, Tom’s body exists unattached to the chair; therefore, when Tom is animated to move, his chair does not deform with said movements.