Week 8
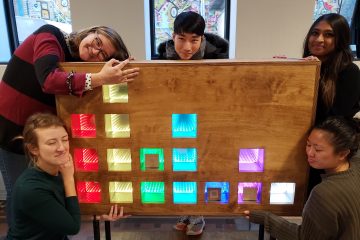
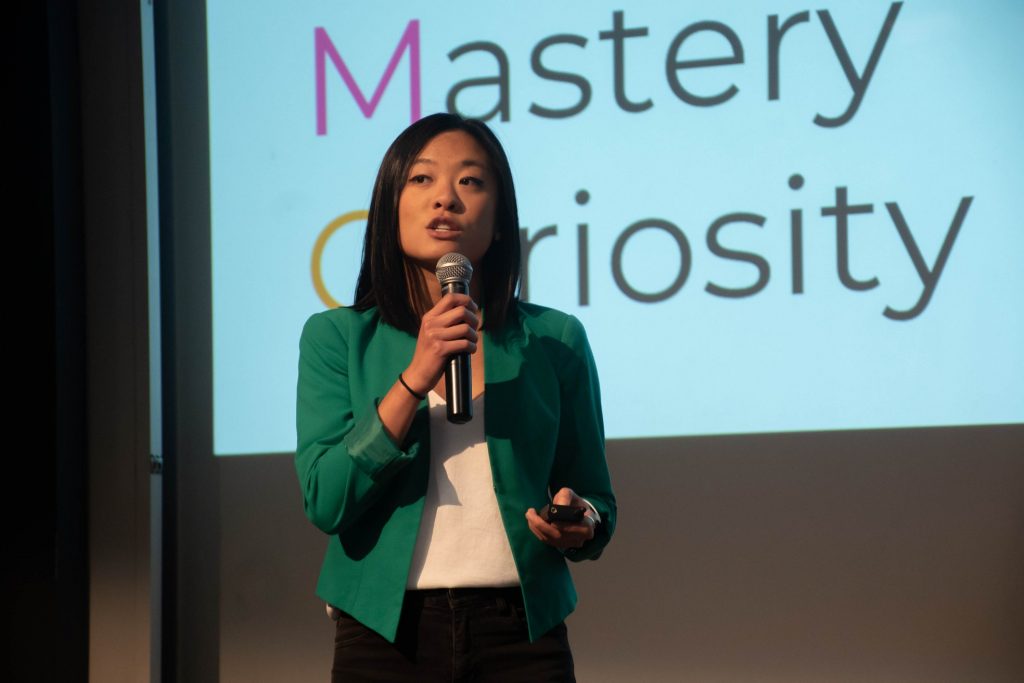
We’re halfway there! This week was halves. We spent the weekend and the beginning of the week preparing our presentation and perfecting our demo.
You can watch our presentation here:
Some of the questions that we got during the presentation and our responses below:
- Length of engagement and how do we manage flow/thruput?
- Desired length of engagement is 10-15 minutes, which although is long for a museum is about right for this particular makerspace since guests should be spending more time engaging with each experience
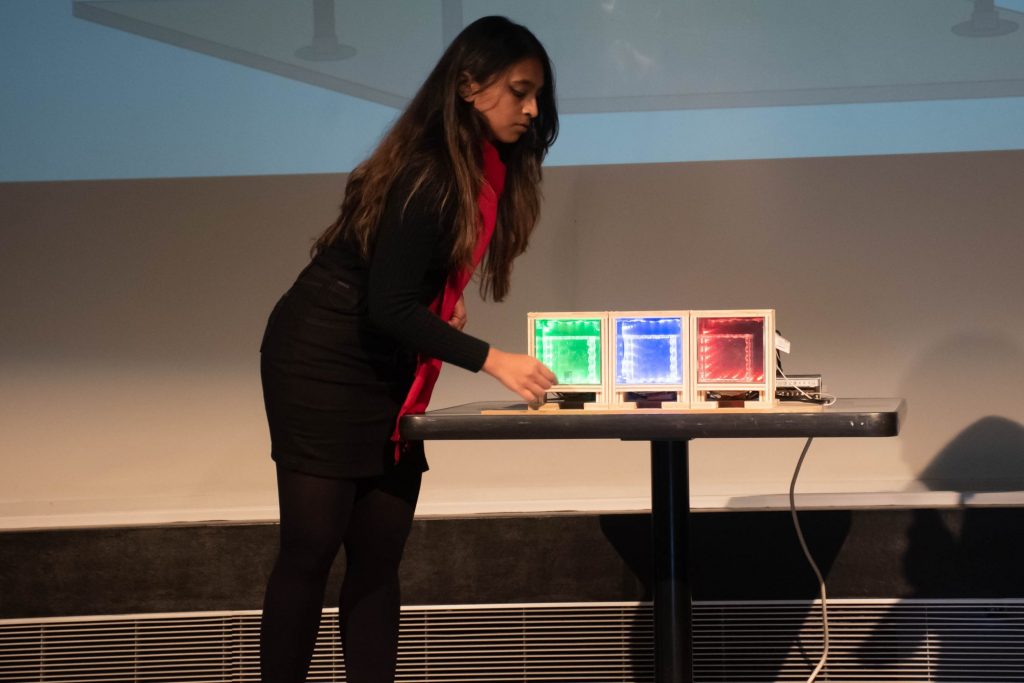
- Does the experience need to reset, will the colors get muddied up?
- We were able to demo that the colors clear to white with the additive logic!
- How many arduinos controlling the experience? Why did you go with this method?
- 1 arduino/module for easier debugging
- Will you have the modules communicate with each other?
- Yes! If we can get it to work and be robust…
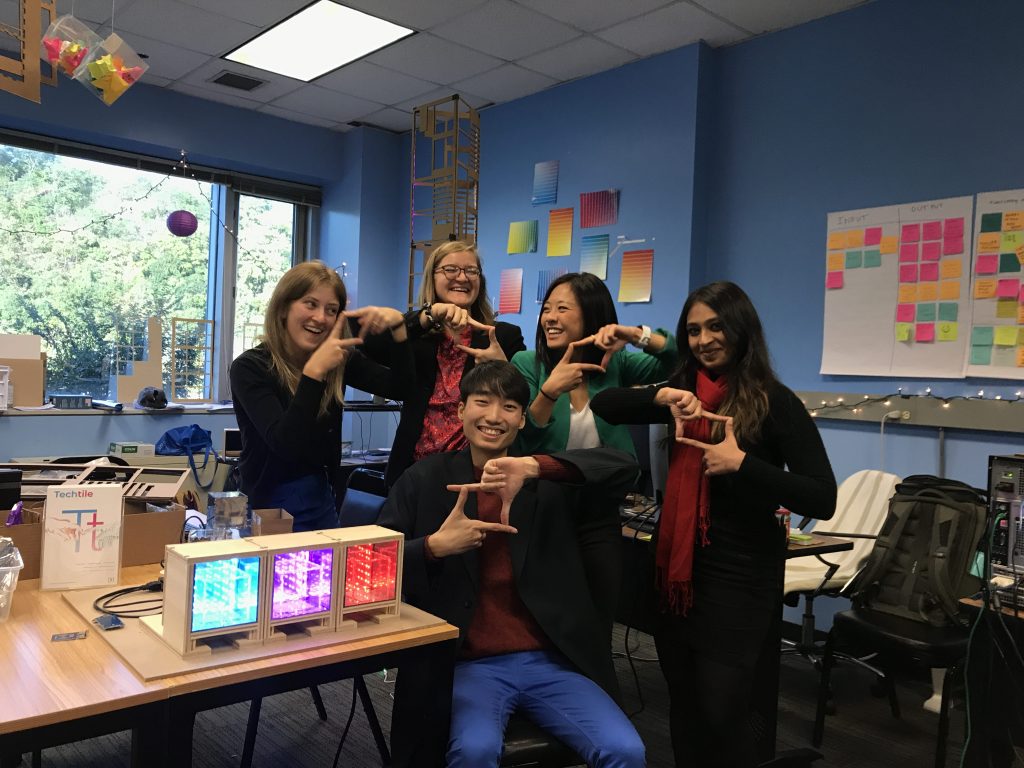
Overall, we were really happy to be able to share our work and progress! And the faculty were happy to hear it too, read their feedback below:
- Loved the live demo
- Did a good job of explaining on this fits into the space but is also unique
- Prototyping, playtesting, and iterating on materials, design, and guest experience wisely at a healthy pace
- Good to see use of student motivation to drive design; good user research
- Player experience is very clearly explained: “foster curiosity through play” is a good goal
- RGB color mixing feels like a good mechanic
- Modular design seems well considered
- We have good energy and are invested in our work!
Some of the things that they asked us to think about:
- Durability and upkeep
- Is the arduino the right solution?
- Overall physical structure feels plain
- Payoff could be stronger – more surprises
We’ll definitely consider their feedback as move through the semester.
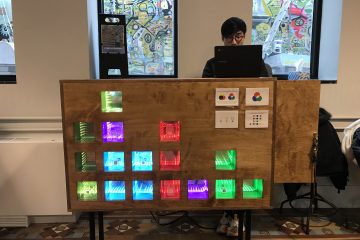
Fab + Tech
Oh, but the weary don’t rest. We continued to move forward with our fabrication and tech plans through the week.
Nidhi continued to work on trying to figure out the radio modules. This was something the faculty were hoping that we could get working to add more surprises. David Purta was extremely helpful in trying to help us to get those off the ground. We got them working for one day! But then they stopped working…We’ll need to make sure that this system is robust before installing.
Since we had to prep for a playtest on Friday and had shorter week with halves and mid-semester break, Nidhi will continue to work on the radio modules next week.
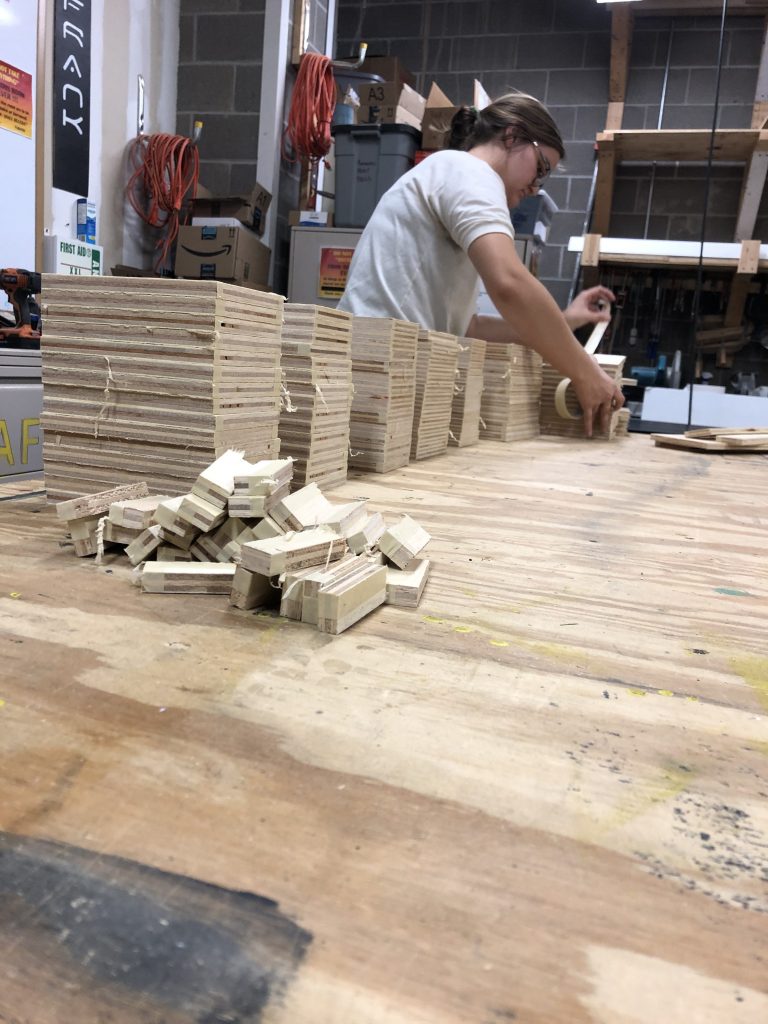
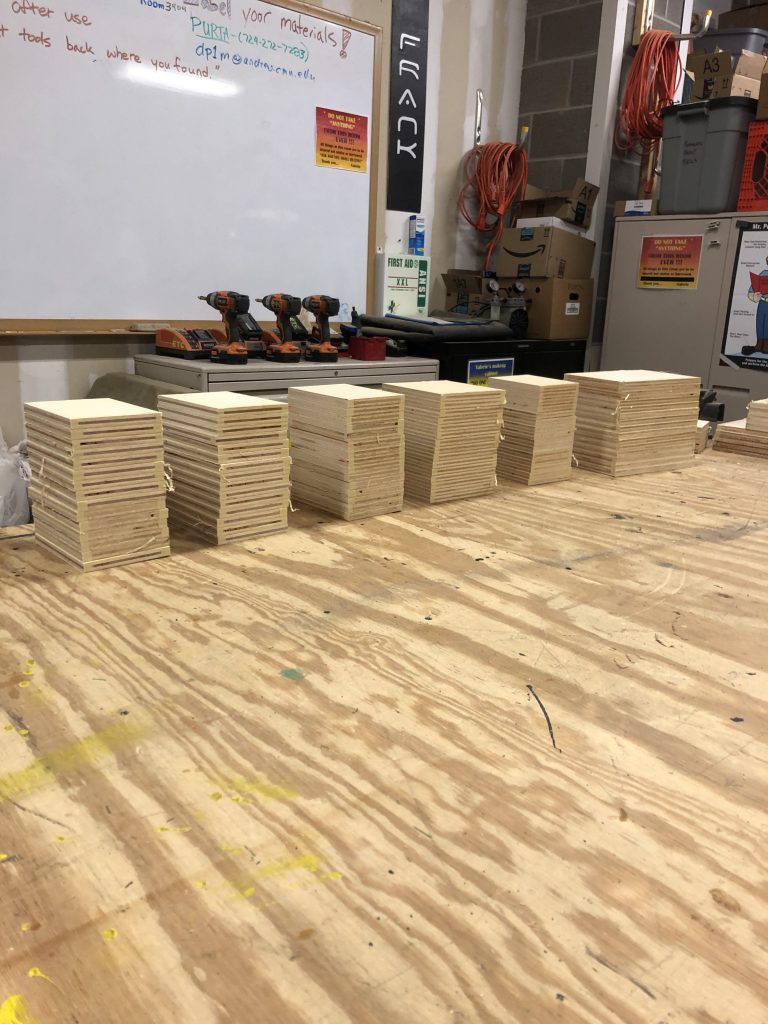
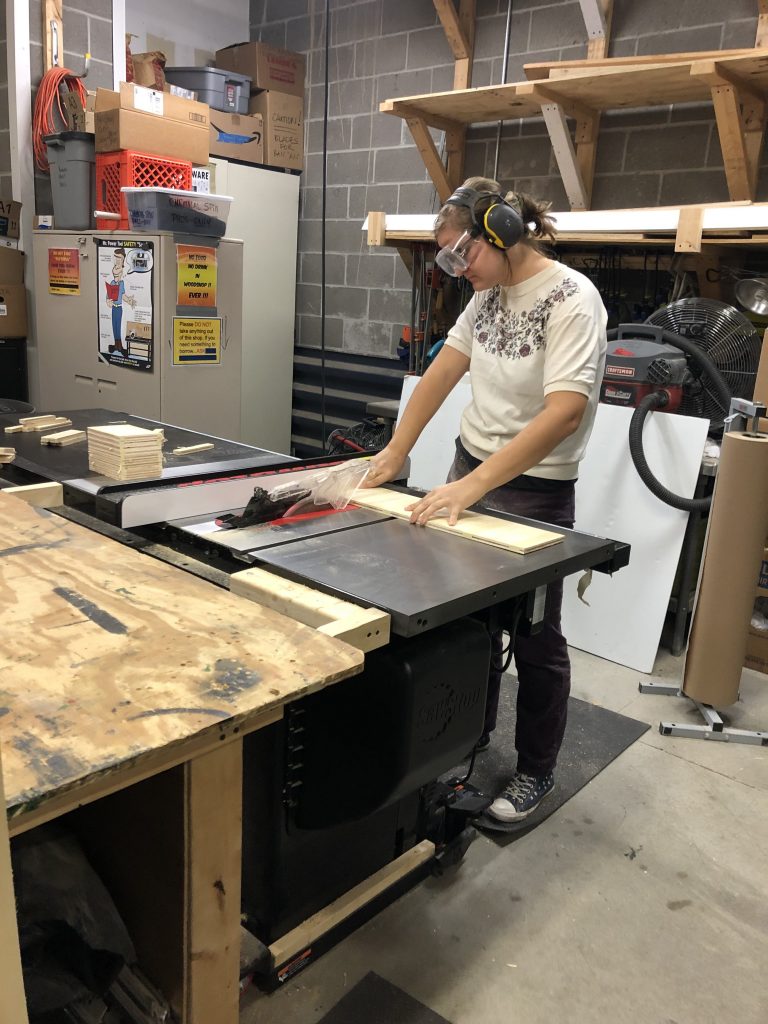
Meanwhile, Marissa and Emily began to mass produce the module frames! It was a lot of work, but Marissa has been our master builder. Next week, Daryl and Emily will begin assembly as Marissa begins to build the final installation.
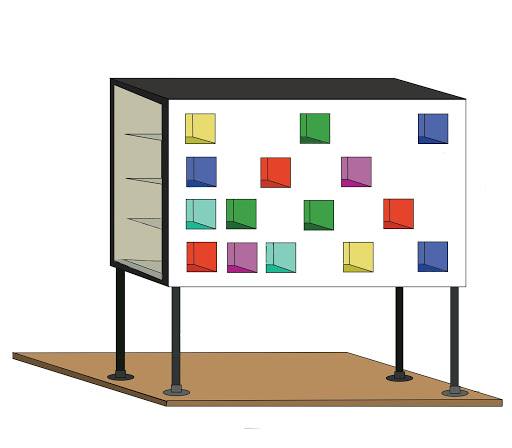
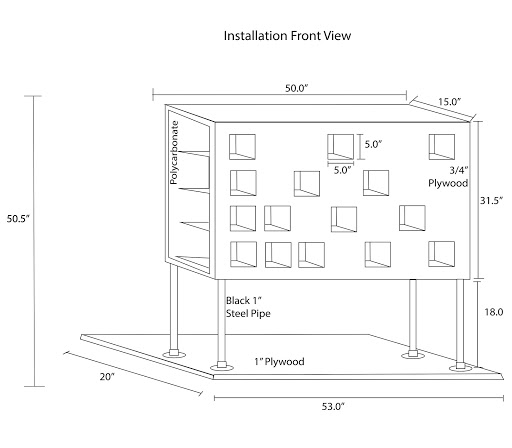
Marissa also began to refine the blueprints for the final installation incorporating the feedback from the fabricators at the Children’ Museum. We are not settled on the module layout yet. During our Friday playtest, we gathered more information about preferences (see below).


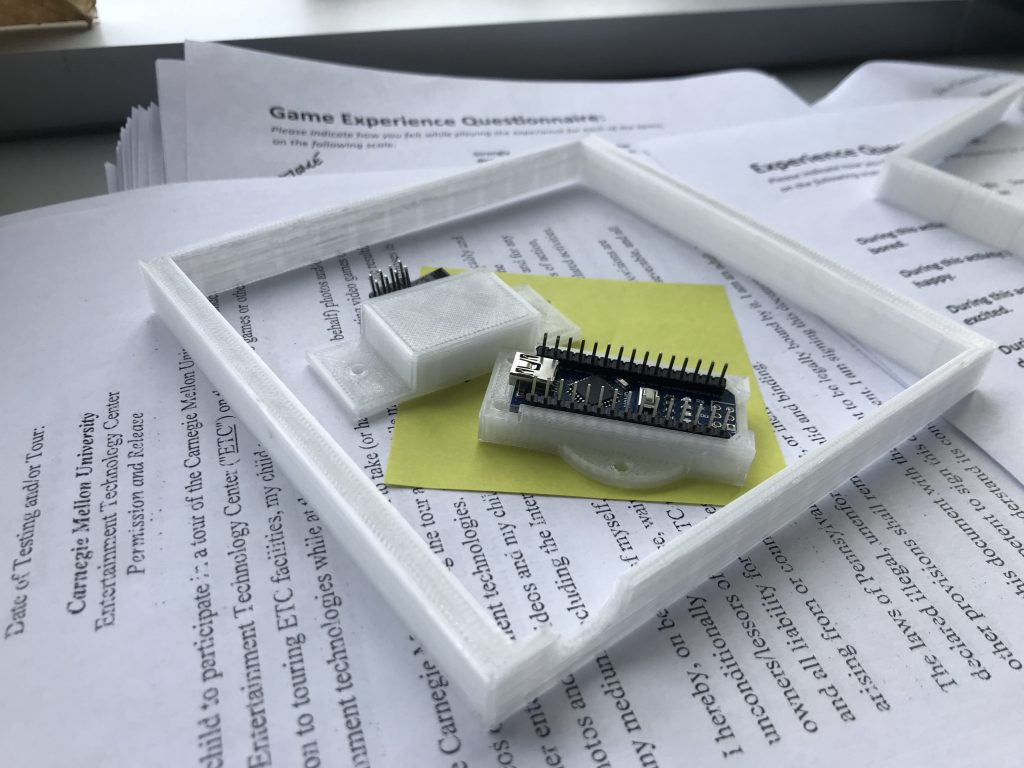
Daryl began to 3D print the smaller components for the modules. Each module needs a ring to hold the LED lights that is a specific size and has a slot for the wires to feed through. In addition, we’ll be printing holders for the Arduino Nanos and for the radios (if we can get those working!).
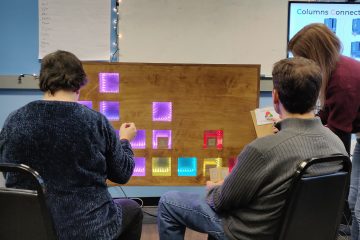
Playtesting
On Friday, we had ten 7th Graders from Franklin Regional Middle School stop by for a playtest during a community tour.
For this playtest, we:
- Changed color outputs of LED lights to be more distinguishable between colors
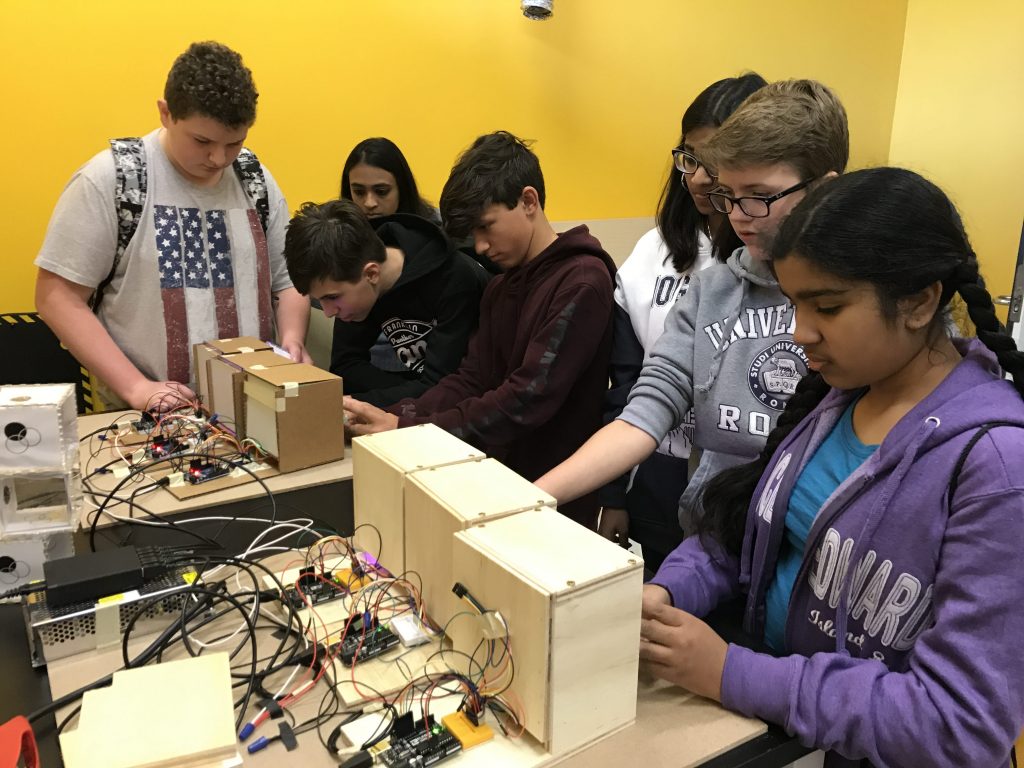
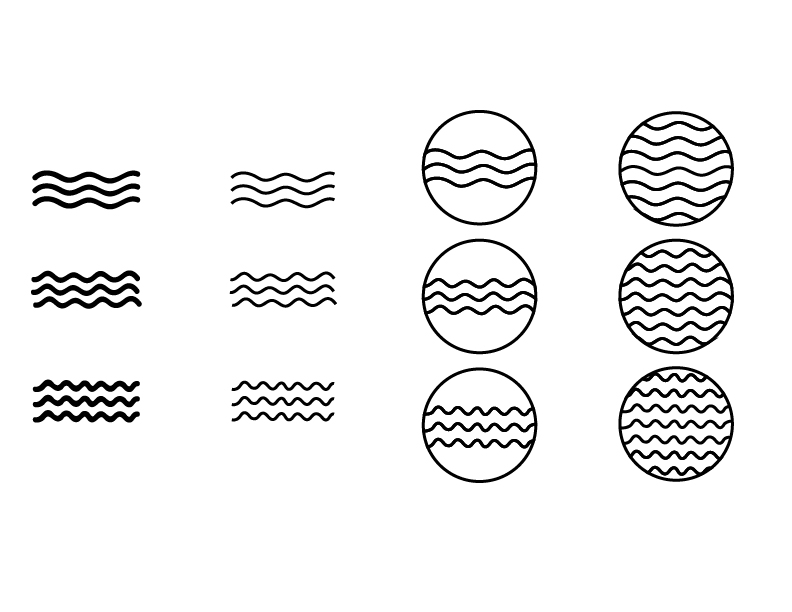
- Tested design of symbols
- Which do students like the best?
- Which communicates the interaction best?
- Tested multi-sided tags (each group played each version in a varying order per group, then students chose their favorite)
- V1: Each block is one color
- V2: Each block contains each color – R, G, B, Black
- V3: Each block is one color, but with 4 different effects
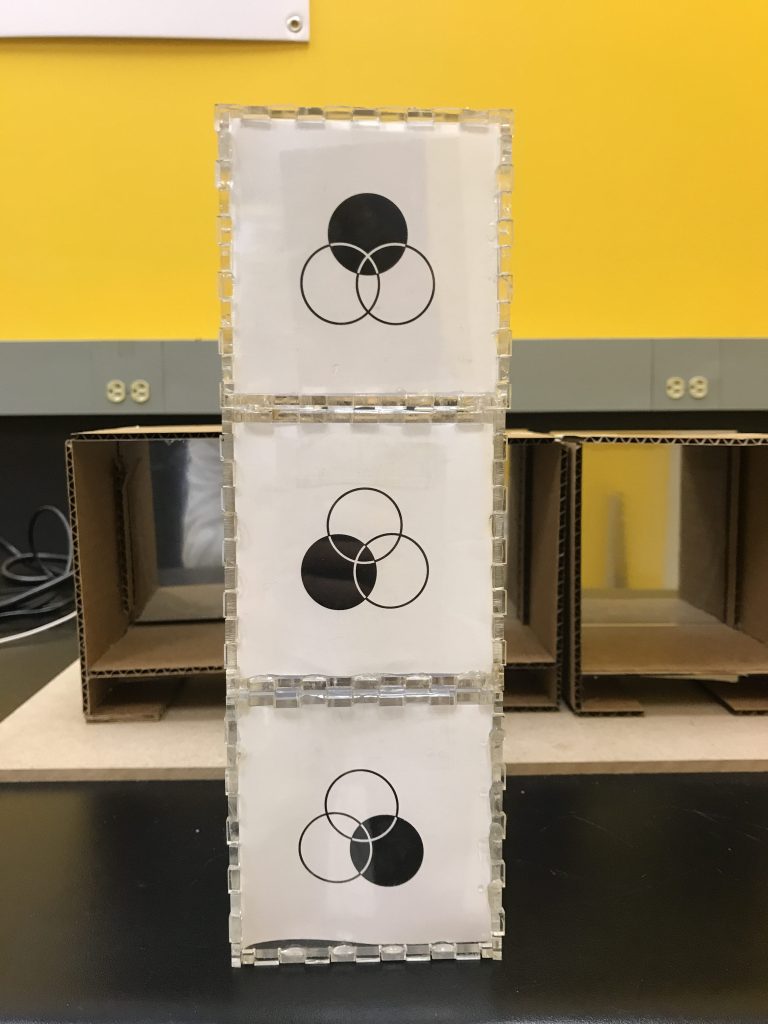
V1 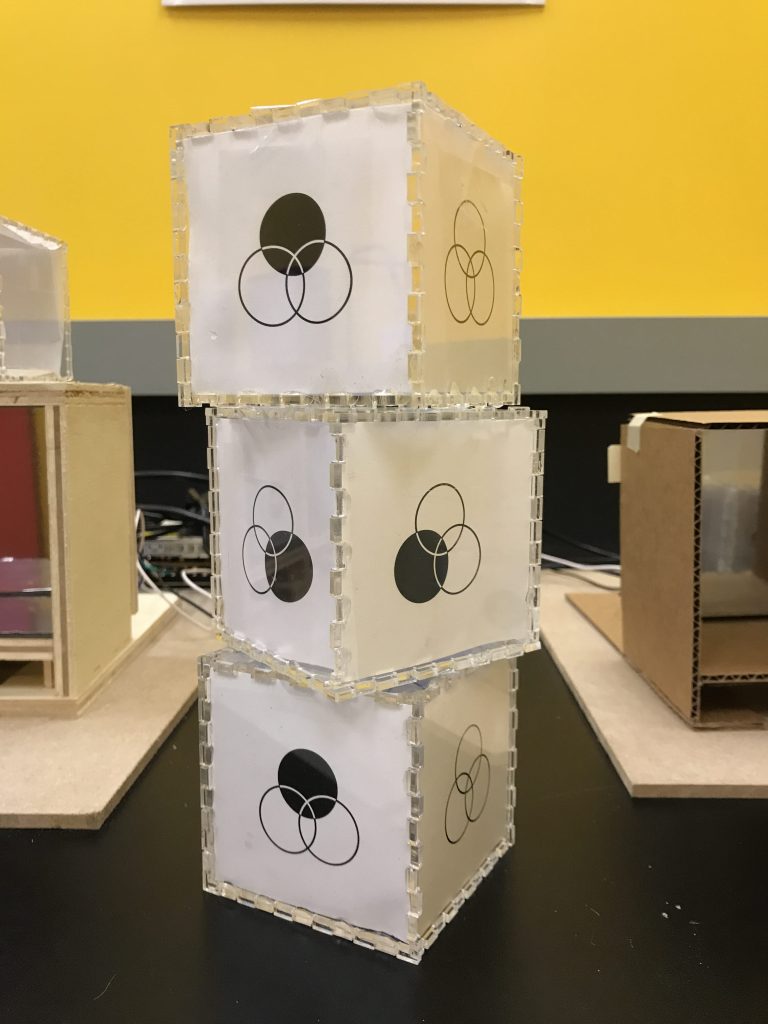
V2 
V3
- Surveyed students about the fab layouts
Playtest Results
Blocks:
- Students did not like V1 (each block its own color)
- They didn’t understand why if you have the same symbol on every side, it does something different when it’s put in
- The logic of the symbol on the block was contradicting the logic of the world
- Once they figured it out, it was boring
- Students’ favorite was V2
- They liked that they could turn off the lights – although some thought they broke it?
- They liked having different options
- It helped with collaboration, because they each had the same block and could compare and contrast easily
- But also, it allowed for each player to play individually since they had all the options on their block
- Students’ second favorite was V3
- They liked being able to affect the patterns of the lights
- If they got V3 last, they were able to figure out much more quickly that it was about affecting the patterns – not sure if they picked up on the color mixing
- If they got V3 first, it took much longer for them to figure out the logic, because there was an extra layer of variables
- Students did not know which way to orient the blocks
- They either thought that facing the symbol toward the infinity mirror would “scan” the code or facing the symbol toward themselves would “scan” the code
- They did figure out eventually that one of the card sides had to be facing down
- They sometimes oriented the block so that the clear sides faced the side mirrors (our intention of keeping 2 clear sides was to be able to see the infinity mirror effect), the RFID tags still worked so they didn’t really care that the light was blocked
- They wanted tags on ALL sides of the blocks
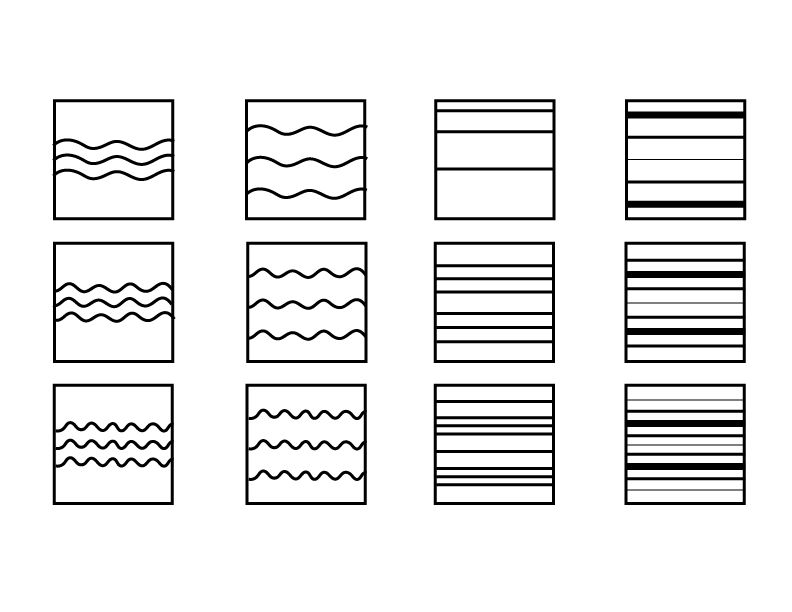
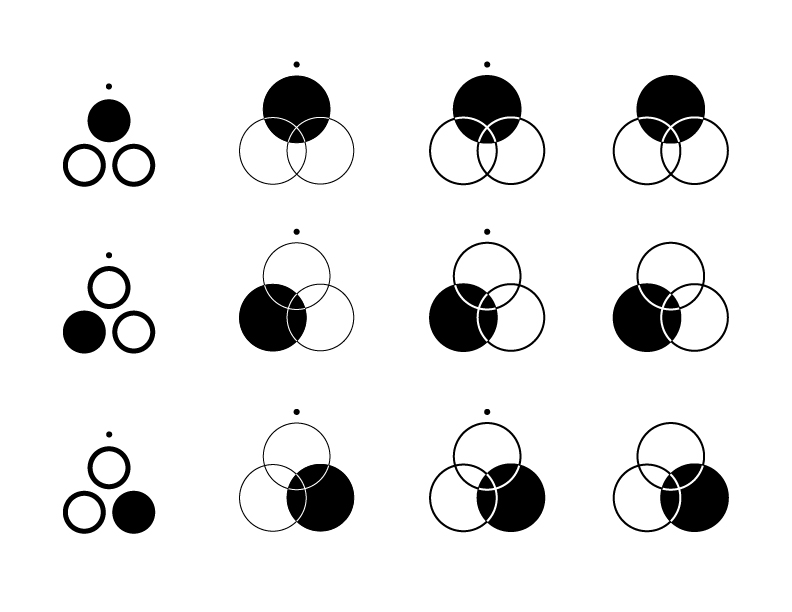
Symbol Design:
- Students liked the “bubbles” – color spectrum symbols
- Students felt this design was more approachable and soft.
- However, didn’t realize that they were color spectrum symbols, but thought they were just bubbles!
- Students liked the concentric circles
- Typically the second favorite, liked the diversity of line weight, thought it looked “cool”
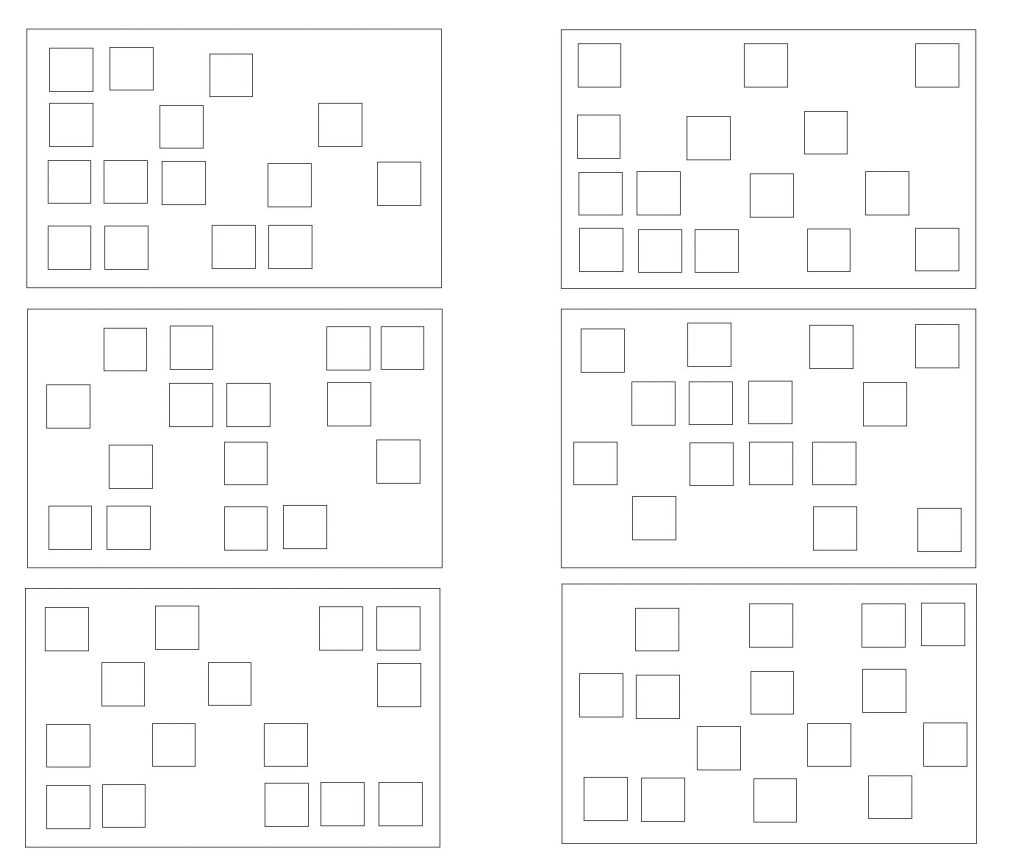
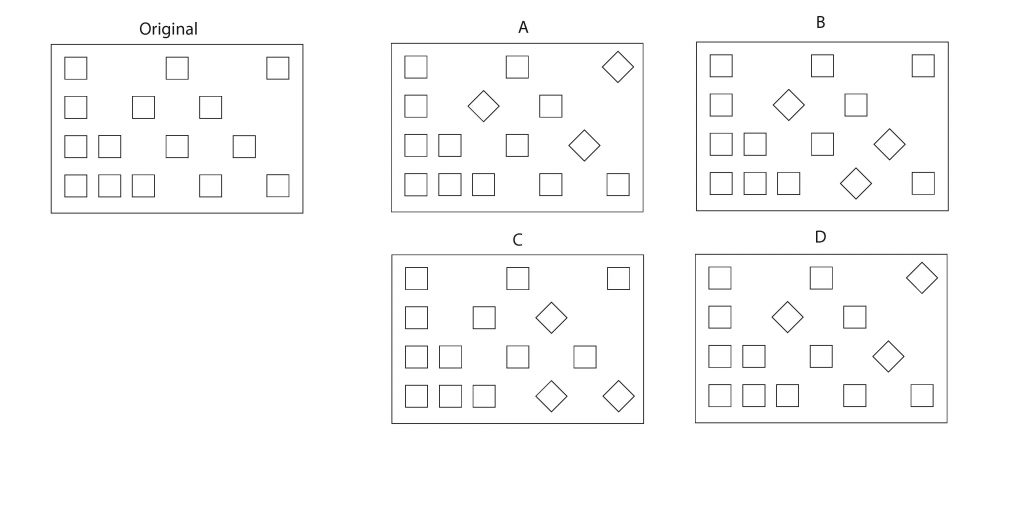
Fab Layout:
- Students liked the layouts on the right, in particular the top two
LED Colors:
- LED light colors were changed – yellow and white had been too similar to green and blue
- No comments that they confused the colors this time
- Although, cyan and blue are still called “blue,” they are recognizably different
Engagement Instrument Data (using the same Activation Lab survey from Week 7): 3.58/5 (agree) – students were still engaged!
Player Experience:
- They were frustrated when they didn’t know what they were doing, but again they liked figuring it out
- They felt satisfaction when their expectation was filled
- “Satisfying to figure out what the heck I’m doing”
- Figuring it out made them feel “smart” and “good”
- “Feeling of discovery”
- Some students wished that there was a goal set for them
- They thought we should make it more complicated for older students, thought it was good for younger students
- They wanted more colors – suggested multi-sided dice and gradient options
- Students wanted a way to catalogue what they already knew about the boxes.
- Is there a way to write or store information as we discover it so that it is easier to remember what box properties are observed?
As we give the guest more control and provide more hints to explain the world, it does become less of a “puzzle.” Guests are able to figure out the logic faster. Giving the guest more positive feedback to allow them to feel “smart,” does shorten the amount of time that we are making the guest ask questions about the world. There seems like there is a contradiction between expression and puzzle
But what we’re trying to do is take away all the confusion elements that are not related to the logic of the world. Students should understand how to orient the blocks. They should be able to tell the difference between symbols. We’re not making the experience easier, but making the experience more intuitive; taking away the frustration elements that don’t allow the user to focus on the logic of the world.
If we can get the radio working, we can add in more interactions that will push students to test their logic of the world rather than the understanding of the UX. If not, we should explore other ways to push guests’ understanding of the logic: goal cards? A re-programming station for the RFID tags?
Next Steps
Blocks:
- Move forward with V2
- Experiment with symbol placement
- Only the inside of the cube – facing down = ON
- Only the outside of the cube – but with the orientation facing the guest = ON
- Place the same two symbols opposite of each other on the cube (all sides are covered in RFID tags)
- this version will need to have a different cube for OFF or no OFF
- Add a symbol on the base of the cubby that indicates where to put it
- Experiment with material types
Symbol Design:
- Move forward with the color spectrum symbols and concentric circles – iterate on design
- Experiment with the alignment dot?
- Need to have more students provide feedback on their preferred symbol
Fab Layout:
- Move forward with the original picked layout shown at halves
- John Balash suggested rotating some of the cubbies by 90 degrees
- He liked the one shown at halves because it looks more artistic as a standalone
- Present new layouts that are iterations on that version
Hints/Scaffolding: We may want to wait to test until we have the final set-up to test.
- Write and test hints to guide the player experience
- Write and test scaffolding learning moments
- Write and test goal cards
Next Week
- Meeting with Chip Lindsay + Anne Fullenkamp from the Children’s Museum to update them on progress
- FABRICATION!
- Assembling all of the modules with tech
- Scheduling CNC time with the Children’s Museum + assembling frame
- Experimenting with block materials
- Get radios to work! (Or not…)
- Schedule another playtest