In our quest to design a novel interface method for the 3d printer, we have tried incorporating a scanner into the mix. We have been exploring various hardware and software solutions to meet our needs. Here are some of the basic principles of 3d scanning, and some fun apps we tried for the iPhone.
Structured Light:
The system projects a known pattern of light onto a scene. A camera then interprets the deformation of the pattern to determine the depth of each point in the grid. This develops a 3d dimensional point cloud which can be used to create a mesh.
Laser Scanning:
There are two types of laser scanning available for use. Time of flight uses a laser rangefinder to determine depth of surfaces by emitting a pulse and recording the time it takes that pulse to return. This method is capable of working at large distances, and is best suited to large geometry like buildings.
Triangulation uses an active laser field as well. The laser projection can be a point or a line, and is swept across the desired geometry. An offset camera determines depth based on where the laser registers in its field of view. Triangulation is better suited for short distances, and capturing detail in smaller objects.

iPhone 3d Scanning:
There are two apps that currently provide a 3d scanning solution. Trimensional relies upon a structured light process to reconstruct your face as a 3d model. It only takes one view to create a mesh, and requires a dark room for the process to work. After turning the brightness on the iPhone all the way up and placing it close to your face, the app flashes a pattern on your face and uses the camera to record the deformation in the pattern. The process is not very robust, and breaks down when something reflects light back to it. This is most noticeable from the eyes, but can also be a result of oils on the skin.
The second app is iFace3d, which relies upon a video capture process to create the mesh. The process involves a tedious sweep around the subject´s face to capture the details. The movement is easy to fumble on, and requires an optimal set of lighting and contrast conditions for the algorithms to work correctly. The data is then sent to a server and available to download as a 3d model shortly after.
With both applications, there is no way to create a closed 360 degree mesh. While novel in application, there is no control over the point cloud or the capture process, and is unsuitable to our needs.
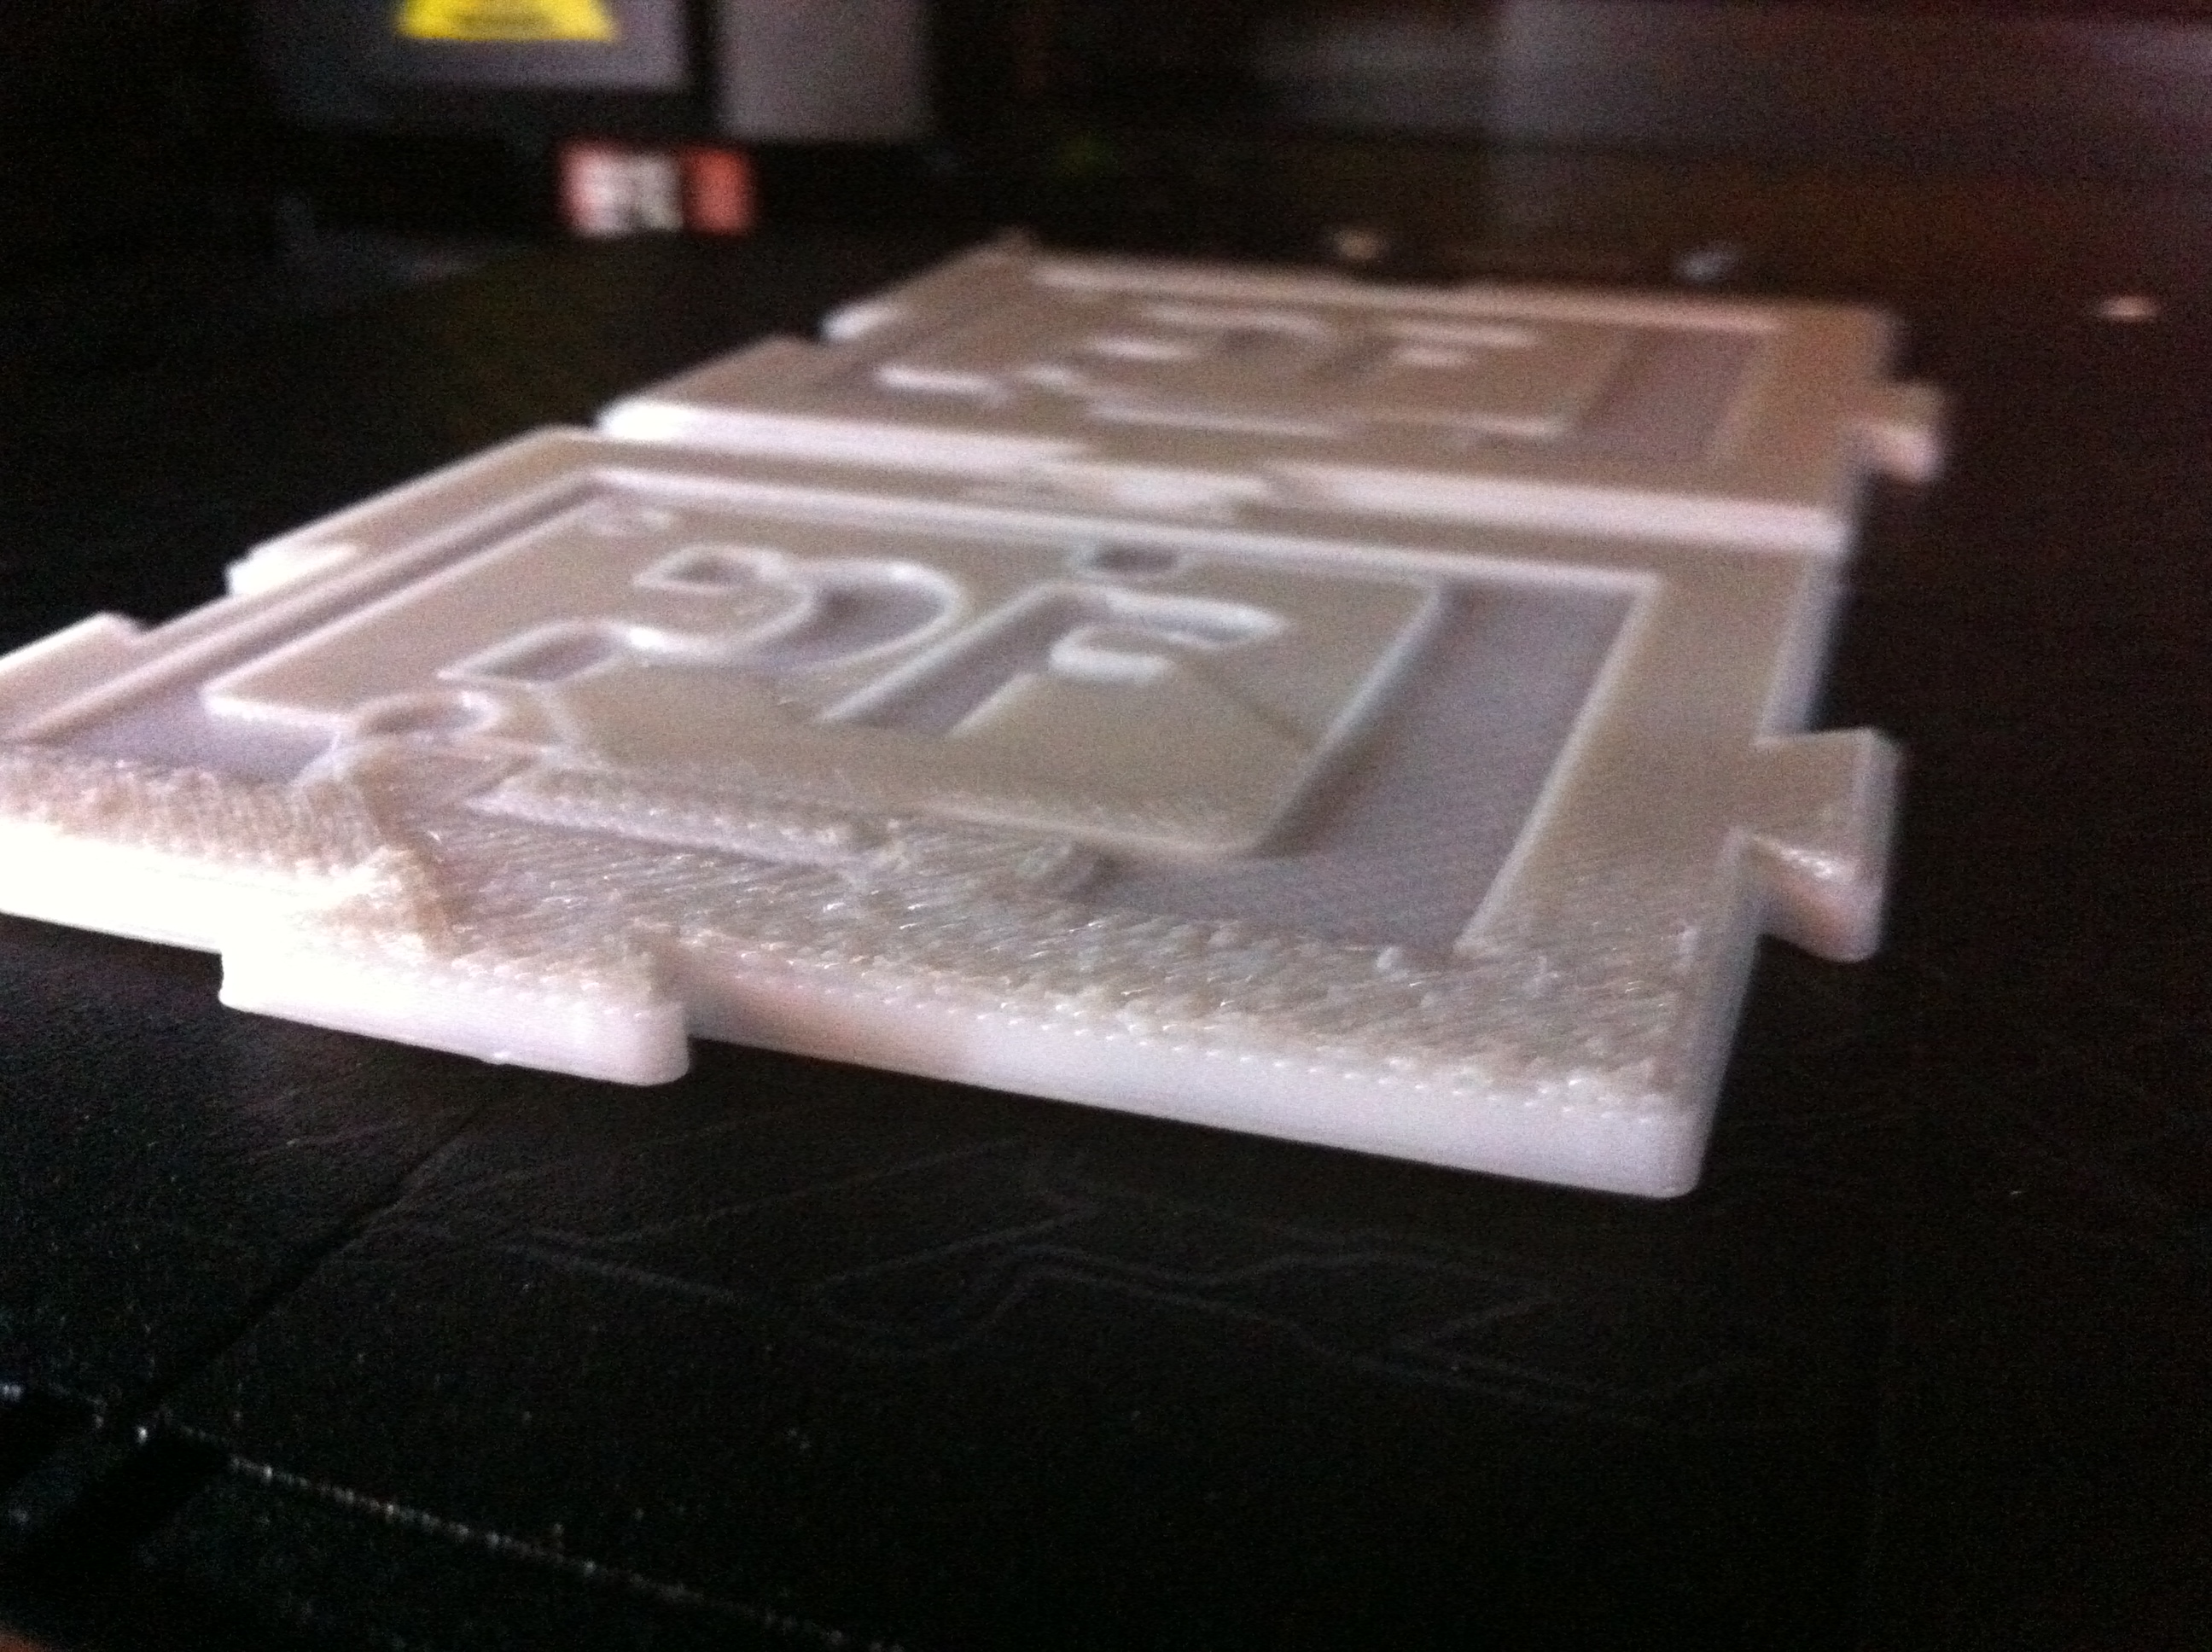
 Take a look at what we’ve got running in the printer!
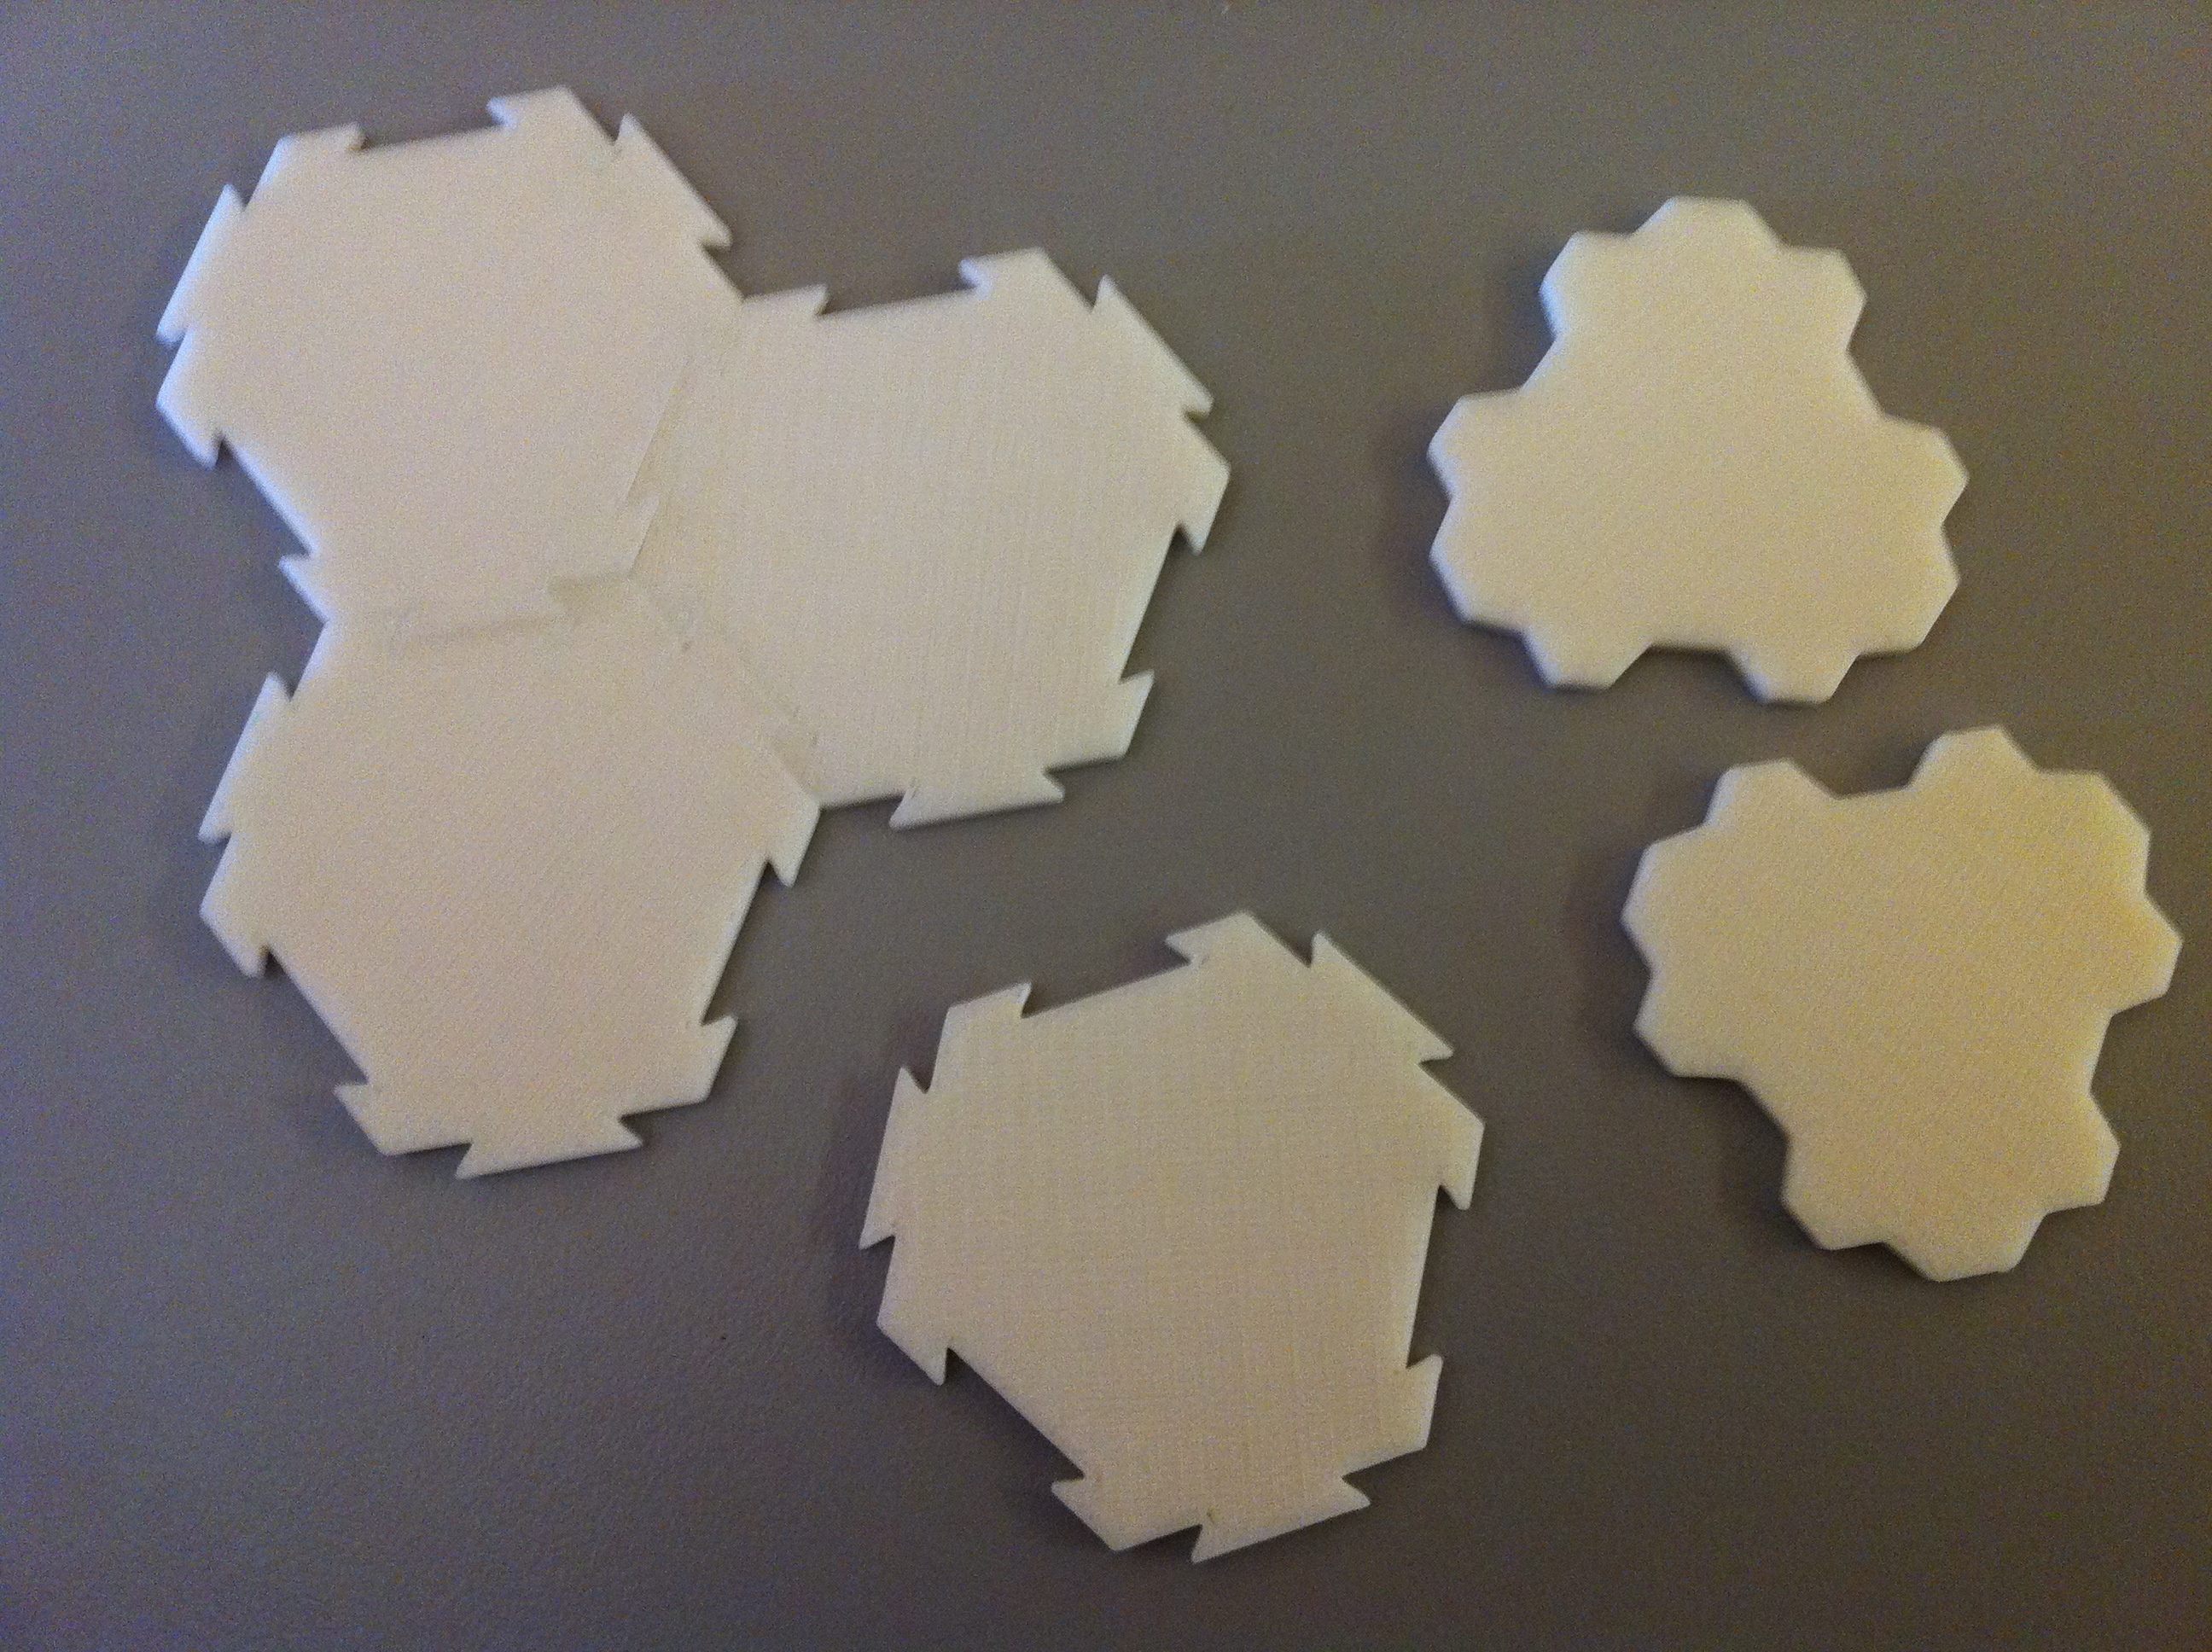