Week 11
This week in FAB, Marissa and Emily removed all of the modules to stain and apply polyurethane to the frame.
Also by recommendation of Ruth, they bolted in the legs to create a sturdier base.
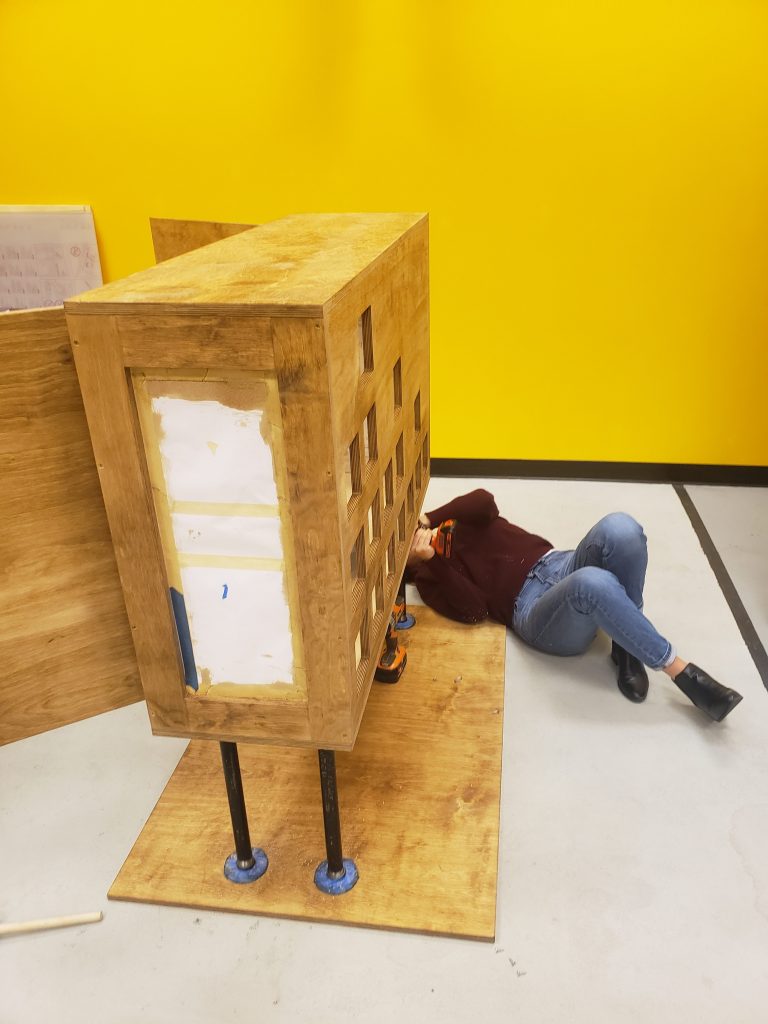
They also worked on attaching the modules semi-permanently for playtesting at the MuseumLab next week. For ETC Playtest Day, we had only gaff taped in the modules temporarily. For future maintenance, we’ve made it possible to remove the modules by unscrewing brackets that are currently holding the modules in place. This took two very long days of meticulous and careful installation by Marissa and Emily!
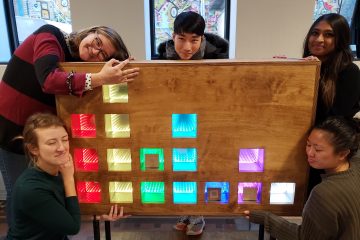
ETC Playtest Day Set-Up 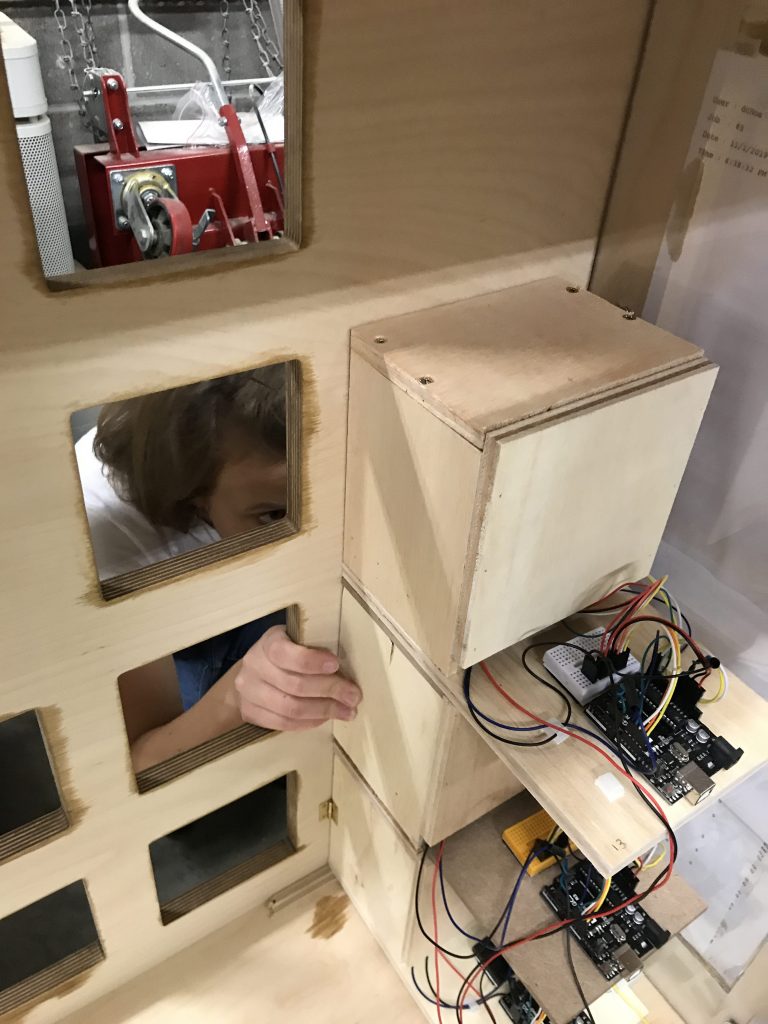
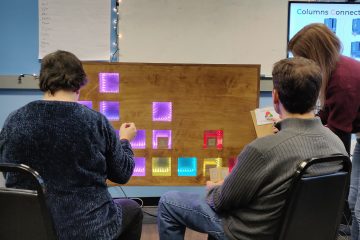
Semi-Permanent Set-Up
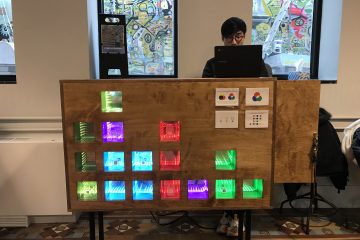
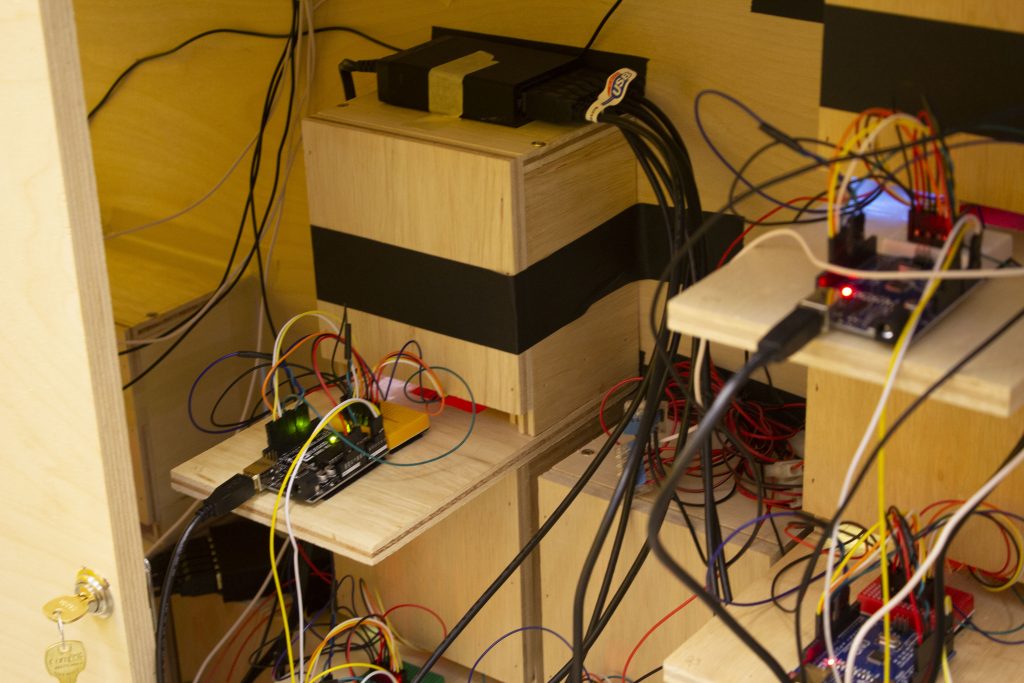
After all of the modules were installed, Wei and Nidhi ran a QA on the installation to make sure that all the cubbies were still functioning properly. In addition, Nidhi worked on wire management.
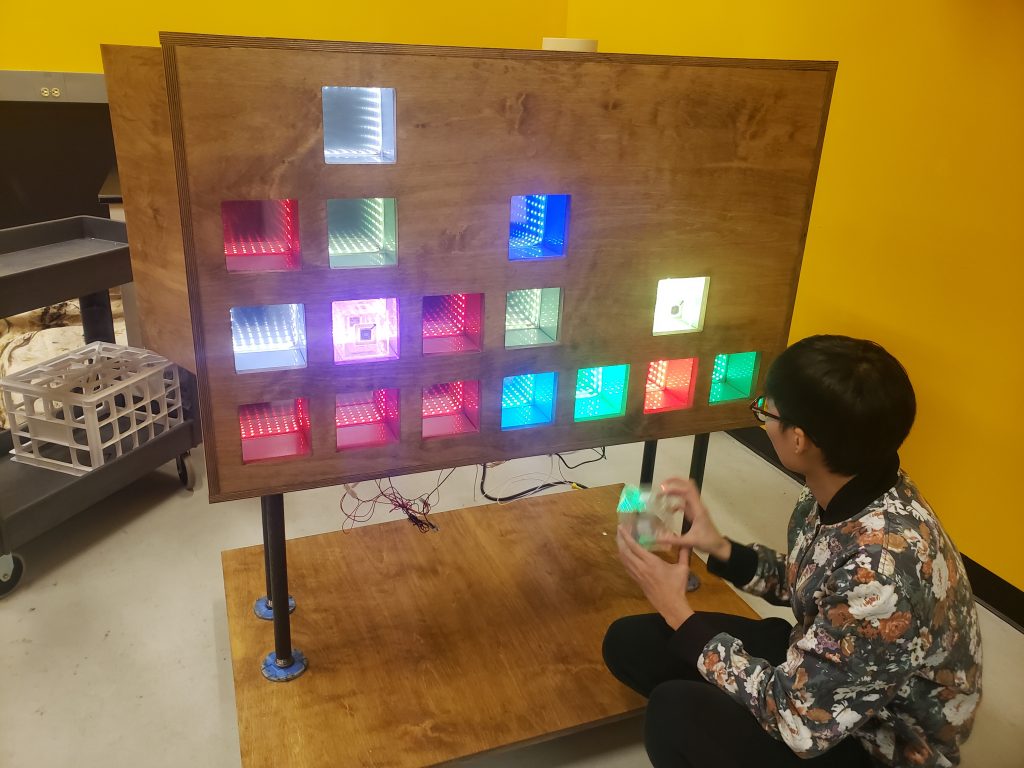
You’ll notice in the image above, that the cubbies appear to be much brighter! This is because we installed in the metallic silver spray painted polycarbonate sides to each cubby. Earlier in the semester, a concern of our faculty had been that the cubbies would not be bright enough. Through early prototyping (showcased during our halves presentation), we had landed on adding in polycarbonate sides that were spray painted with a metallic silver effect to reflect the light out of the cubby as well as provide a stronger surface to place the blocks on.
Blocks
Speaking of blocks, we also worked on fabricating blocks this week!
From our last playtest, we realized that even with the symbol on the base of the cubby and with explanation, younger children did not understand how to align the NFC sticker to the symbol. Given that there are many younger children in the MuseumLab who wander in from the Children’s Museum, we decided to make our experience more accessible by adding NFC stickers to all sides of the block. Previously, when we were using RFID cards, we could not do this because it obscured the look of the mirrors. But with the new NFC stickers, they make it possible to still see the infinity mirror effect. In addition, the NFC stickers showcase the tech more!
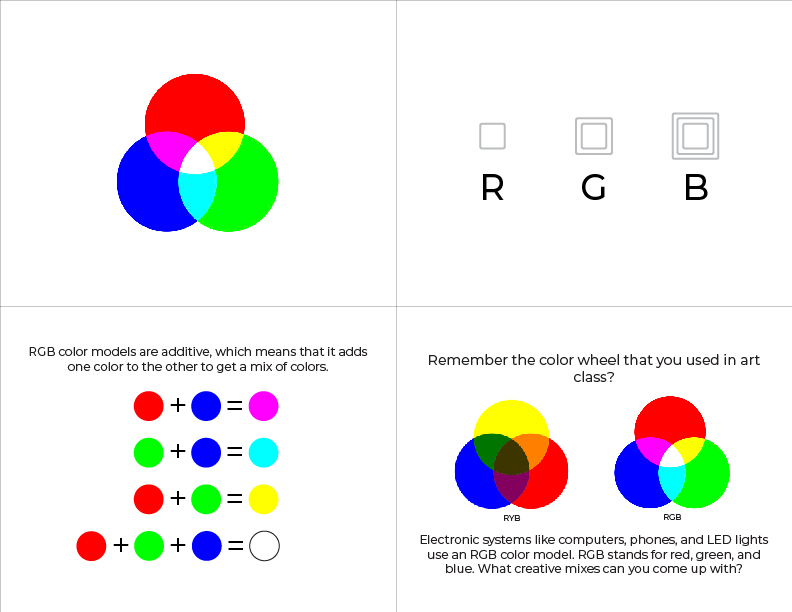
We decided to go with the concentric square lines symbol design for the blocks. Since it is easier to tell the difference between blocks (it looks the same from any angle) and because guests voted and liked that design the best! It highlights the NFC sticker design and also is a nod to understanding the frequency behind colors. While the layout of the modules represent wavelengths, the block symbols represent frequency. Red has the largest wavelength, but the smallest frequency, green has medium for both, and then blue has the smallest wavelength and greatest frequency. Every design choice that we make alludes to the color spectrum logic that we have chosen for our installation.
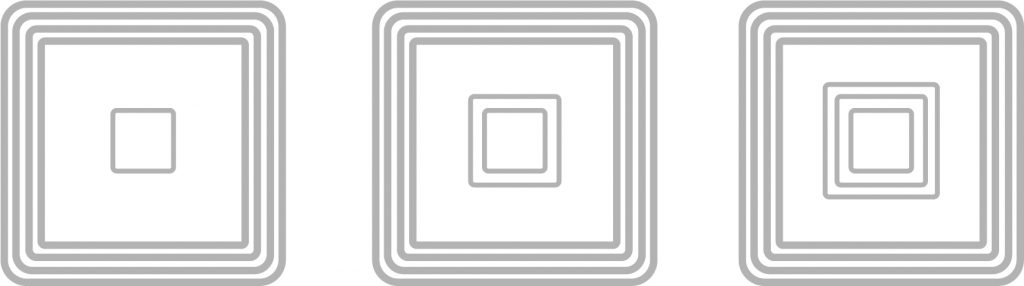
Symbols to be used with NFC stickers from left to right, Red, Green, and Blue. 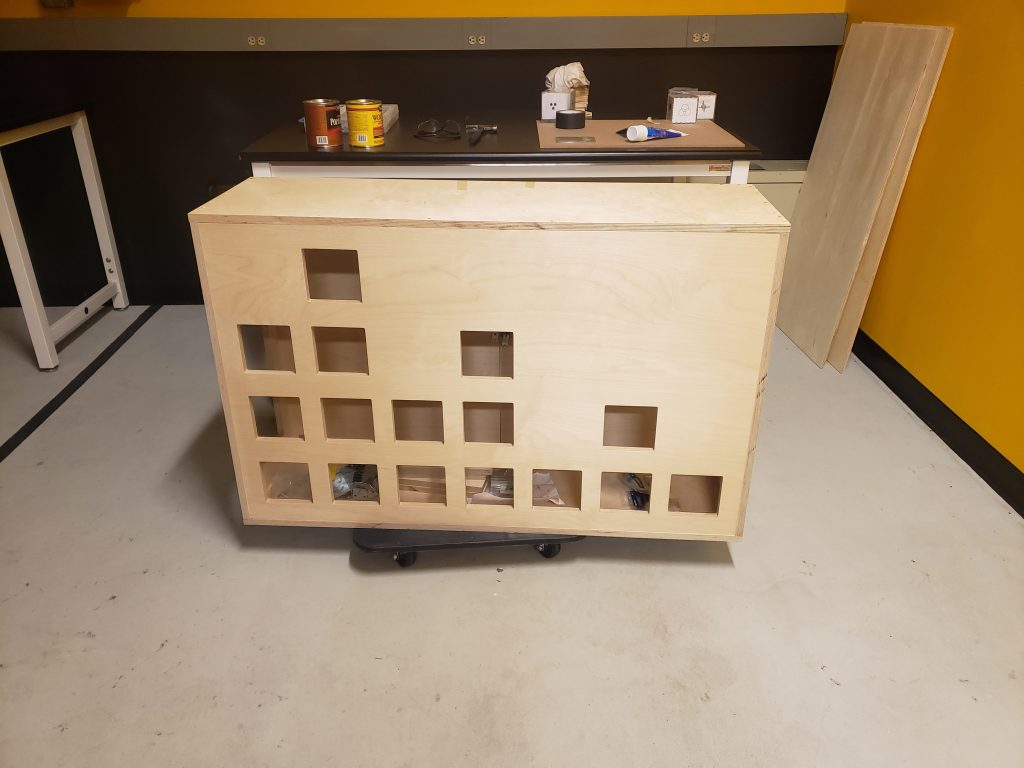
Frame front representing the wavelengths of Red, Green, and Blue.
To adhere the symbols on, we ordered clear film stickers with the design to easily attach to the insides of the blocks.
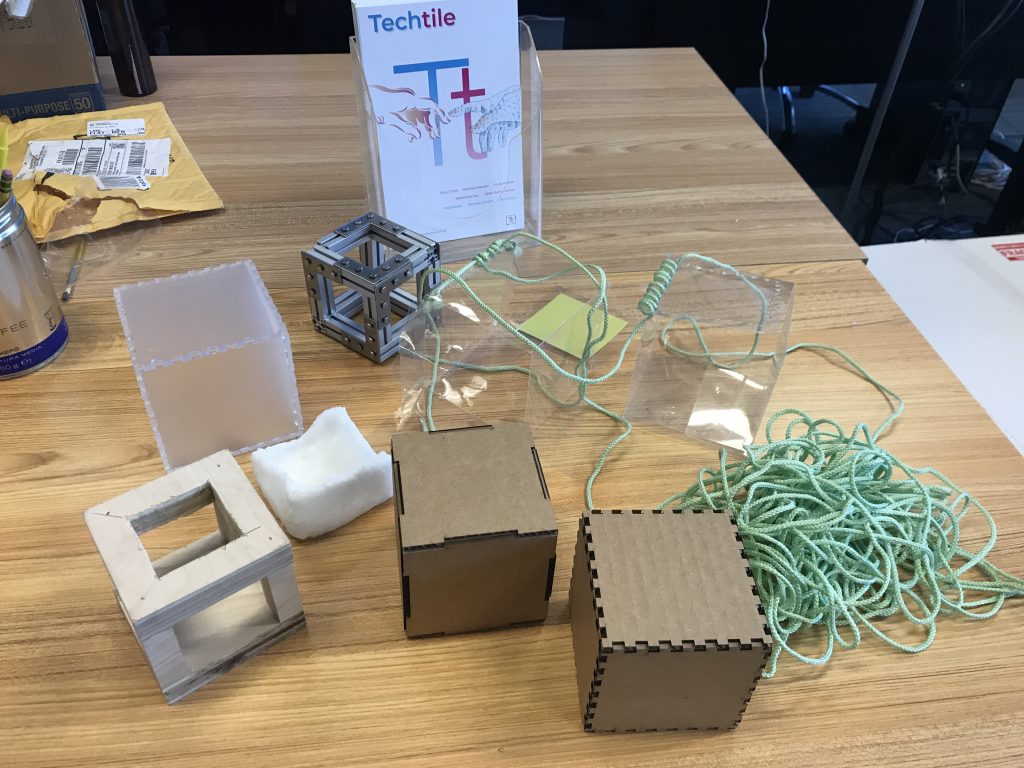
In terms of materials, we’ve had a lot of discussion about how to best produce robust blocks. Originally, we had planned on using acrylic since it was easy to produce, see-through (allowing for the infinity mirror effect to show through), and the museum could easily reproduce it with their equipment. However, the museum had recommended using polycarbonate instead since it is stronger than acrylic, but also still see-through. However, polycarbonate can not be laser cut, as it is a messy process and releases noxious fumes. It can only be cut on the bandsaw. This would make it difficult to produce perfectly square blocks.
We experimented with building a wooden cube (this was too bulky), a metal cube (this was both dangerous and heavy), and using molding plastic (this was inconsistent). We also looked into retrofitting toys, but nothing was the right size, and since we still had to insert our NFC stickers and symbols, we would still have to take apart the cube and have the same adhering problem.
After consulting with David Purta and Steve Audia, they both suggested to stick with the acrylic block option. Not only is it the most aesthetically appealing, but it is cheap and easy to manufacture. Their argument was that an acrylic block would be just as robust as a polycarbonate block. The weakness in the structure comes from the joint edges not from the surface. David suggested adding in the stuff we use for bathroom caulking to the edges of the block to make them more comfortable to hold and stronger.
They strongly advocated for the acrylic blocks because they could be remade if they broke. We also agree that this is the best option since we have mainly playtested with acrylic blocks, and because as they said it is the most aesthetically pleasing, cheap, and easy to build/replace option. As a backup option, they suggested trying to assemble polycarbonate blocks by 3D printing a jig to hold the pieces while it dries. But this would be a very tedious process that is not easily replicable. We will try this next week.
For next week’s playtest at the MuseumLab, we’ve assembled 9 acrylic blocks with symbols. Again, we decided on 9 based on playtesting from last week. Over 9 blocks would make the experience confusing for the guest since they could not keep track of the properties of the blocks.
Interactions
From the last playtest, we realized that it was difficult to distinguish feedback from state. Wei worked on separating feedback into immediate responses and persistent states. We removed the dimming effect when there was no block in the cubby, this is because we are not providing enough blocks to keep them all lit using this logic and we didn’t want to punish the guest for that.
Wei also worked on making better use of syncing for communication. Last week, serial communication worked, but it wasn’t clear that anything was happening since the same interaction would occur in every cubby and they weren’t distinct enough from the normal breathing effect . Wei worked on creating interactions that occurred across cubbies to show that they’ve been synced. We will playtest these next week.
Hints/Scaffolding Moments
From last week’s playtest we realized that we definitely needed to provide hints! We were also asked by our faculty how were going to provide those scaffolding moments that we mentioned during halves.
Daryl consulted two subject matter experts to get their opinion on how to provide hints/scaffolding moments.
They liked that the hints had little words on them and strongly pushed for that since guests wouldn’t read them anyways. They felt that they were easy to understand.
They suggested however, to maybe add some calls to action like “how would you make yellow?” or “can you make something that you YOU want to see?”
When asked about the scaffolding moments, they didn’t think that it was likely that students would read them. They thought that it was more likely that teachers or parents would read them if they were interested or bored while they were waiting for their kids to finish playing. One suggestion was to provide a QR code that would link to an educator guide. This way, students who are curious can get more information. We’ll have to consult the museum to ask how they provide that information.
Their advice was that if the experience was not to teach students about RGB color spectrum, but it was about fostering curiosity through play, they thought it was unnecessary to provide extra materials. The experience itself would prompt students to action.
Next Steps
- We’ll be bringing our installation to the MuseumLab to playtest for the next two weeks!
- Block fabrication