Week 7
Fab + Tech
We pushed this week to get our second goldspike up and running for playtesting on Friday (see more on playtesting results below).
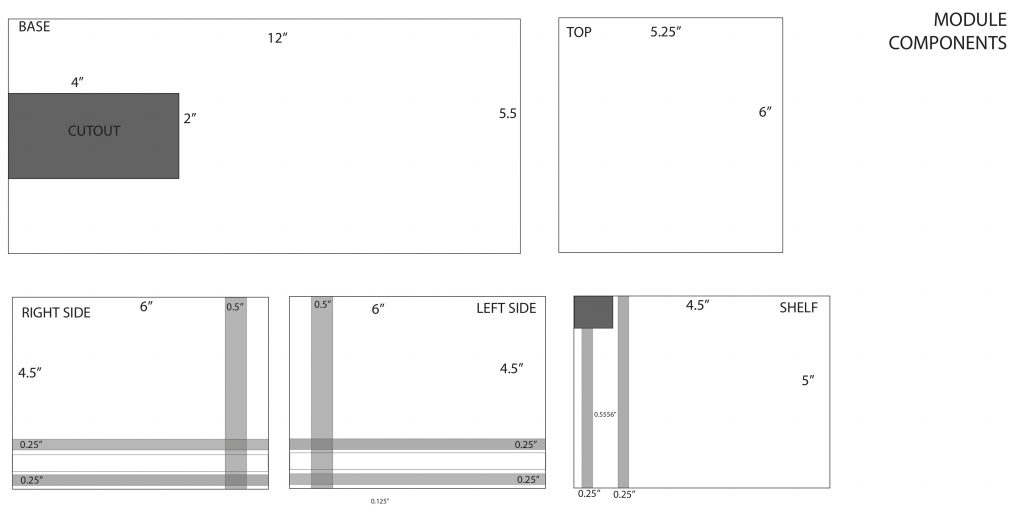
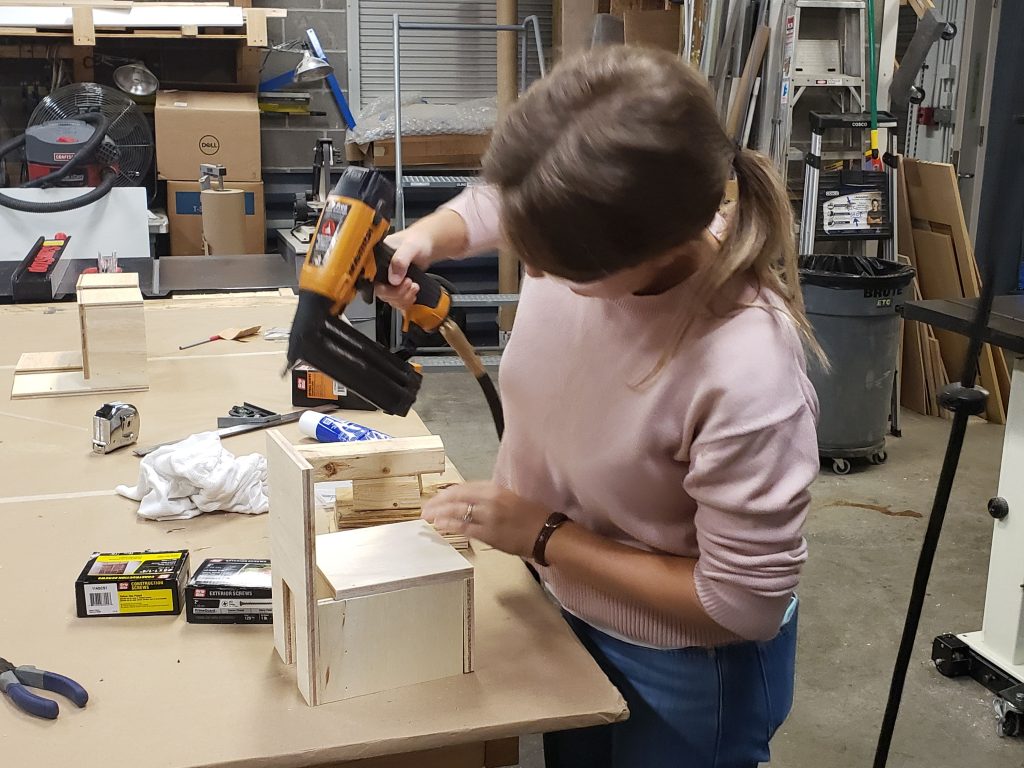
Marissa and Emily fabricated three plywood modules. Originally, we had fabricated the modules out of MDF, but after a visit with fabricators at the Children’s Museum, we pivoted to plywood because that is the preferred material by museum fabricators. It is both lighter and screws have a better bite. You’ll see in the MDF version directly below, that there was also a bowing issues with the MDF. That’s as a result of us not adding structural supports at the corner of the module, which we added in the final plywood modules below.
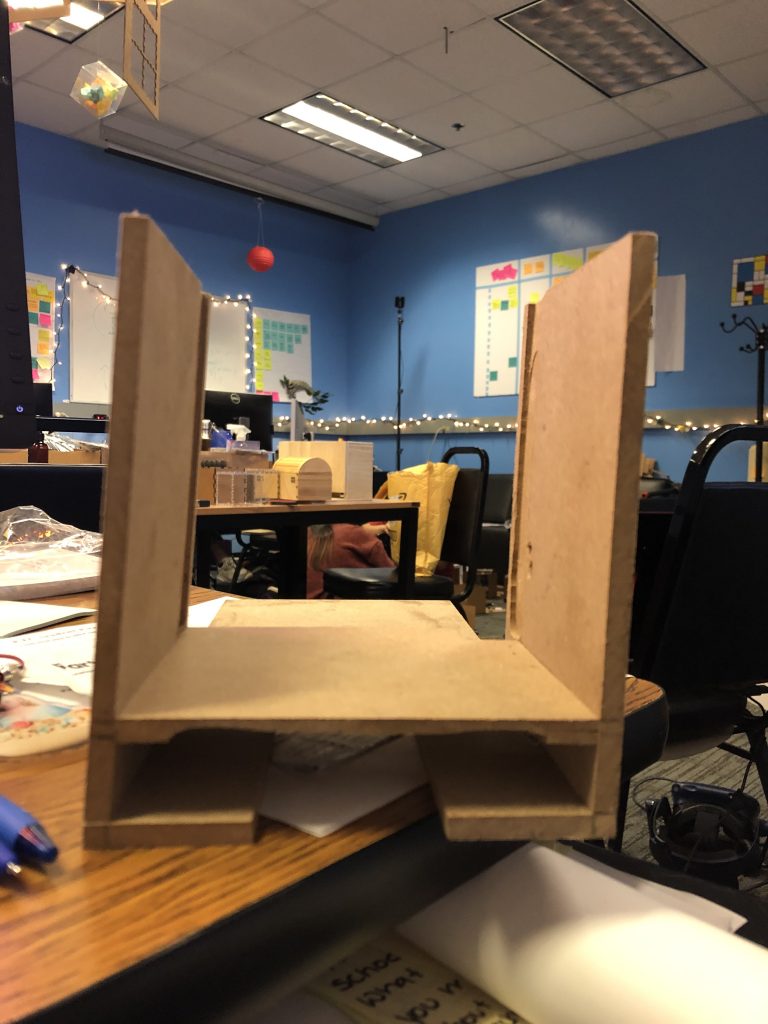

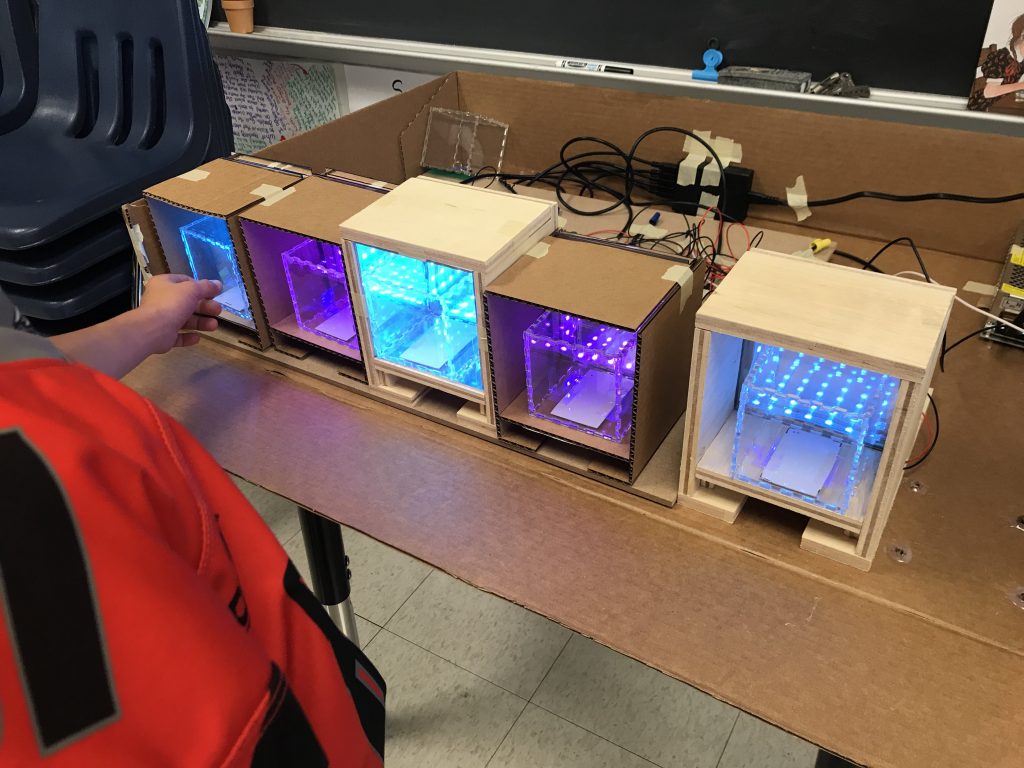
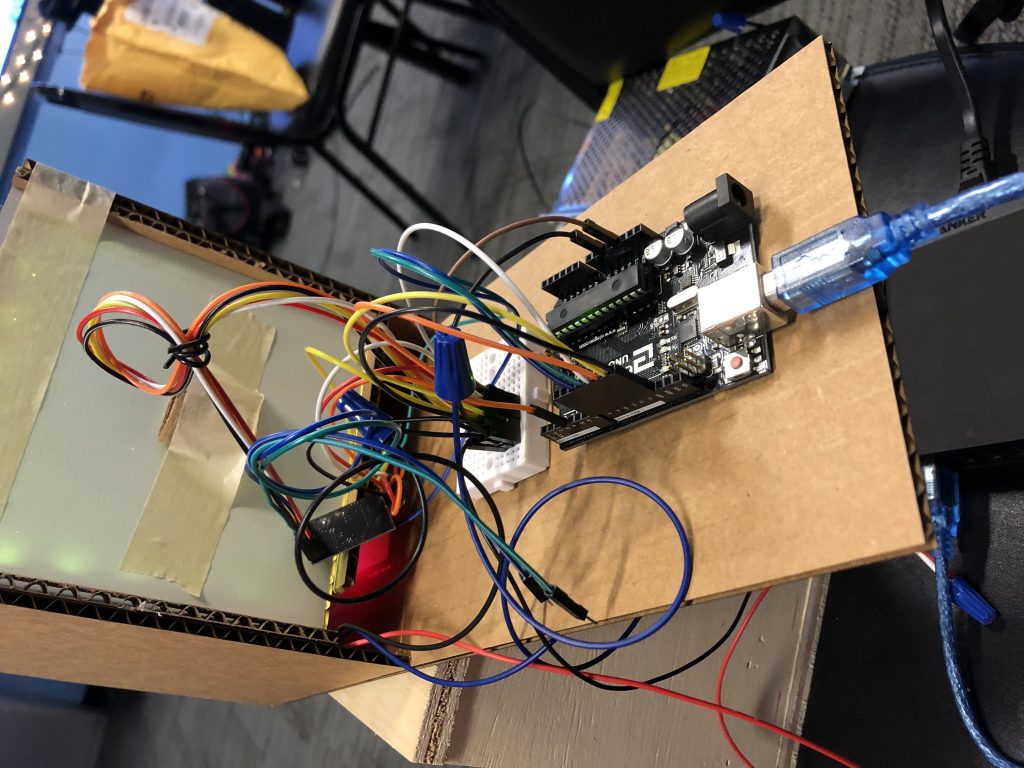
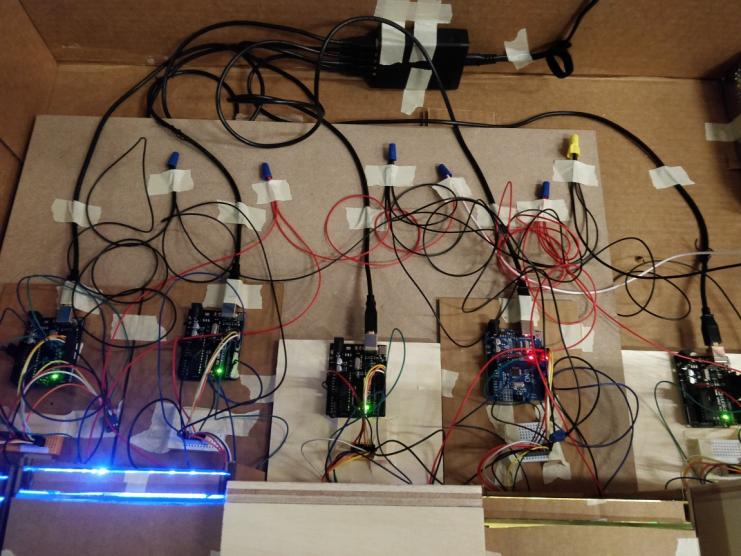
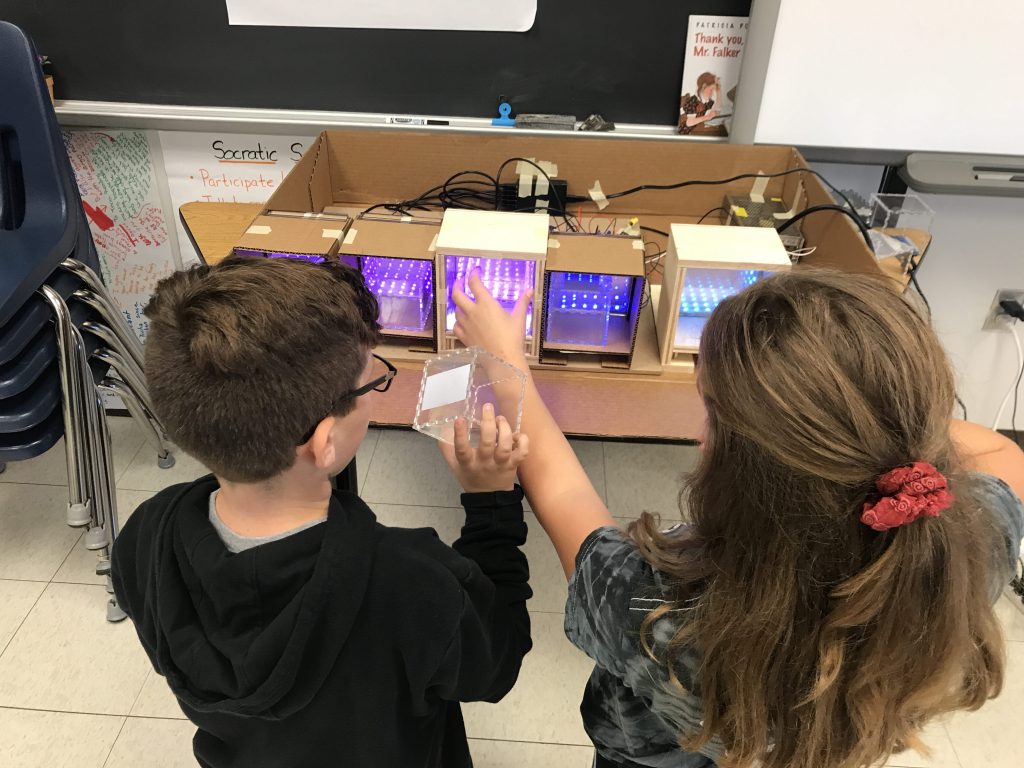
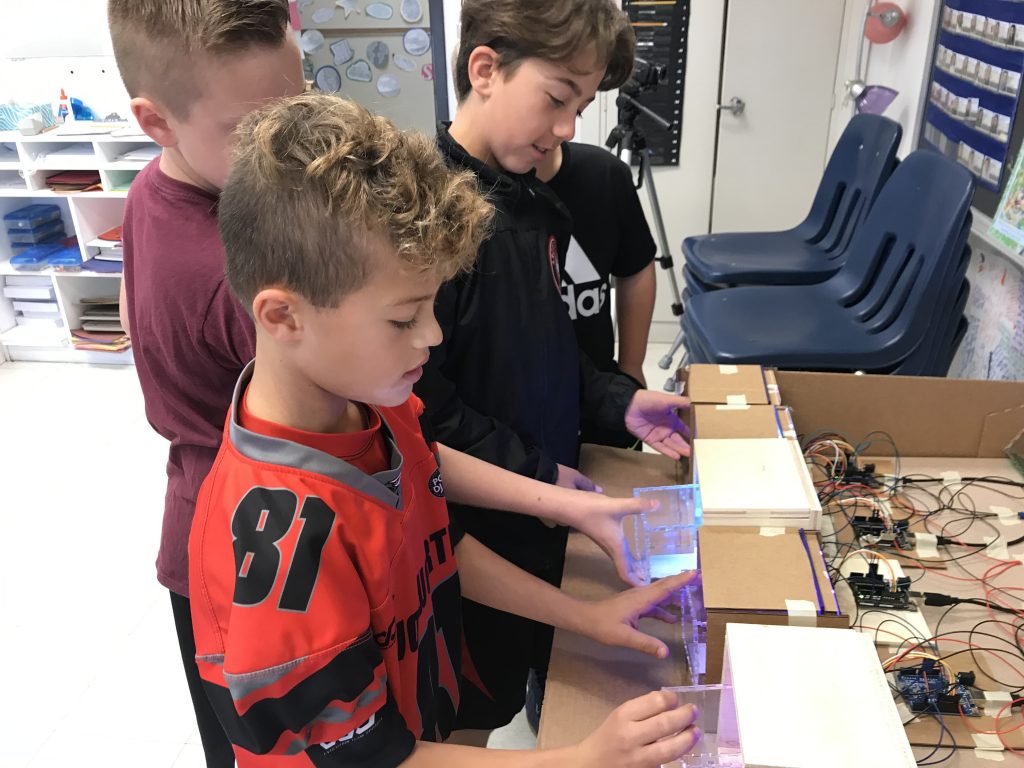
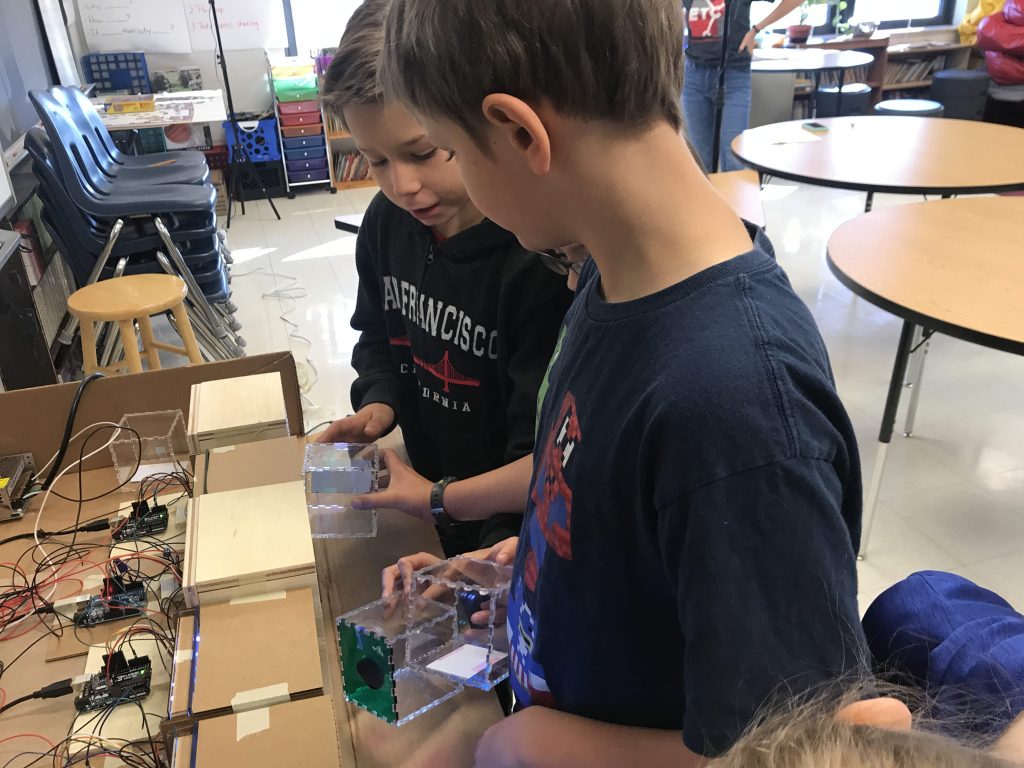
Using Marissa’ finalized module blueprint, Daryl worked on fabricating cardboard prototypes of the modules for playtesting and to hold the tech components.
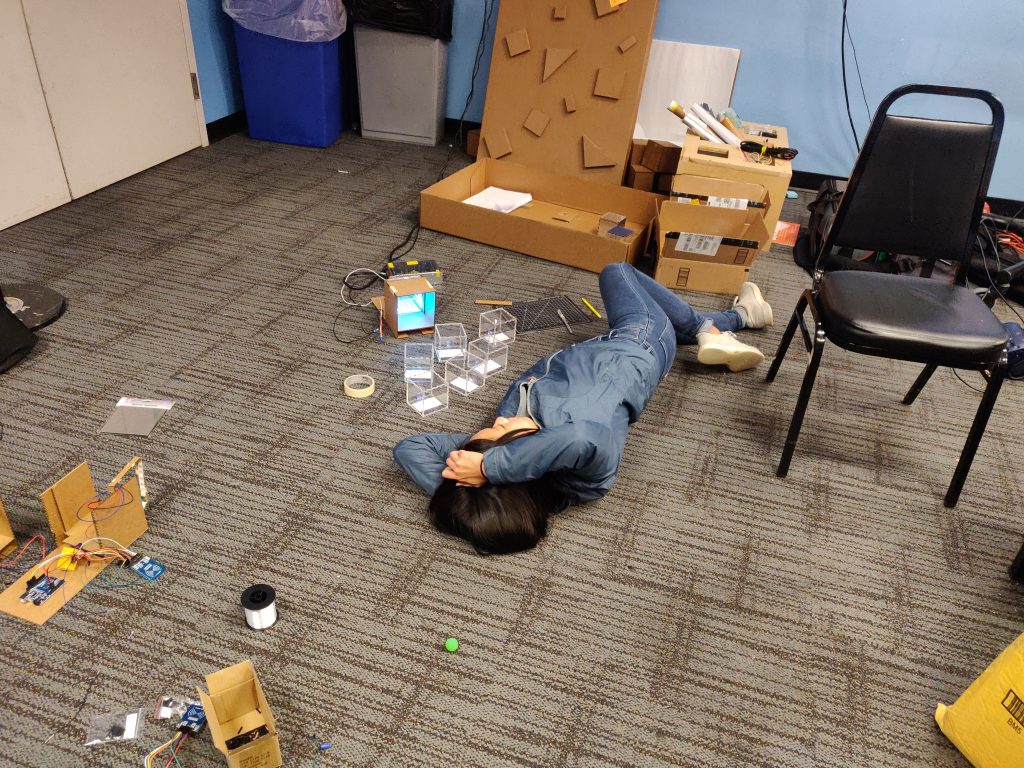
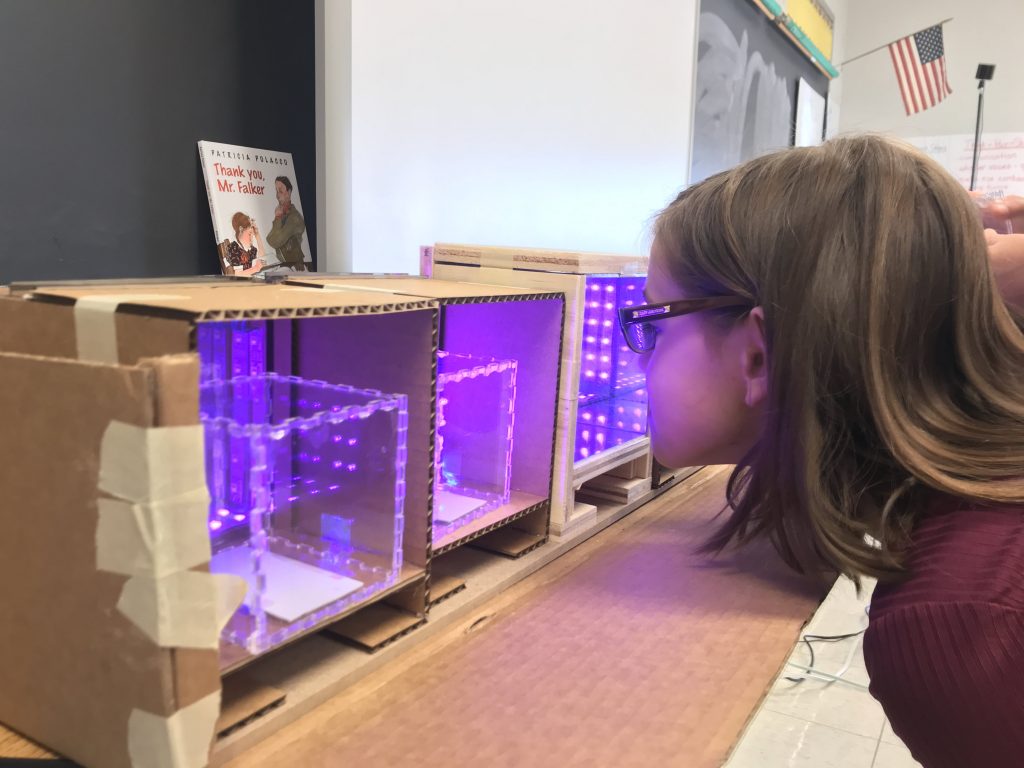
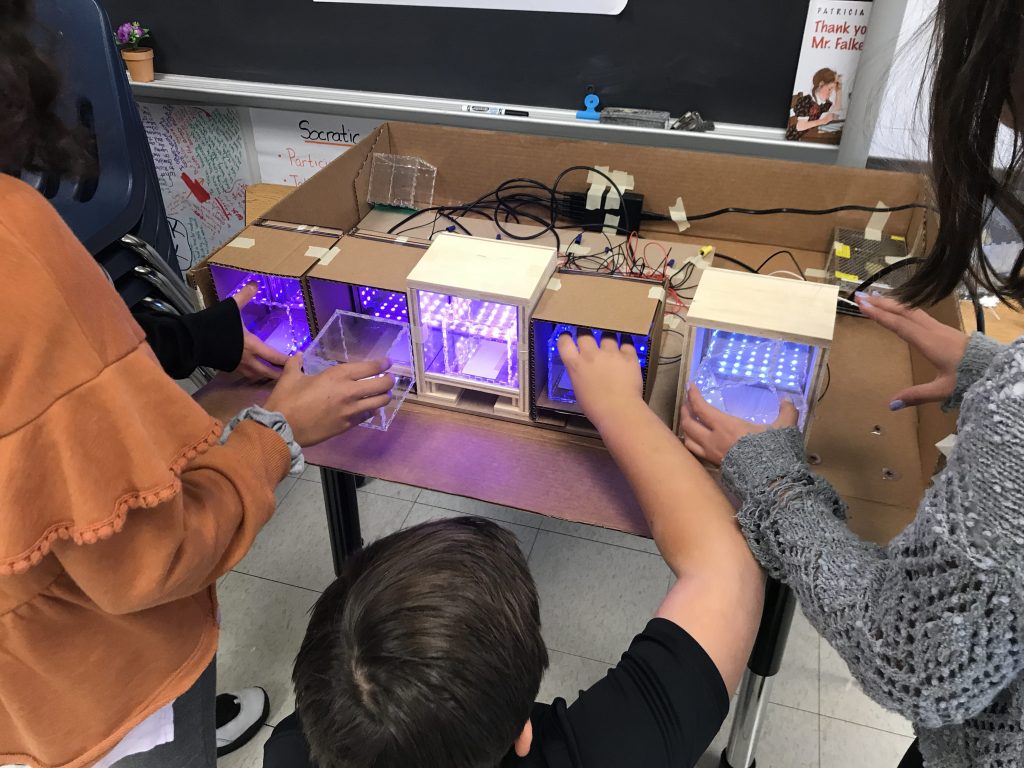
She also experimented with different materials in the cubbies and with the blocks. We installed the infinity mirrors and they looked amazing! We will definitely be using this effect as they were easy to install and required minimal change to our design. We did notice however that the see-through acrylic that we bought is too thin and warps the effect.
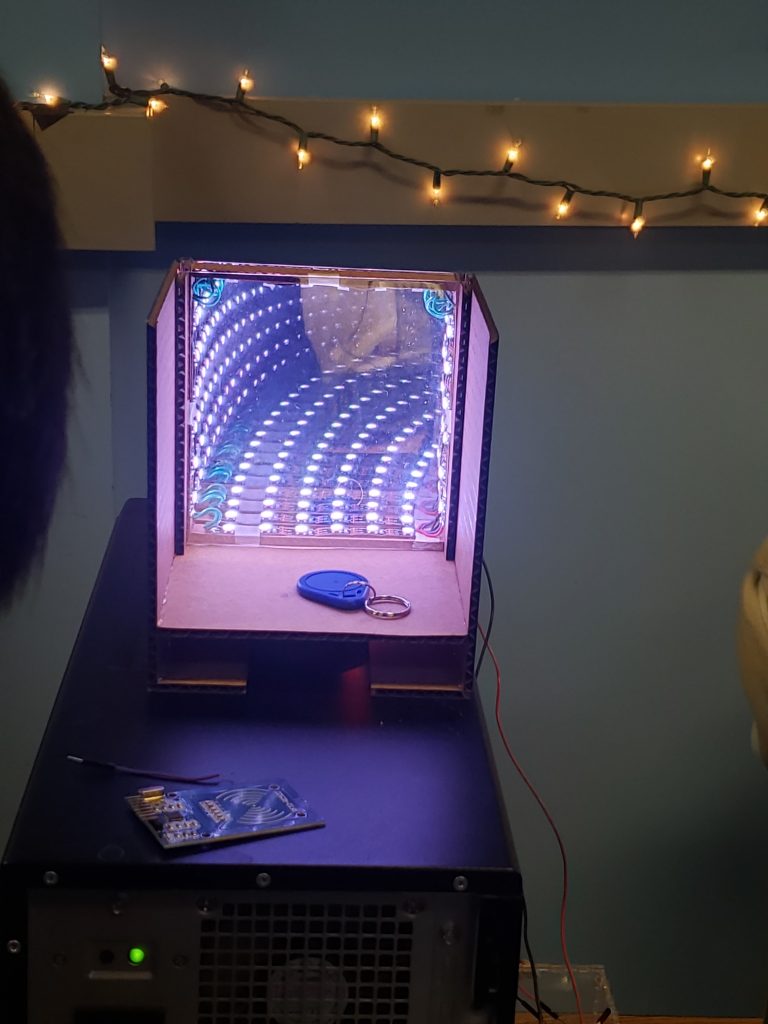
So we adhered see-through mirror film to an acrylic to test, and found that it did not distort the effect. We replaced the see-through mirror acrylic in the back with a piece of polycarbonate with see-through vinyl film adhered. Polycarbonate is the preferred material by the Children’s Museum, because of its robustness.
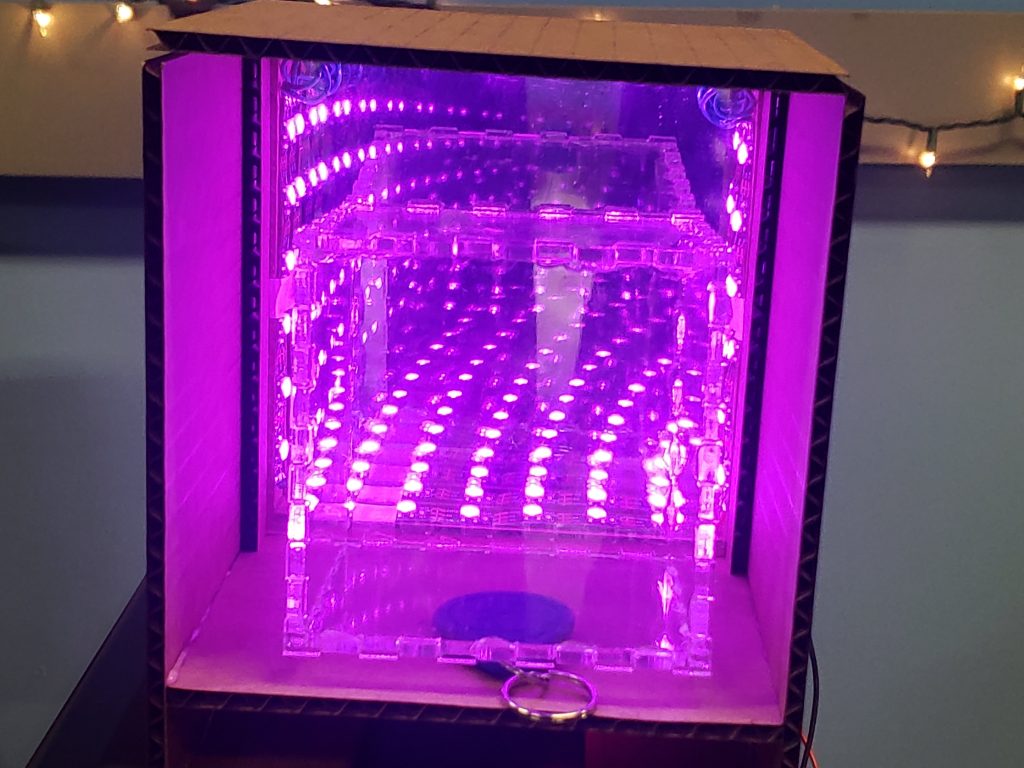
In this image below, we also decided that we wanted to add mirrors to all the sides of our cubbies. This will help with visibility of the light from the sides of the installation. Instead of using actual mirrors though, that have a high chance of breaking we will use polycarbonate spray painted with a mirror effect.
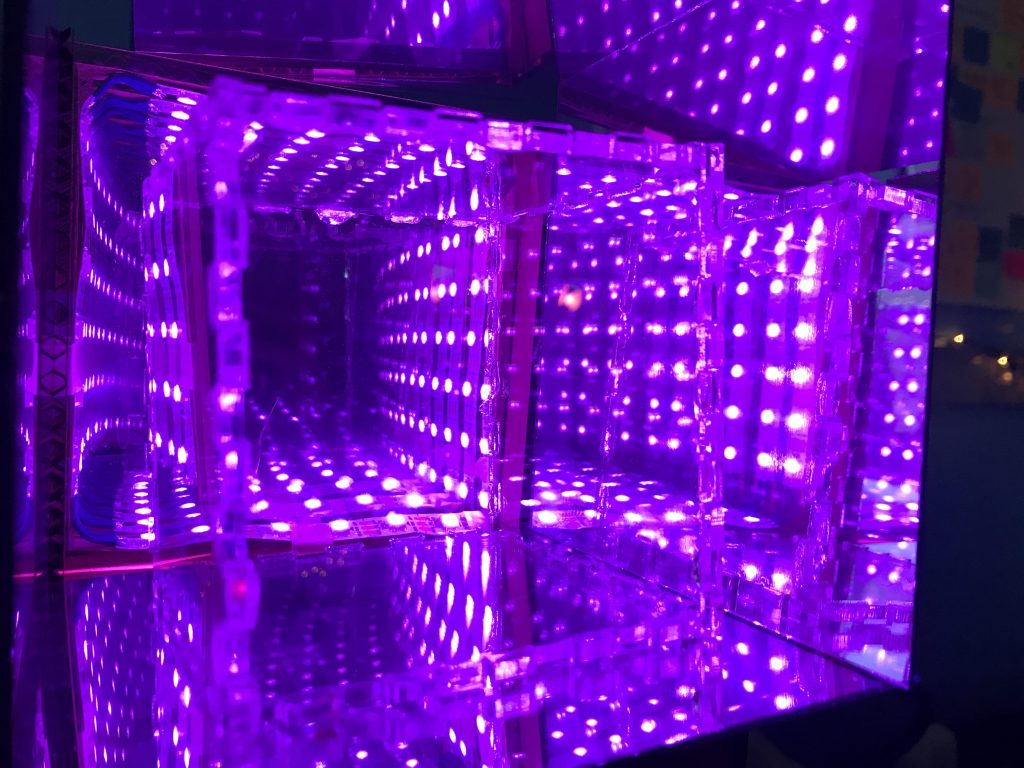
Can you see in the image above, which prototype has the mirrored sides? (Hint hint: it’s the much brighter one.)
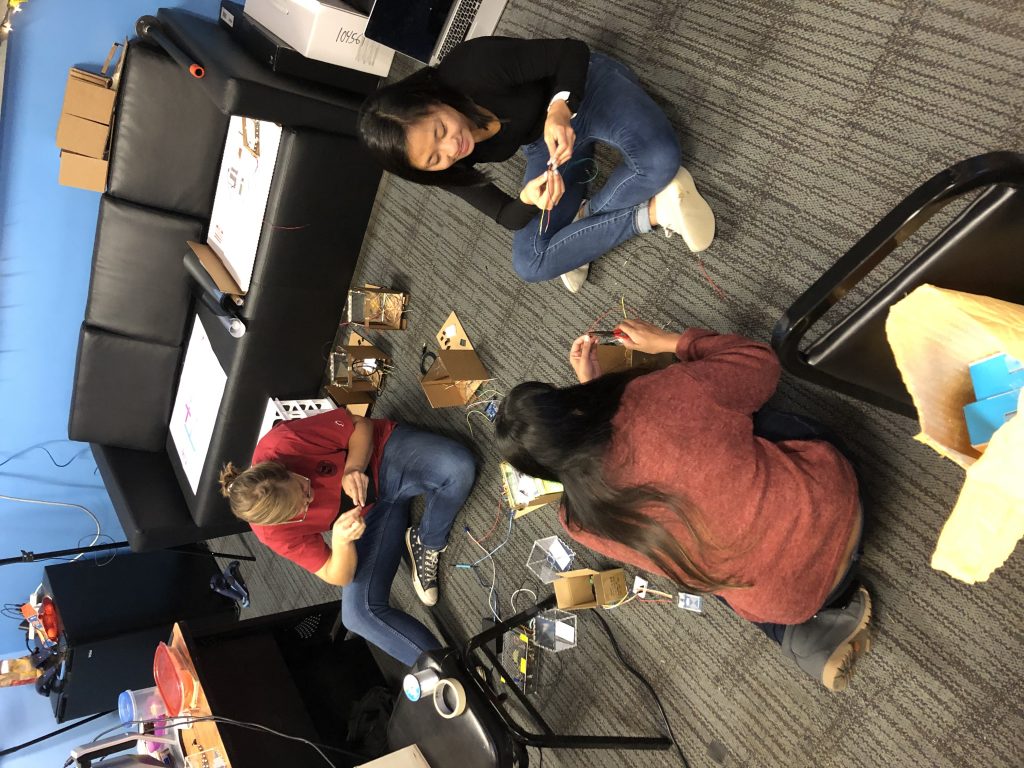
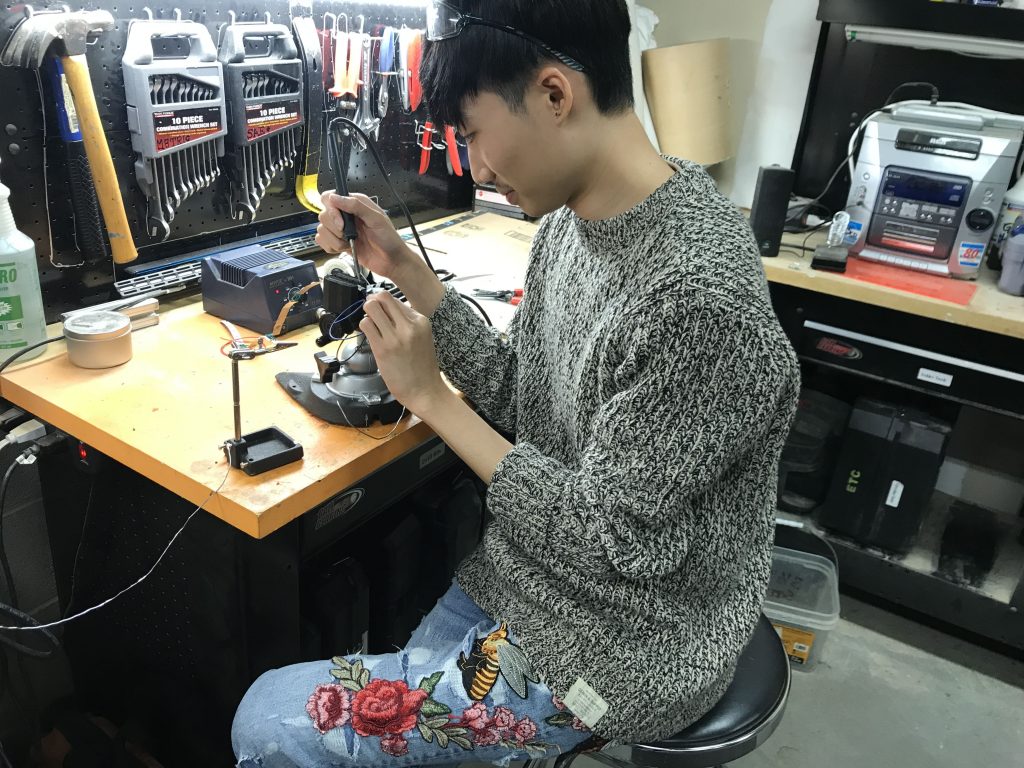
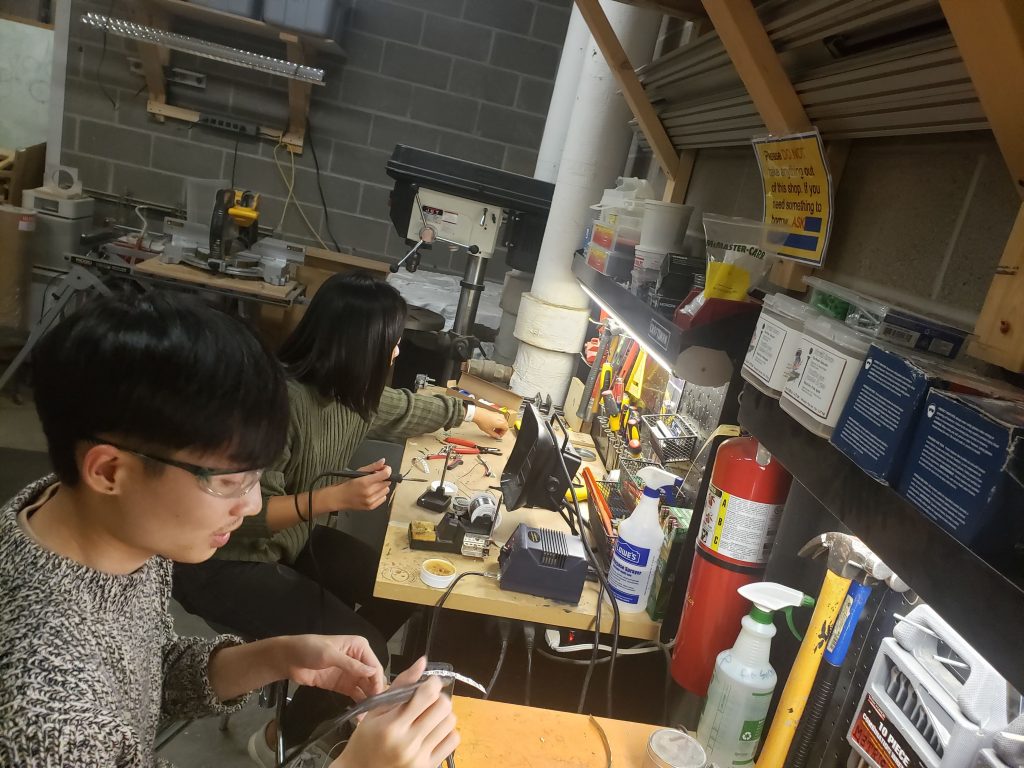
You can also see above in all the images the beautiful lights done by Wei! Wei worked on translating the logic and interactions in the VR prototype to the LED light outputs. He experimented with different styles and brightness. For the immediate feedback, he created a “breathing effect” for the cubbies when a block is inside. When the block is removed, the cubby dims. See the video below.
He also created immediate feedback. A runner effect happens when the block is placed in. The color of the block runs around the LED strip. We’ll continue to fine tune the output as we playtest.
It was all hands on deck to assemble the tech! Once Nidhi and Wei had perfected the tech mock-up for one module, all the rest of had to do was help assemble all the pieces! The nice thing is that we can remove the set-up from the cardboard prototypes and place them straight into the final installation.
We had originally wanted to get the radio receivers working for the Friday playtest, but due to technical difficulties, we weren’t able to. The radio receiver does not play nicely with the RFID receivers. Nidhi and Wei will continue to investigate solutions next week.

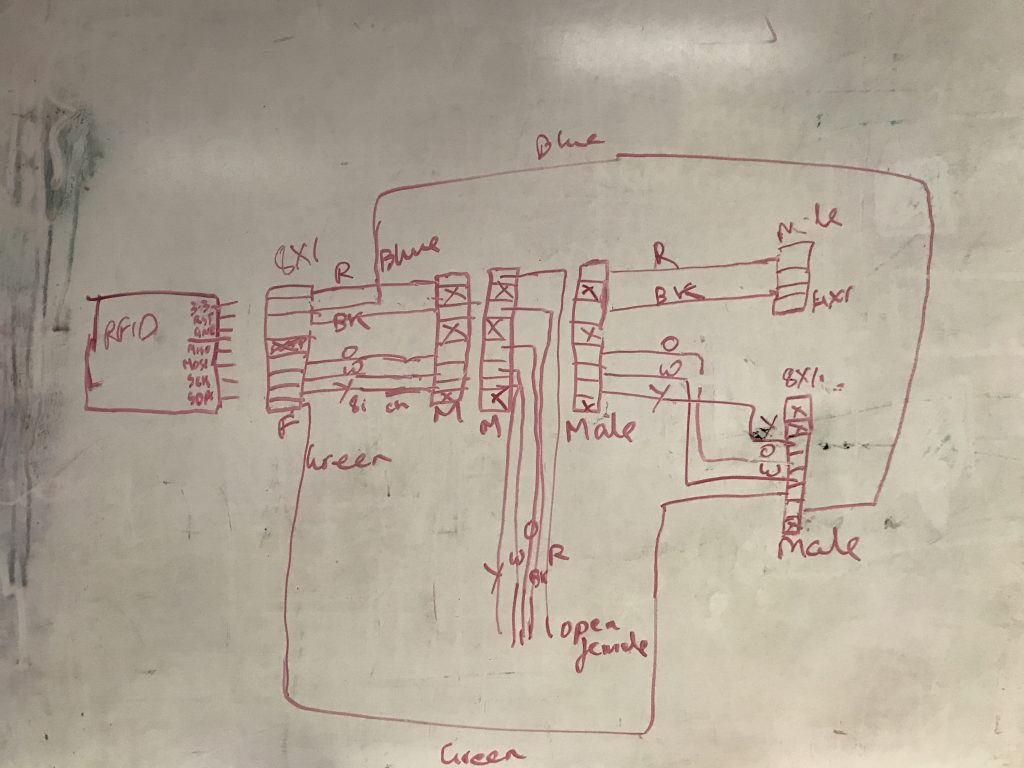
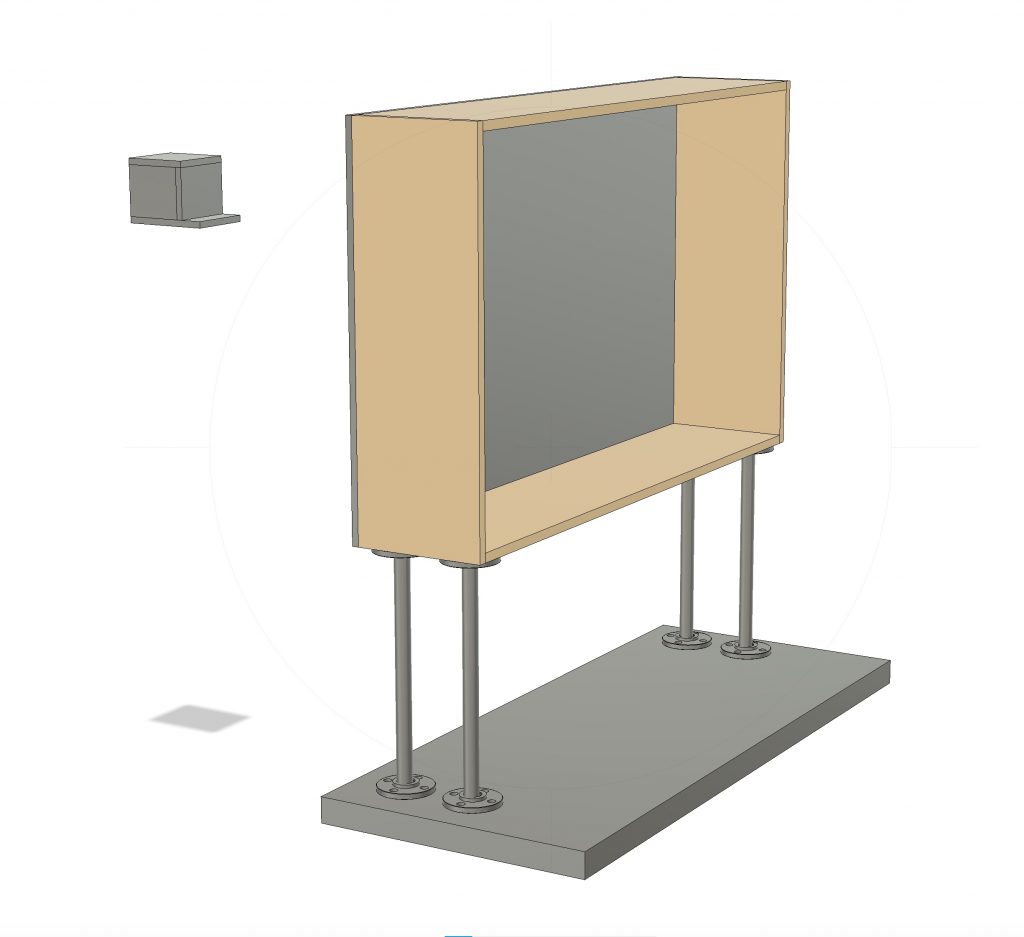
You might be wondering, what does the whole thing look like though? Marissa worked on designing the installation layout. Earlier in the week it looked like this drawing below. With black steel pipes supporting the full structure and acrylic to close it in on the sides.
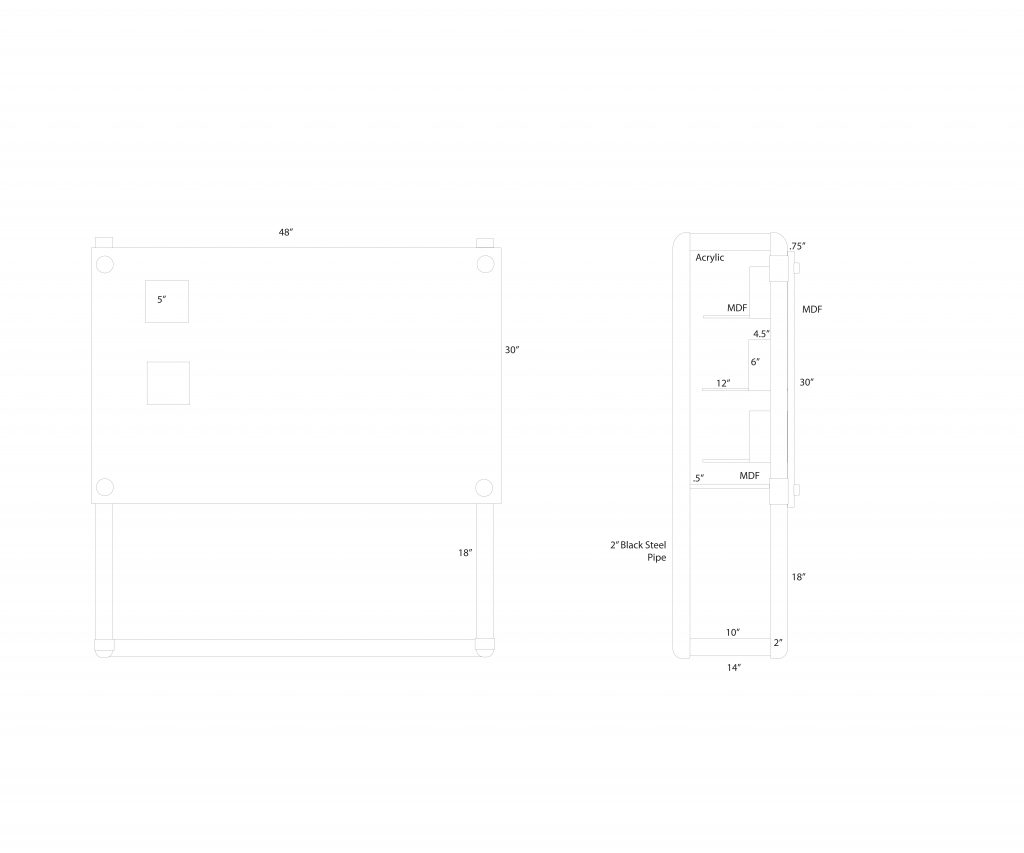
Marissa and Emily met with Chris to review, and he was concerned about the weight of the structure and provided helpful guidance on how to make the drawing more clear. Immediately after, Marissa and Emily went to a meeting with the Children’s Museum fabricator to coordinate using their CNC machine. They met for three hours and got great feedback (as is mentioned above in all the design changes)! By the time that they left, this drawing below is what they had.
Marissa will continue to adjust the fab installation layout, playing around with the module layout next week.
Playtesting
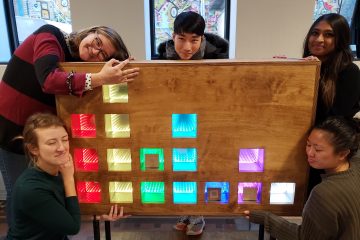
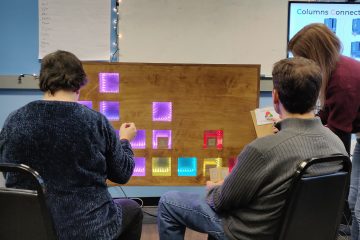
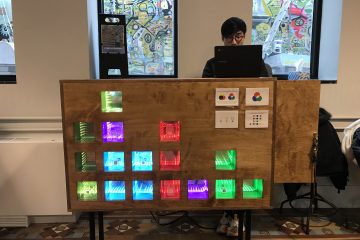
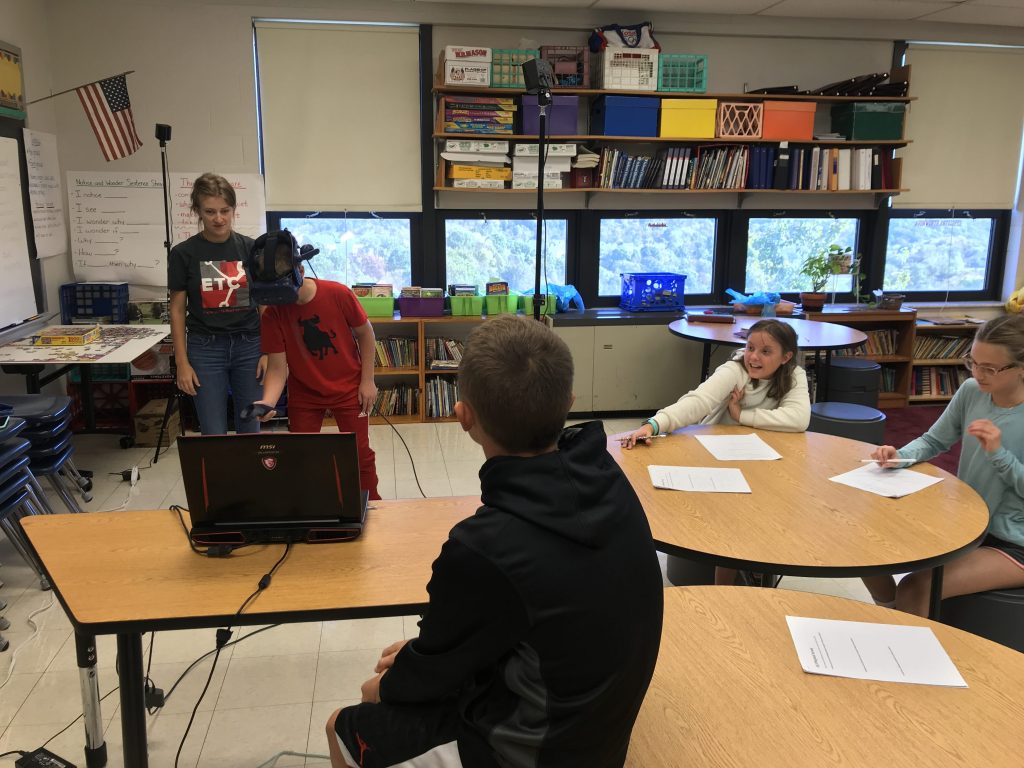
On Friday morning, we returned to Avonworth to redeem ourselves (see playtesting questions from Week 7 blog). We brought the newest iteration of the VR prototype and our physical prototype. The physical prototype had five working modules and five clear unmarked acrylic blocks. The physical prototype had the same logic as the VR prototype, except the hidden interactions were not functional as we did not have the radio receivers working.
We received 4-5 students every 20 minutes. Emily would run each student through the VR prototype for approximately 3 minutes, while Daryl allowed students to play with the physical prototype for as long as they wanted. Afterwards, students would fill out the above survey for both the VR prototype and the physical prototype.
When asked what was the most frustrating moment:
- For the VR prototype the answers were mostly not related to what we created, but to the limitations of VR and not understanding that real life physics was applied into the experience. i.e. dropping the block, not being able to catch them, not being able to stack them, blocks falling when dropped
- For the physical prototype:
- Students were frustrated when they weren’t able to change the cubbies into the color that they wanted.
- 4 students answered that they were frustrated when they didn’t know what to do, but those same students also remarked that their favorite moment was figuring out what to do.
- “The confusion gave me determination to solve it.”
- “When I figure out that it might be a code.”
- 10 students didn’t think that the experience was frustrating at all
- “It wasn’t frustrating at all! It was epic!”
When asked what was their favorite moment:
- For both experiences, they liked being able to make different colors and seeing the effects of changing/mixing the colors.
- “It was fun to make them change colors”
- “seeing what would happen once I then mixed the colors.”
- “when the light in the back slowly changed”
- “I loved to mix the colors in the blocks.
- 9 students remarked that their favorite moment was trying to figure out how the experience worked and when they were finally able to change the cubby to the color that they wanted.
- “When tried to do something and I couldn’t get it then I got it right”
- “finding the colors”
- “I liked how we had to really think”
- “figuring out how to make each color”
When asked if there was anything they wanted to do that they couldn’t:
- Most of the VR responses were not relevant and were about the physics of the blocks
- Students wanted to be able to make certain colors or patterns
- 7 students remarked that there was nothing that they would change
When asked if there was anything that they would change about the experience:
- 6 students didn’t want to change anything
- 4 students wanted a game or puzzle
- Most students wanted to change the block, whether it was bigger, had a different “key card code,” or had more blocks
When asked what they were doing in the experience, they said they were:
- Putting blocks into cubbies
- Changing colors of cubbies into certain colors
- Mixing colors
When asked to describe the game to their friends and family, they said
- “It was very fun!”
- “A cool simple yet satisfying experience“
- “cool and fun to try to figure out what it means”
- “a color changing game”
Using the Activation Lab’s Engagement in Science Learning Activities instrument, that is for surveying engagement in 10-14 year olds, we were able to determine that students were engaged in both experiences. (We used a 5-point traditional Likert scale instead of the 4-point options provided in the instrument, because they were non-specific answers.)
- VR: Engagement Score = 3.85/5 (agree)
- Physical prototype: Engagement Score = 3.65/5 (agree)
Sidenote: We did not get to collecting all of the data that we wanted to (knowing how many cubes were left in the VR all and how long it took students to “solve” the experience), given that there were too many things to take note of and only two of us running the playtest
Other important observations about the physical prototype:
- Some of the colors were too similar to each other, for example the yellow looked greenish, and cyan is often confused for blue – colors need to be adjusted for higher contrast
- Students didn’t notice the “feedback” right away, the runner effect is not always noticed – effect needs to be emphasized and more immediate
- Students would often rotate the block to try to see if that would change the effect; they did notice that certain orientations of the block or when the block was removed, the light would dim, they also noticed the “symbols” on the RFID tags (remnants of unremoved sharpie) and used those as hints to figure out the properties of the blocks – we need to experiment with how to label the blocks
- Students did not place the blocks elsewhere, unless they were prompted and told they could. This behavior is opposite of the VR experience where students threw blocks and left them on the ground. But because students thought that they had to keep the blocks in, it made it harder for them to figure out how to change the colors of the cubbies – we need to experiment with playtesting with less blocks
- Students loved the infinity mirror effect and thought it was cool and beautiful
Overall, we witnessed the player experience that we wanted. Students asked questions about how the experience worked and then they experimented to figure out the answers. They were excited when they realized that they could affect the colors of the lights and the brightness. Once they figured out they could change the colors, they would set goals for themselves like making lights rainbow or Christmas colors. Although not all of the students could “figure out” the experience, they did notice patterns. We may be able to solve this just by improving the UI of the blocks. We’ll need to experiment with this.
We’re also considering scaffolding using hint cards. Most students did not want to be told how to do the experience and wanted more time to be able to figure it out. They enjoyed the challenge. But after speaking with many middle school teachers, they suggested that it might be helpful to frame the experience or explain relevance. We may create the hints and ask during playtesting if they want them.
For the next playtest on Friday, Oct 18th with Community Tour group of 7th graders:
- No more VR prototype! – the effect of the LEDs is too different from the VR to continue testing with the VR experience
- Change color outputs of LED lights to be more distinguishable between colors
- Change pacing or effect of block feedback
- Add hidden interactions on a smaller scale
- Experiment with how to label blocks
- Experiment with providing hints for scaffolding moments
Next Steps:
- Prepare for Halves on Tuesday!
- Perfect the three plywood modules for halves demo
- Finalizing the installation layout
- Getting radio receivers to work (or finding a different option)
- Ordering materials for modules + building modules
- Experimenting with block designs
- More playtesting and refining of LED outputs