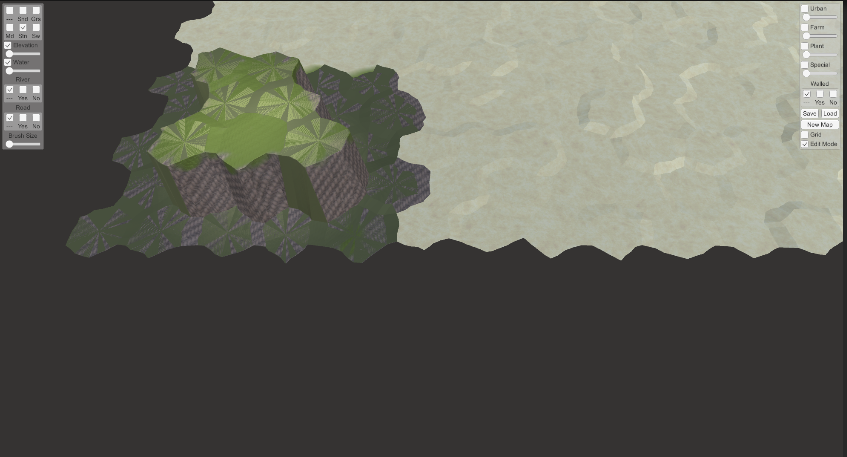
This is the early prototype of the game that we used on the Playtest day. After playtesting with 16 playtesters ranging from 8 to 30, we depicted design problems we have to tackle in the next few weeks through the post-interview with playtesters.
Navigation experience over than the simulation experience. A critical design flaw that we must tackle in the next few weeks is making the prototype to meet our core design experience. Our core design was surviving in a fortress. Navigation is another part of the game to make the surviving aspect more engaging. However, as it turns out, people are more focused on the navigation experience rather than the simulation and building experience. There are a few reasons why we have this result: – Lack of visuals ins the simulation screen -Starting off with the navigation screen rather than the simulation screen. – Not enough indication and motivation to go back to simulation screen.
We are going to tackle this part through creating a basic UX flow. However, due to time constraints, we will not have a detailed UI to support our UX design.
Enthusiasm from younger audiences. There was not a specific digit of our demographics. Rather, as shown in the Week 6 blog post, we had a range of player motivations to make the demographics specific yet flexible. After the playtest, we found out that our game intrigues the younger audience than we expected. This is not a significant problem, but we wanted to dive deeper into it and analyze it. – The main reason why the prototype made younger audiences excited was mainly because of the color scheme. The visual resembles “Minecraft”: low poly, vivid colors, and grid-like visuals. We should have put a similar color scheme to our concept art, which is significantly different than that of the prototype.
Based on these analysis, we have two big action items in our mind.
Polish the simulation (building and managing the fortress) part to meet our design intension.
Create an environment blueprint as soon as possible to make the prototype similar to our concept art
Design Document
We accumulated our design decisions into our design document. However, after creating the prototype, we found out that it will be better for the next team to receive the system design from us. In other words, we are going to give them this prototype as a template and let the next team imagine level designs, such as creating a new map, re-arranging resources, or coming up with a new story. In this way, they will have much creative freedom left to develop.
For the rest of the week, we are going to focus on UI / UX design of the game, which will work as a wireframe.
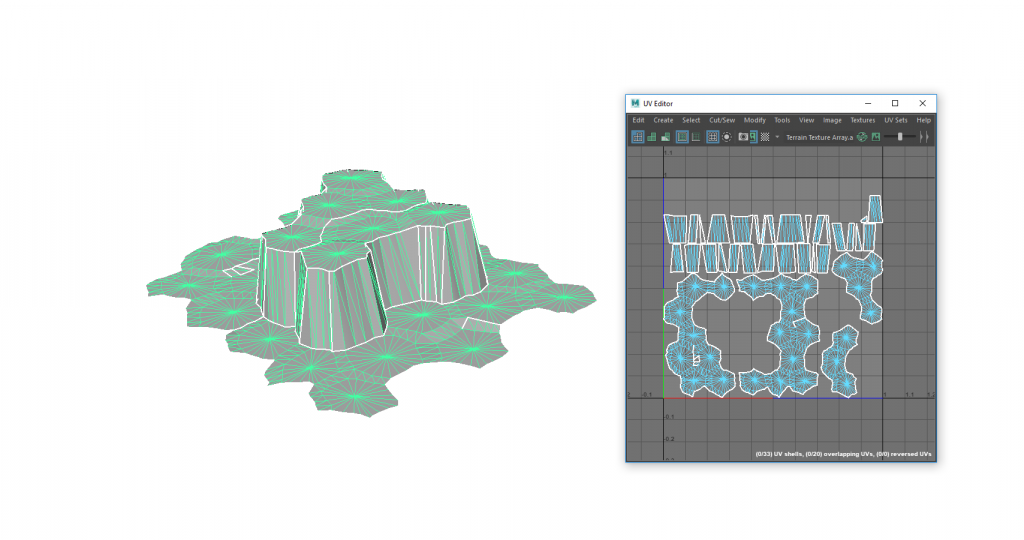
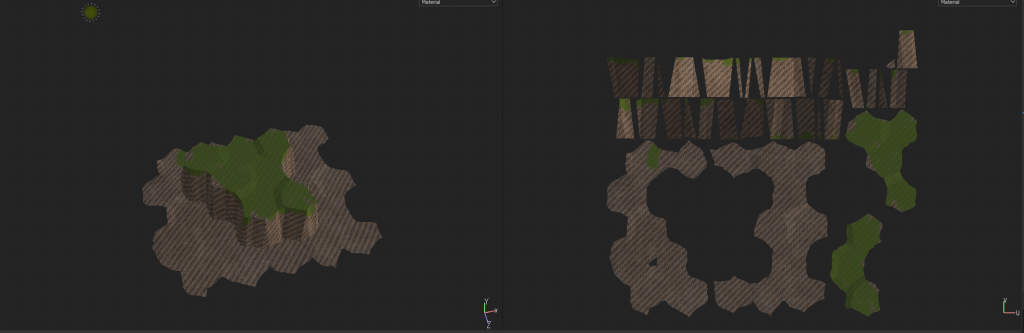
Level Editor - Terrain
As we create a simple tool to include in our pre-production package, we had to create a pipeline to create modular terrain texture. We are concurrently developing the modular texture and bulk texture pipeline.
Bulk Texture Pipeline
1. Export the terrain as a whole
2. Create bulk UV from MAYA
3. Terrain Bulk Texture
Next Steps for Art Team
The art team is focusing on creating blueprint sheet for the next semester. However, we are going to also implement basic visuals in the prototype after the system is settled. So making the prototype similar to the concept art will happen on Week 14
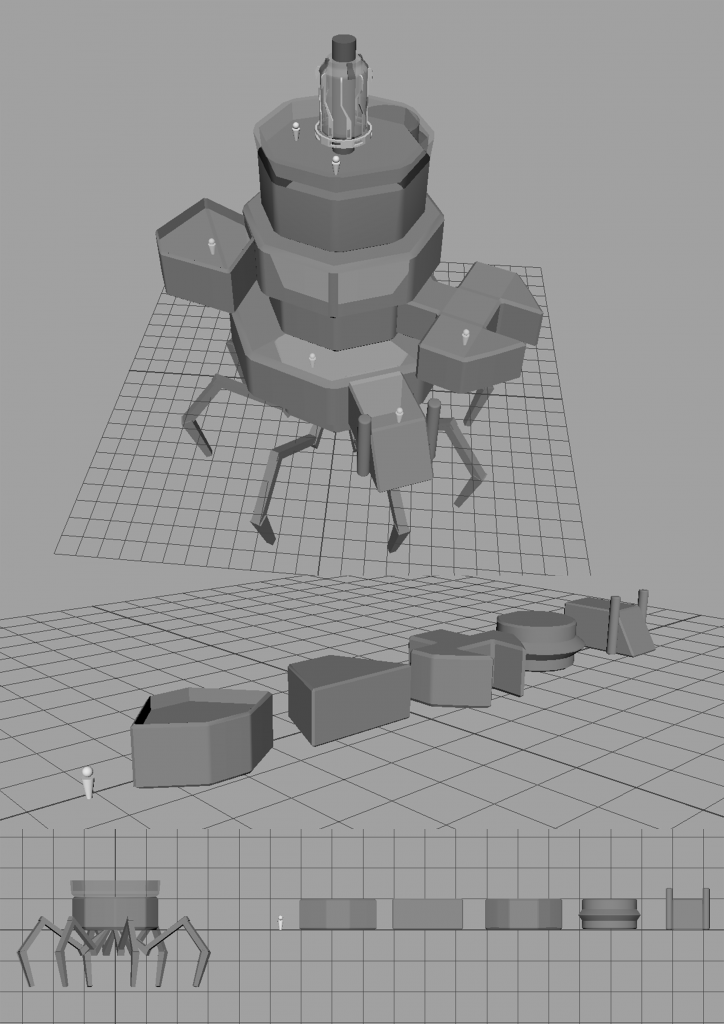
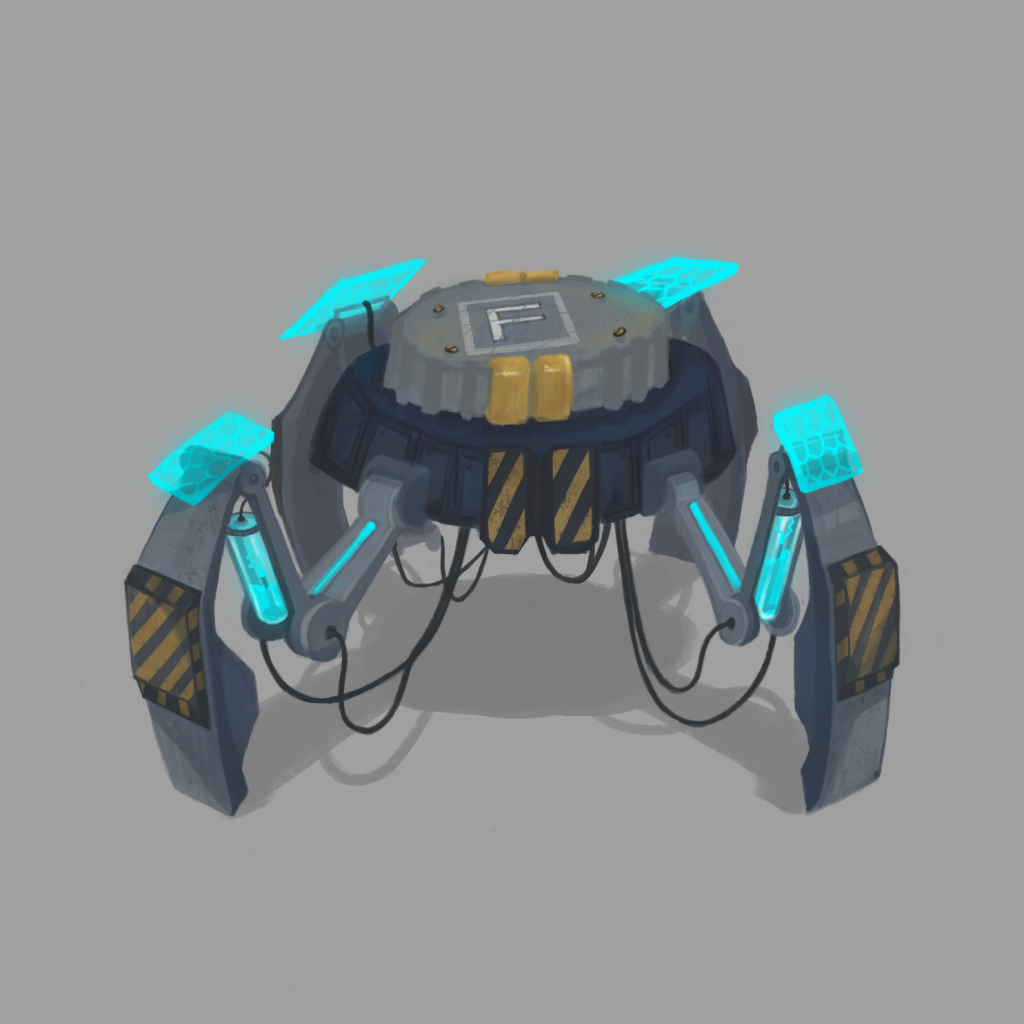
Exterior Design
Scale Reference Image
Fortress Leg Attachment
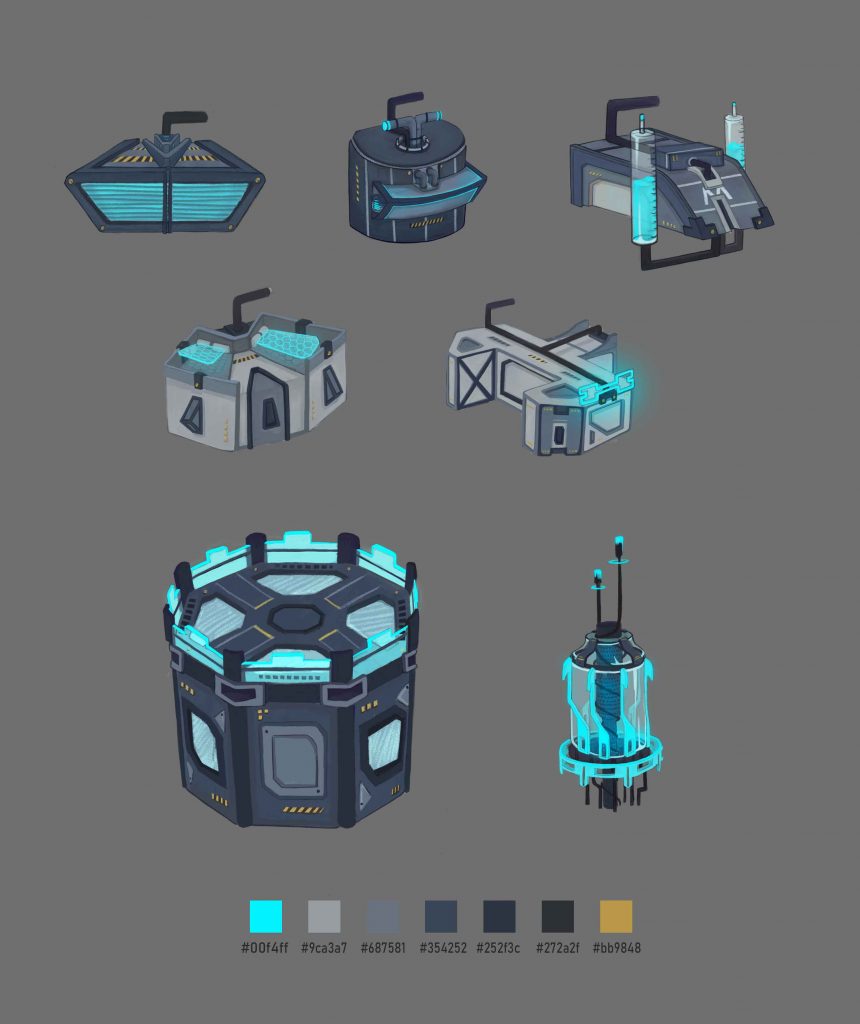
Blueprint Sheet of the Fortress
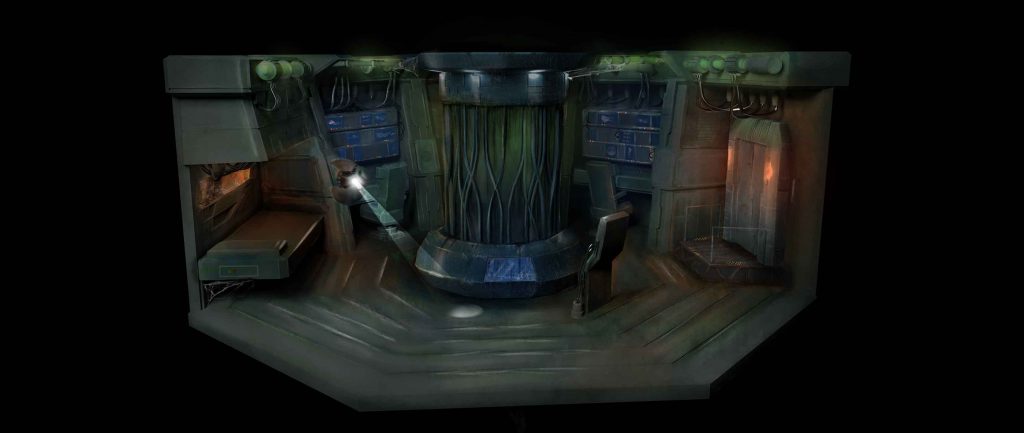
Interior Design
Concept art of the Fortress Living Room
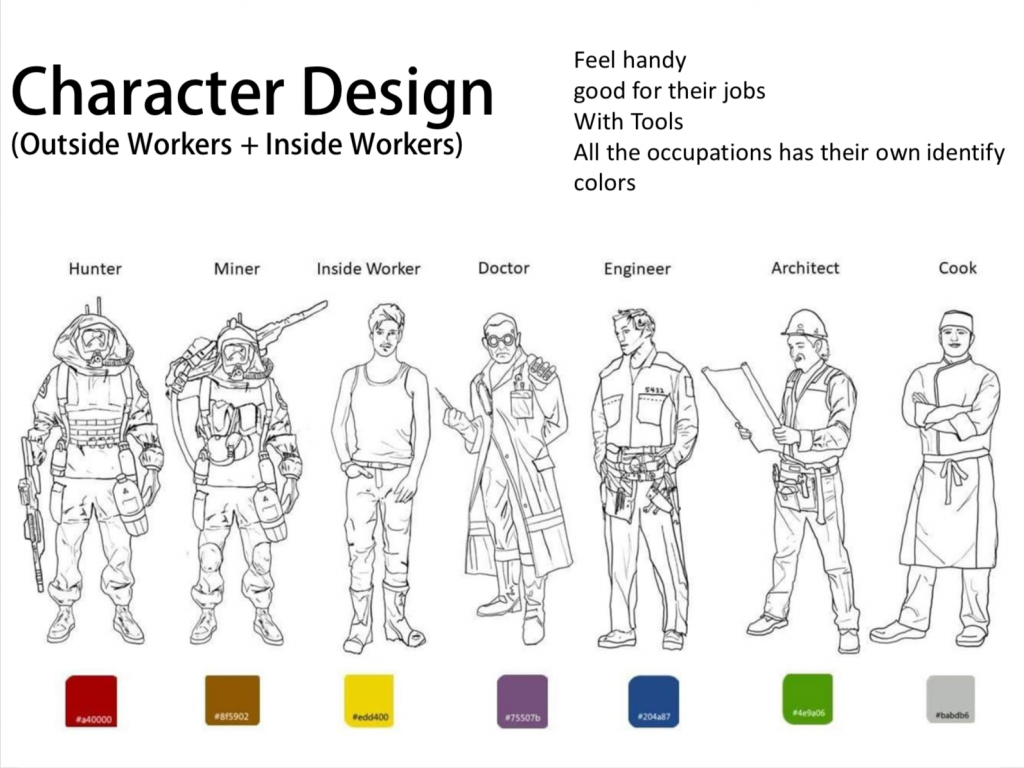
Character Design
We are pivoting from having various characters (workers) to having two basic characters. Iterated game design does not require various characters. Rather, we are going to focus on two characters: inside and outside workers. In this way, the design will be simple yet challenging because players now have to select which character are going to perform the work based on their fortress capacity.