System Integration In-Depth
After the conversion the data needs to be imported into show controller software so that the animations can be played using the interface. The show controller software is also responsible for playing the audio, programming the lights and integration with another animatronic in the castle Father time.To set up the show controller files for importing the animations so that the user interface can be used to run the shows on the animatronic follow the below steps:
1. Click on the conductor pro software on your PC. On opening the conductor pro the timeline is first visible.
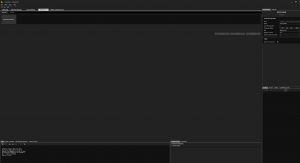
2. Click on the devices tab present in the top right to discover the weigl pro commander.
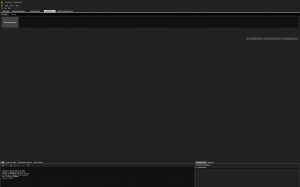
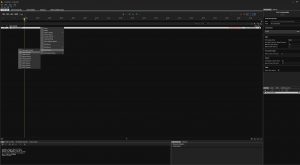
3. On discovering the weigl pro commander go back to the timeline and right click on the NEW SHOW timeline and select Add Device → Pro Commander 2. This will then add pro commander 2 on the timeline.
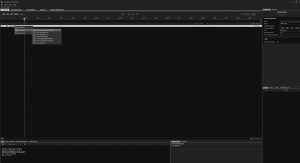
4. After adding pro commander 2 on the timeline right click on the pro commander under new show and select Add channel → Audio channel. This will add audio channel to the timeline where we can import audio for the shows.
5. Now next step is to select the Pro commander again, right click and select Add Device → Pro I/O Analog Servo Module to add it to the timeline.
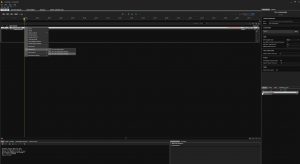
6. Select the Pro I/O Analog Servo Module added to the timeline, right click and select Add Channel Range → Analog → Displays the option of defining the number of channels needed, Enter 1 in first channel and 5 in last channel ( We need only 5 channels to represent the 5 functions for our animatronic Tom Foolery).
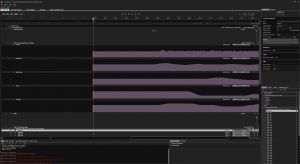
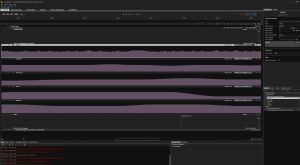
7. On defining the channel range it will then add five analog channels to the timeline. Now Rename all the channels on the timeline. NEW SHOW should be renamed to the show name like WELCOME 1 where Welcome is the show name and 1 is the dialogue number. For the analog channels name them in the order of the functions. NOTE :- The order of the channels should be as Mouth, Head Tilt, Head Turn, Torso, Scepter. Please stick to this order as the different motors are assigned to the channels , example Dynamixel for mouth is assigned to channel 1, Dynamixel for Head Tilt = Channel 2, Dynamixel for Head Turn= Channel 3, Torso = Channel 4 and Scepter = Channel 5. IMPORTANT : IF THE ORDER IS WRONG THEN THE ANIMATIONS MAY GET SWITCHED WHICH CAN BE DANGEROUS.
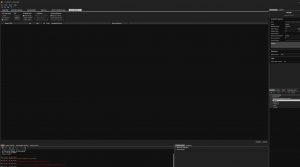
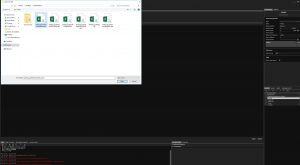
8. After creating the template for the show, we now start importing the CSV Files. For importing the CSV files go to the top menu and select Tools → Import CSV.
9. On selecting Import CSV it will display a new menu. Ensure that comma is selected. Click on open and go to the folder path for the converted CSVs.
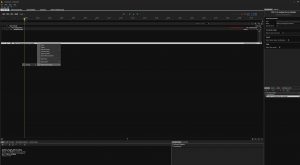
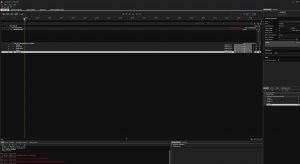
10. Select the CSV file and click on Open. This will create a line item under the tab CSV Import with the name of the joint eg . in the image below we imported the CSV for Head Tilt function . This created a line item with the name of the joint HEAD_TILT_SERVO_MAIN.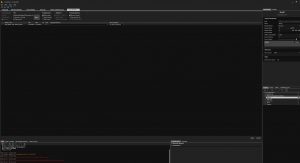
11. After importing the CSV next step is to assign the data to the right channel. Click on the drop down menu under assigned channel and select the corresponding channel for the data. Eg. in the image below the channel assigned is the head tilt for the data imported for head tilt function. Click on apply to apply the data to the channels
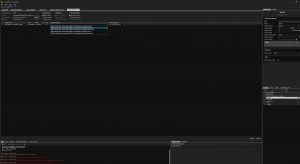
Click on apply to apply the data to the channels.
12. Repeat steps 8-11 for all the channels. NOTE: In the future if more functions are added to Tom you can create more channels for the other functions using step 6.
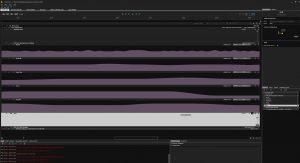
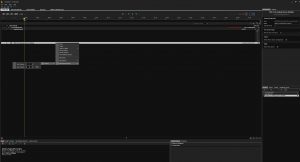
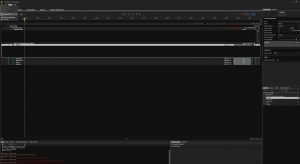
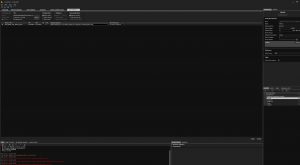
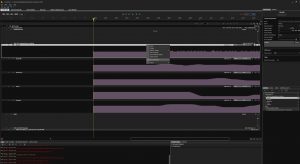
13. After importing the animation data for all the functions we need to make the curves smoother. NOTE:- This is an important step for making the animations smoother. Please do not miss this step. To do this we used an inbuilt feature of the show controller. Select the channel like eg head tilt channel. Right click on the channel and select Select All points.

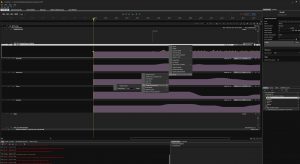
14. After selecting all the points, select the channel again, right click and select Points → Change Interpolations. This is will display a menu with the default linear on it. Select the drop down menu and select curve.
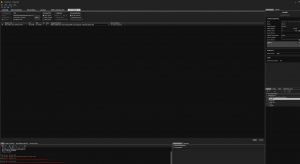
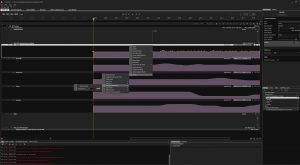 15. After selecting Curve click on Apply. This will make the curves further smoother. NOTE :- Ensure that the data is clean and there are no weird shapes being formed. Therefore ensure all the data is consistent in the channel before moving on to testing on the animatronic.
16. Repeat the steps 13-15 for all the channels for different shows.
17. NOTE :- If there is background music then please create an additional audio channel for it.