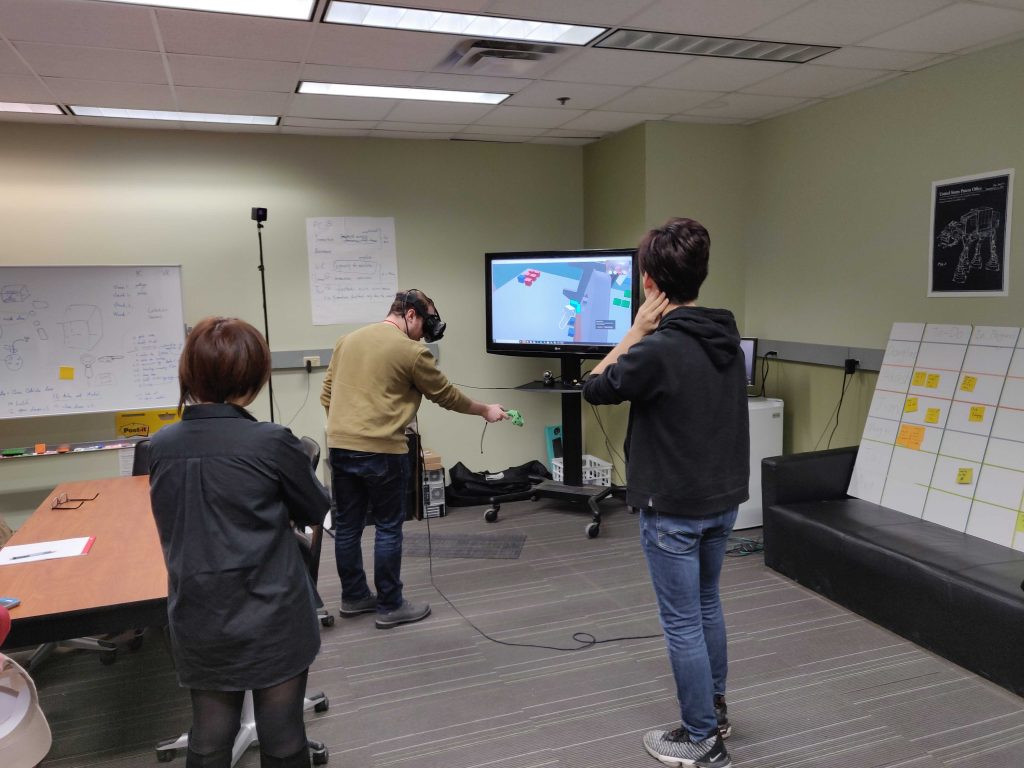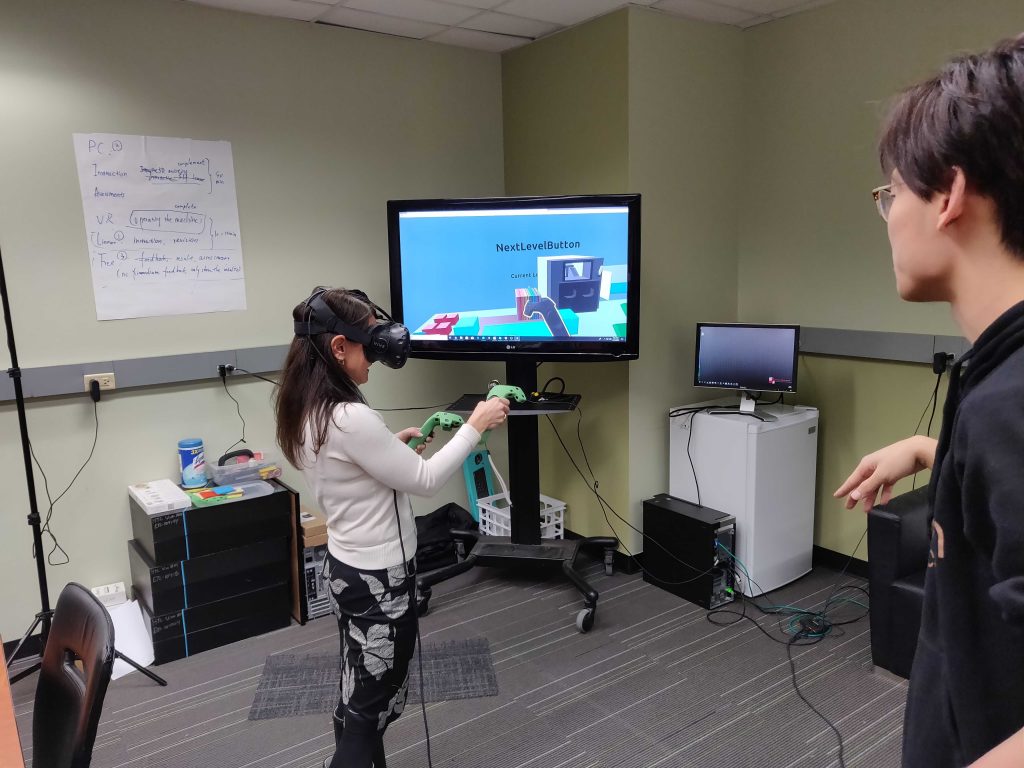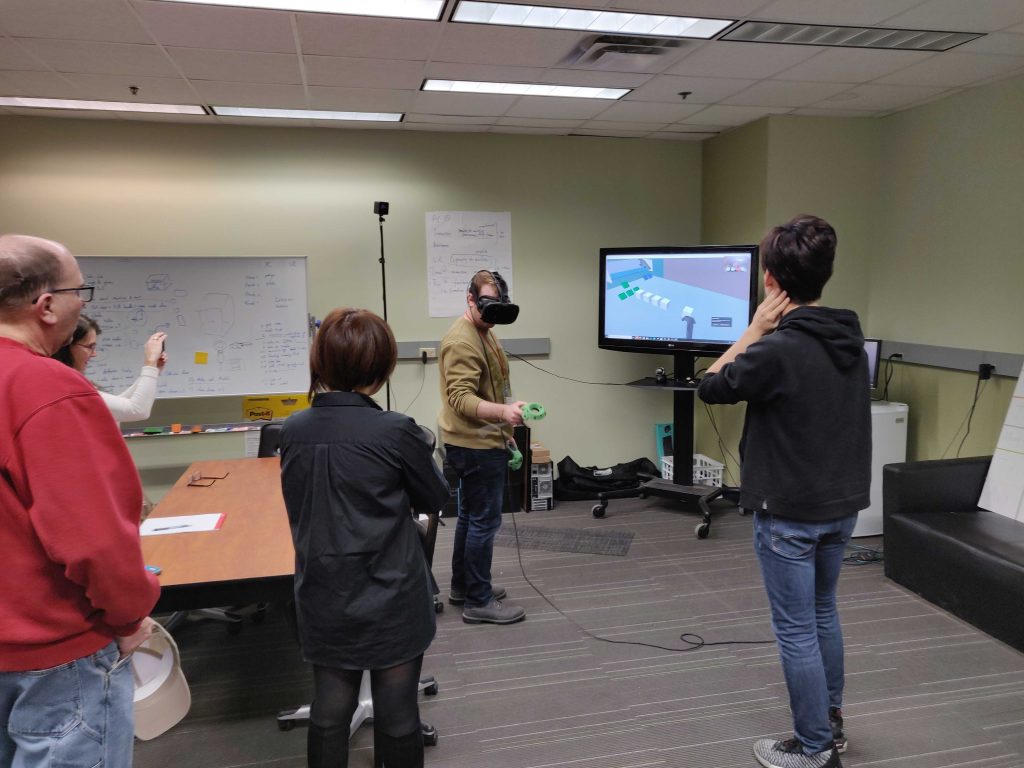
On Week 6, we continuously work on the linear VR experience. Here are some screenshots for our latest progress:
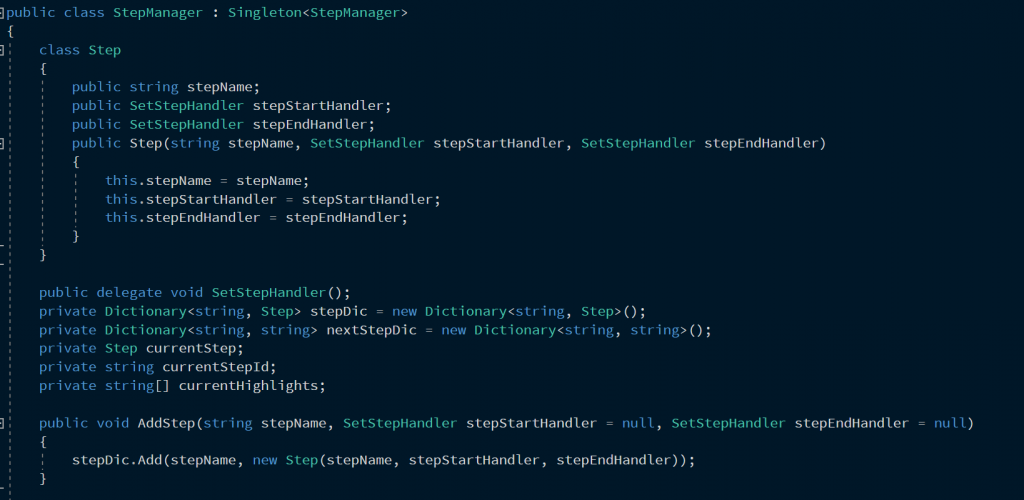
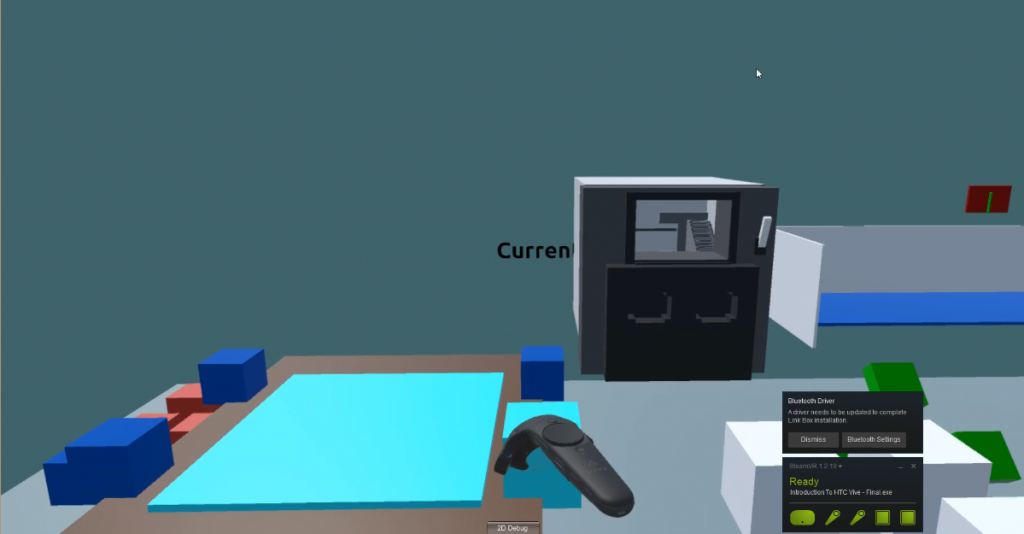
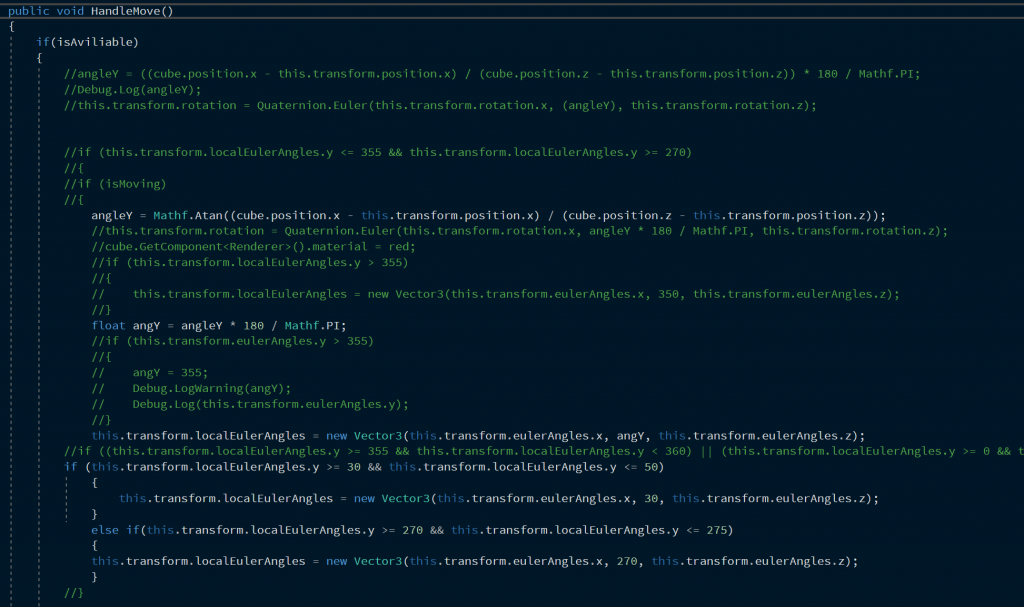
The above picture shows the steep controller we used for level management. We use a stepManager system as the bottom structure to manage the linear level system. We gave every step several parameters, and every step has events to be triggered when the step starts and ends. When a step is created, we also gave them step events for ending and start, and also store each step and their following steps in two dictionaries. Then we leave the AddStep Interface for .json file to store and add levels. For every step, we need a structured method calling the step ID of every single step. Then, we search in .json file for glowing objects and outline objects and use specific functions to provide visual feedback. In the .json file, we store objects with names and split with the comma. Therefore, In Set step function we formalized strings and find objects in the scene through their name and call relative methods. Then we leave interface for both moving to the next step and also calling specific step. In most occasions, when the system receives the event that the guest has finished the current step, we call the function of moving to the next step. In some other occasions, we need the player to recall back to specific steps and looping in several steps until they finish the last requirement. In the loop, we need to call a specific step instead of moving to the next step. When calling the function, we pass the step index as the parameter.
We use a stepManager system as the bottom structure to manage the linear level system. We gave every step several parameters, and every step has events to be triggered when the step starts and ends. When a step is created, we also gave them step events for ending and start, and also store each step and their following steps in two dictionaries. Then we leave the AddStep Interface for .json file to store and add levels.
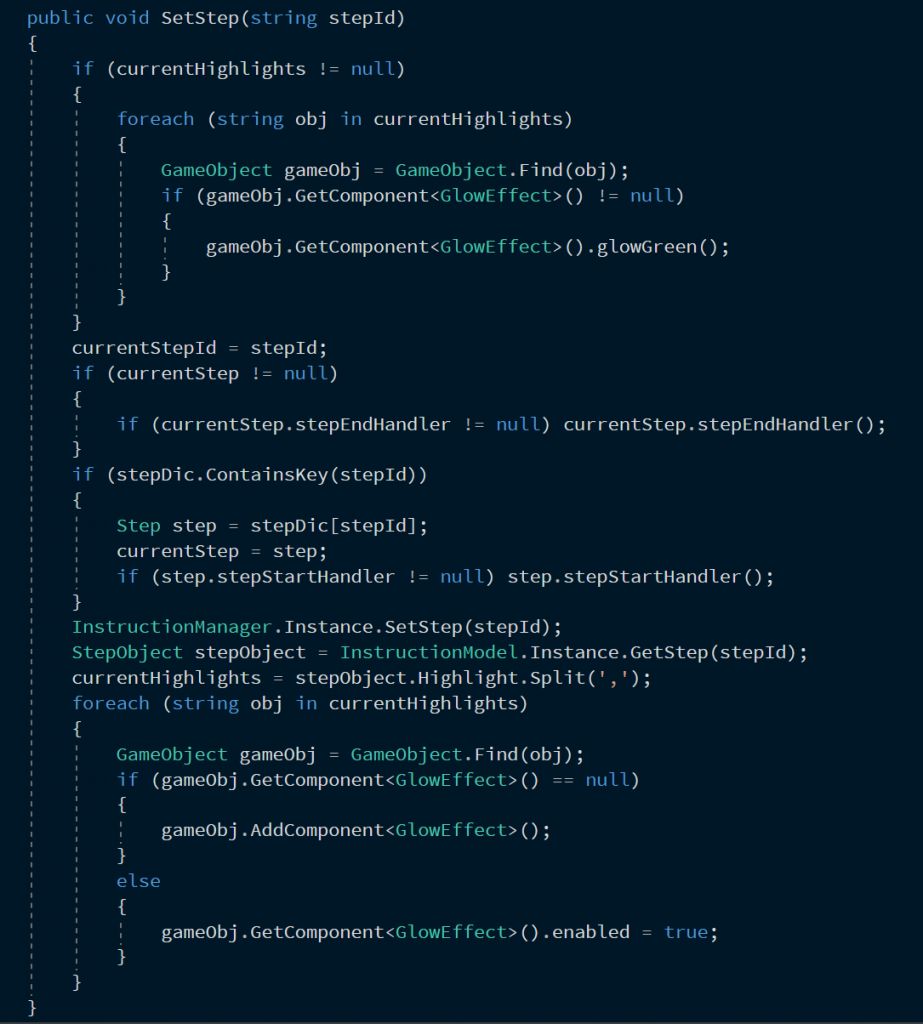
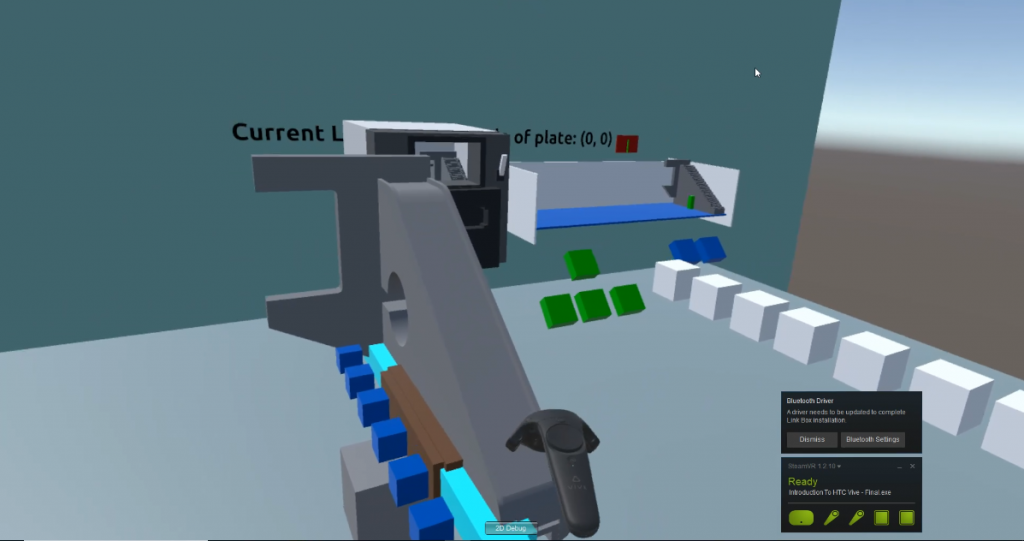
For every step, we need a structured method calling the step ID of every single step. Then, we search in .json file for glowing objects and outline objects and use specific functions to provide visual feedback. In the .json file, we store objects with names and split with the comma. Therefore, In Set step function we formalized strings and find objects in the scene through their name and call relative methods.

Then we leave interface for both moving to the next step and also calling specific step. In most occasions, when the system receives the event that the guest has finished the current step, we call the function of moving to the next step. In some other occasions, we need the player to recall back to specific steps and looping in several steps until they finish the last requirement. In the loop, we need to call a specific step instead of moving to the next step. When calling the function, we pass the step index as the parameter.
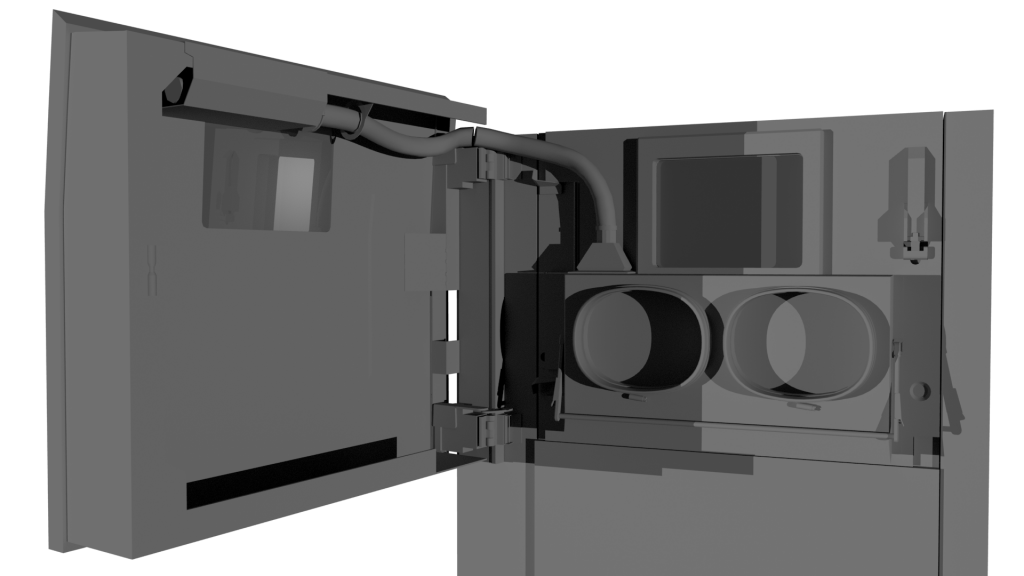
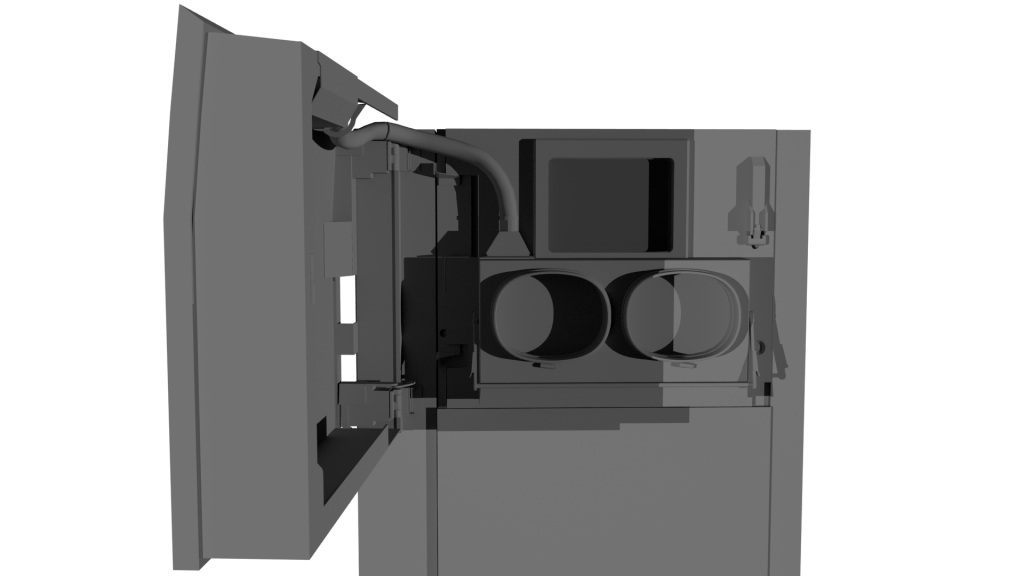
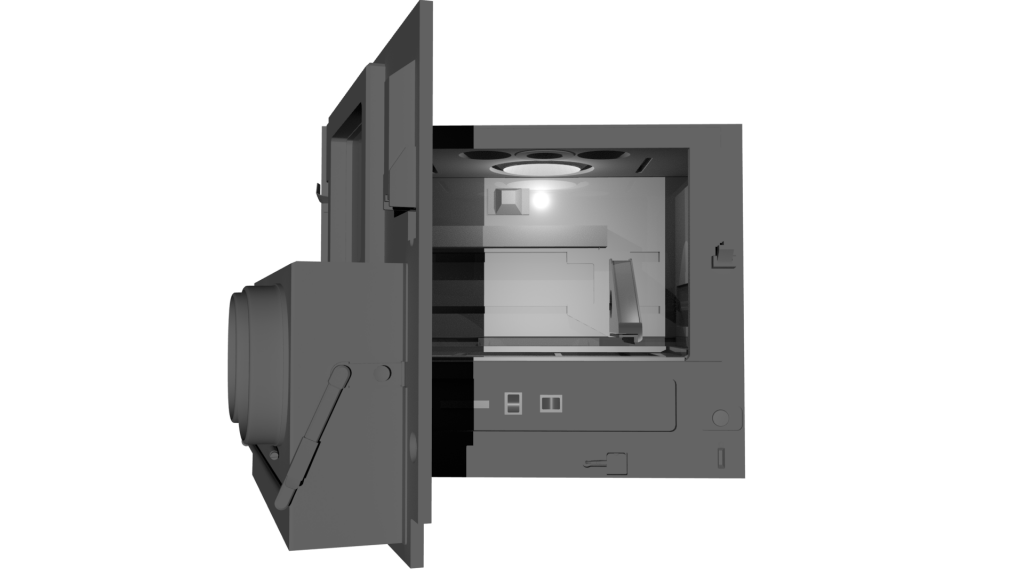
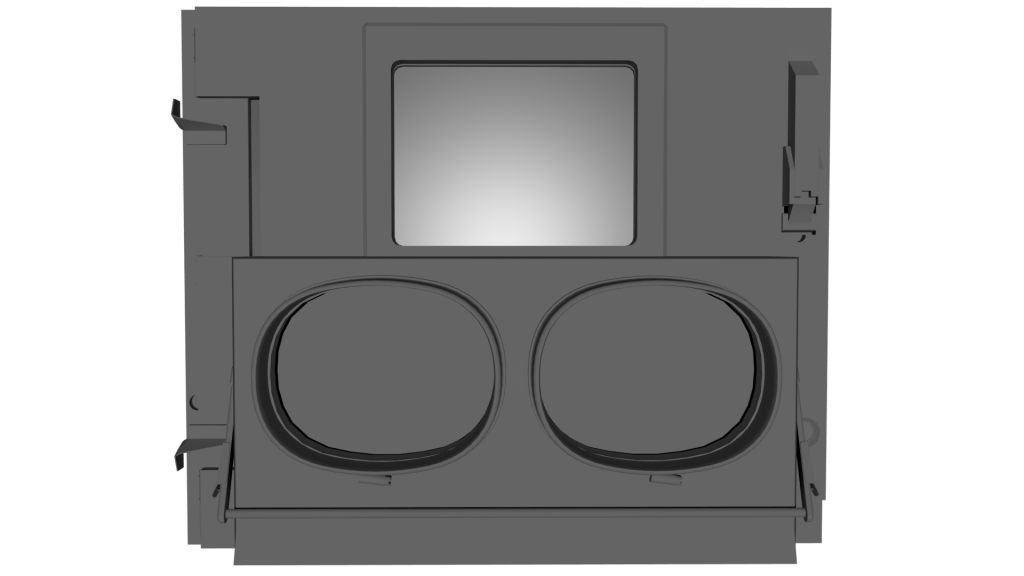
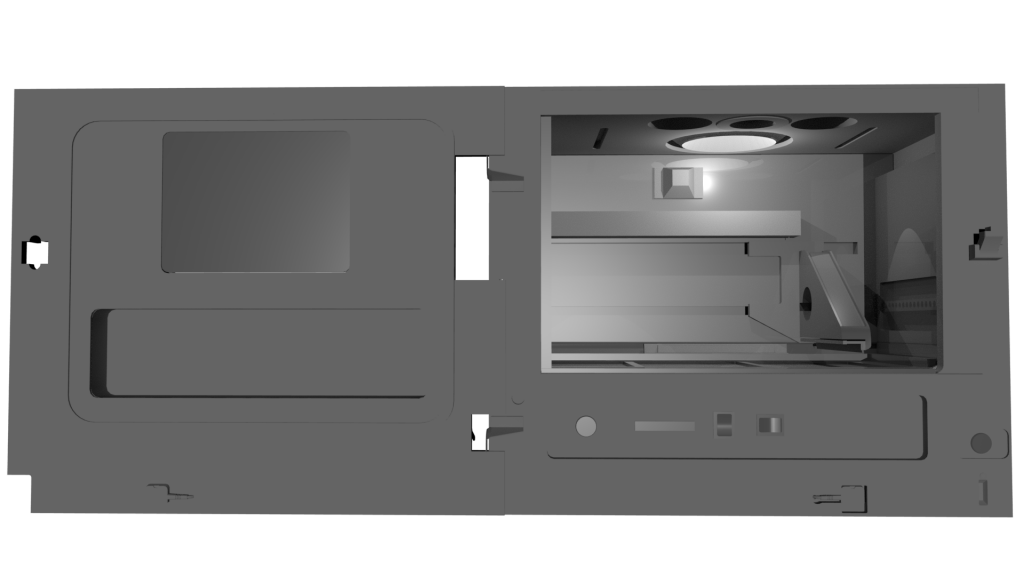
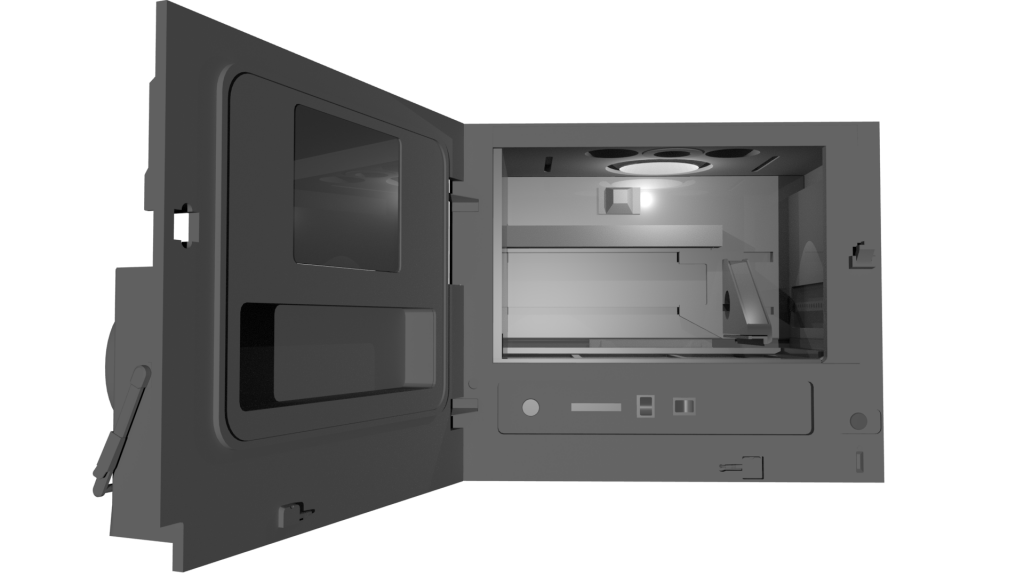
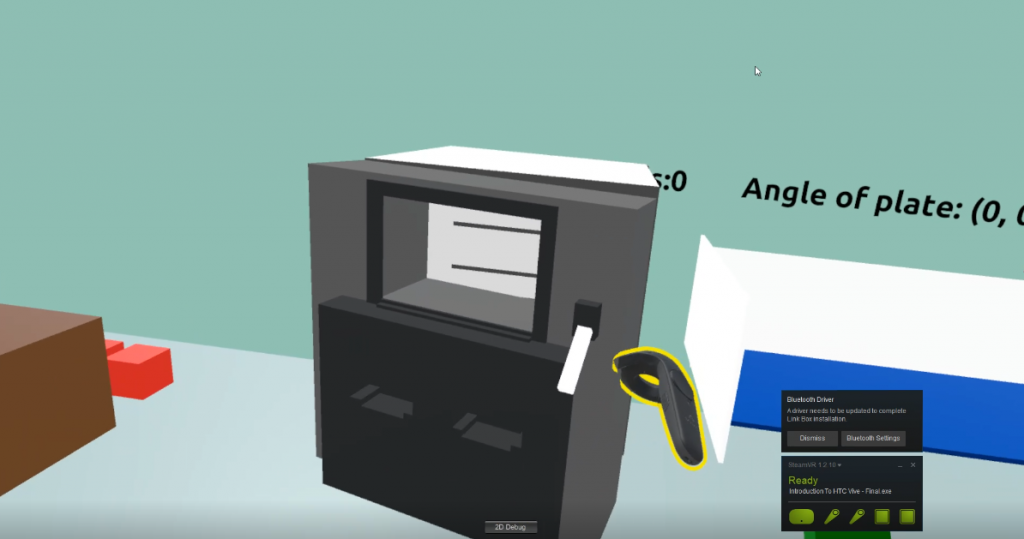
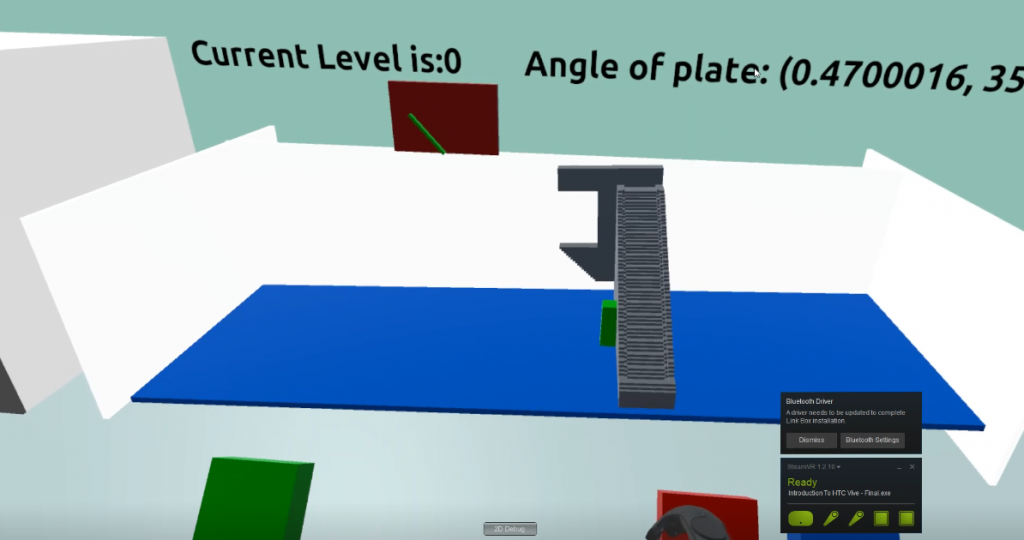
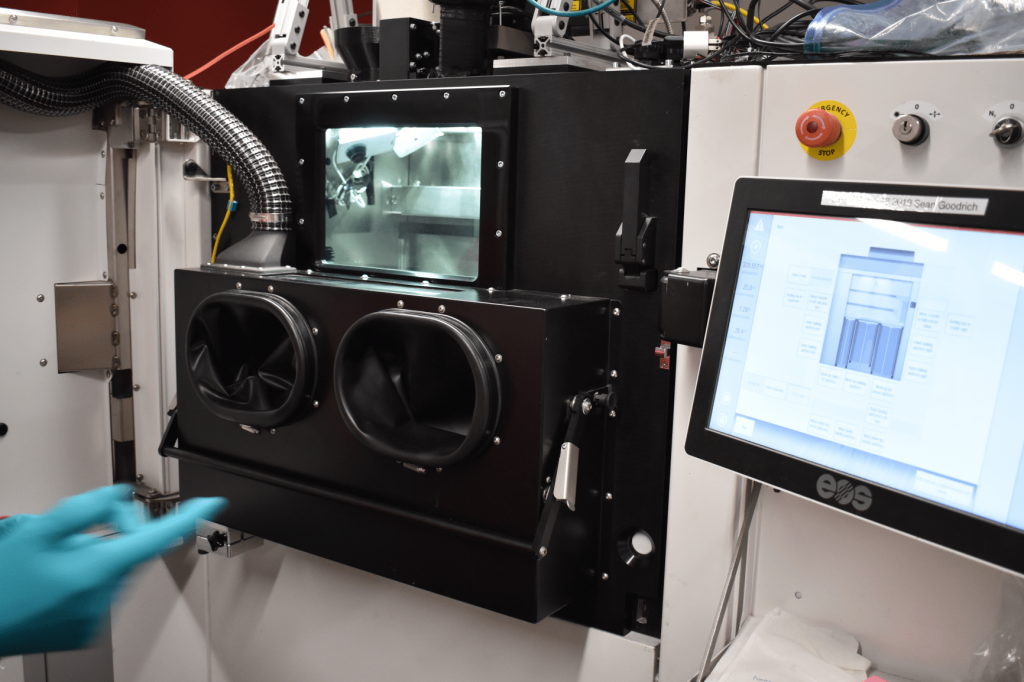
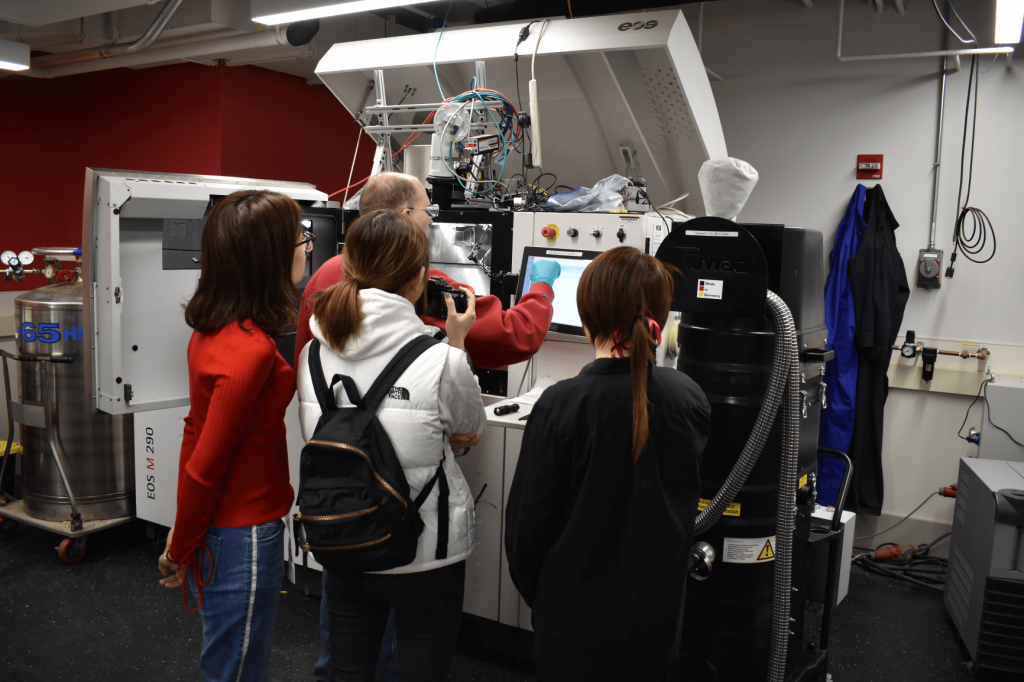
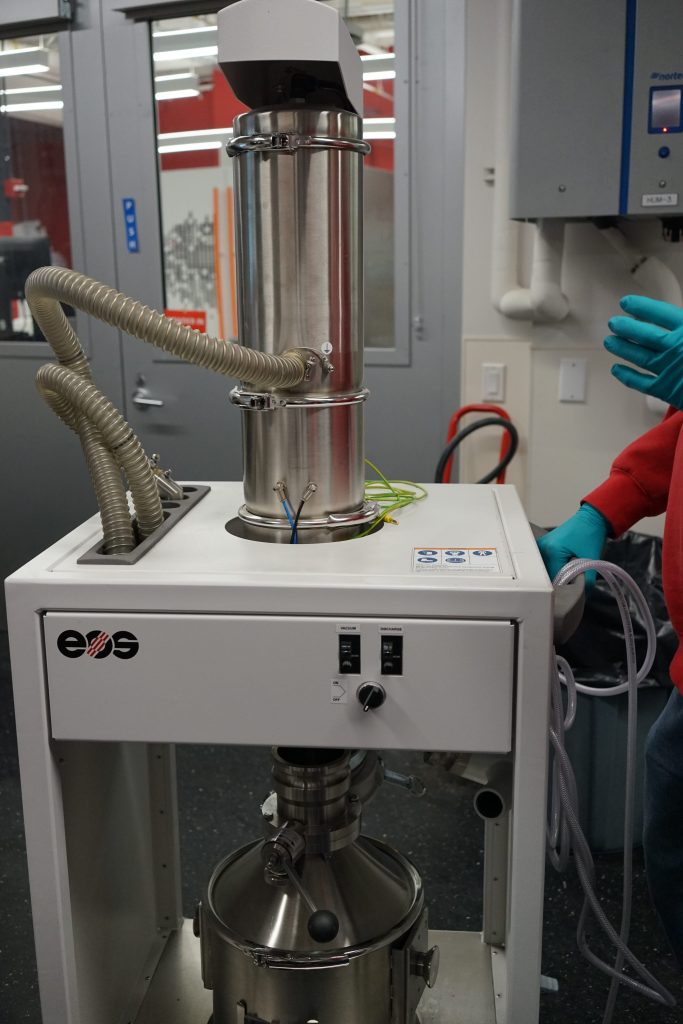
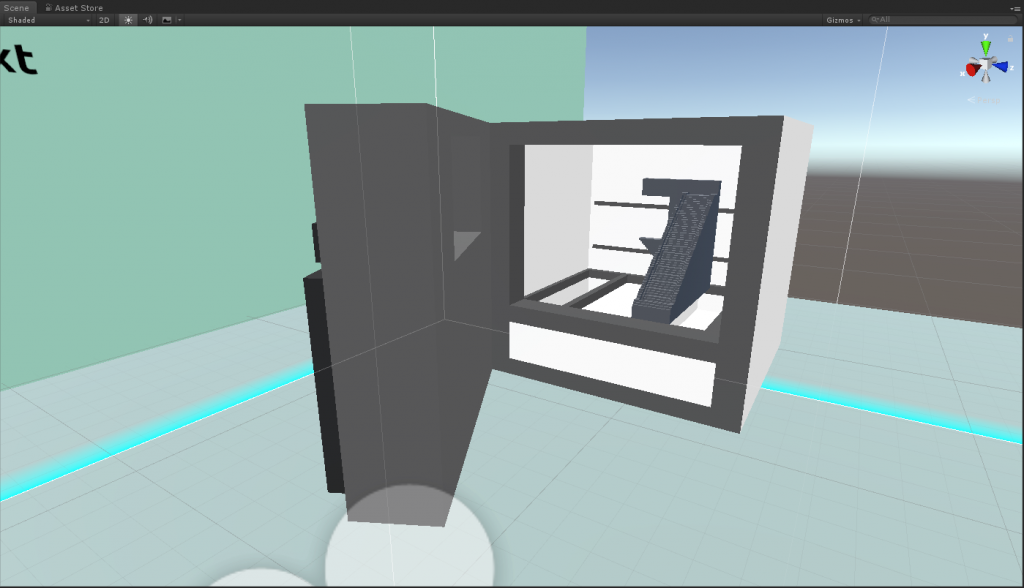
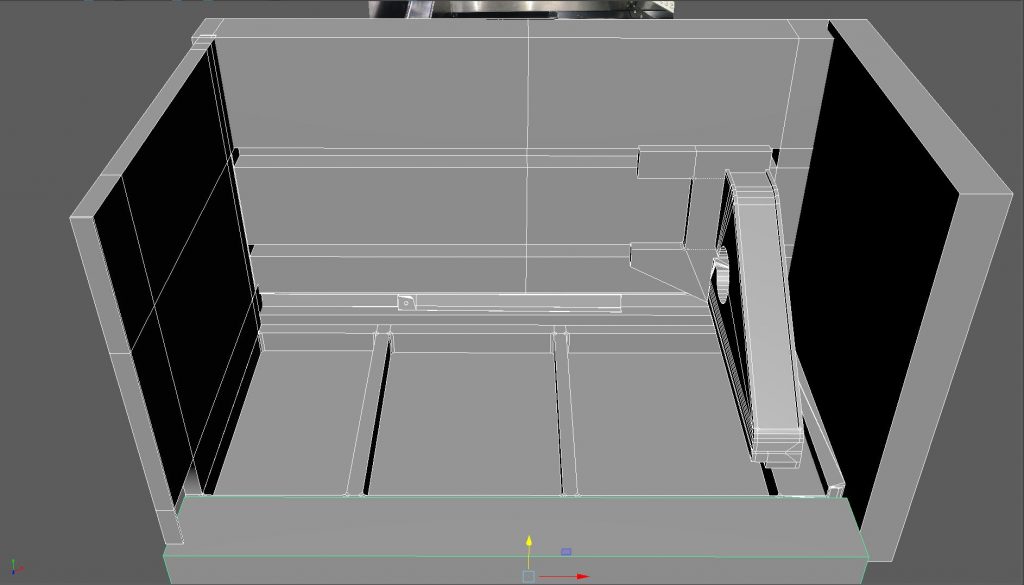
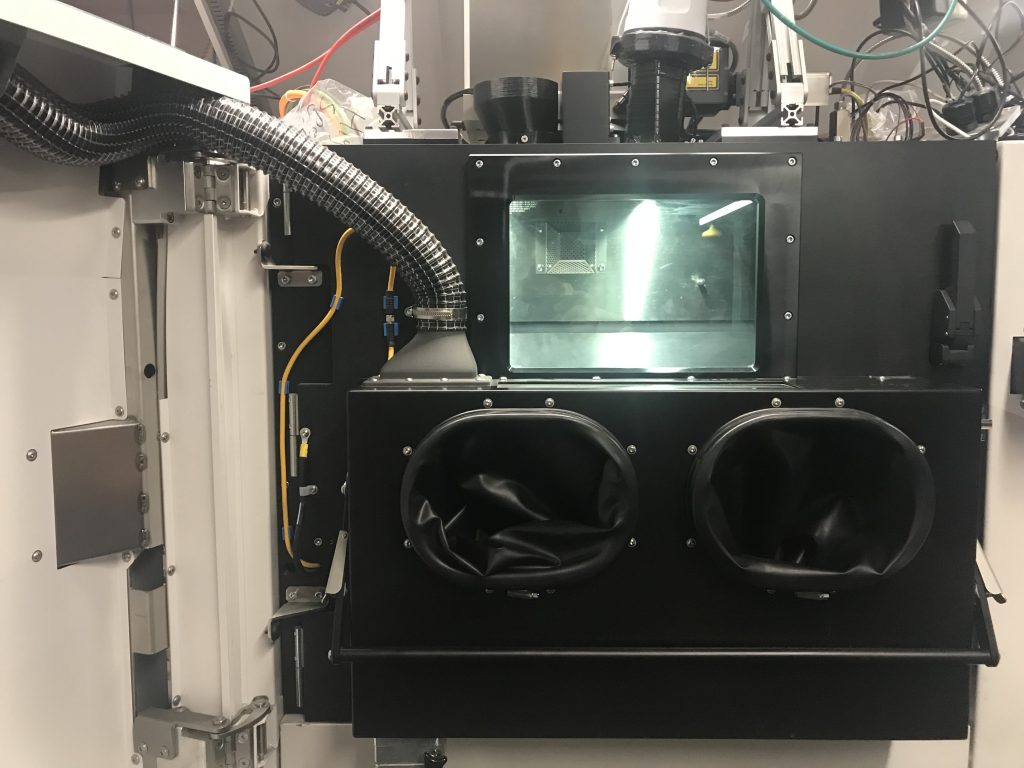
Above is our latest machine model. Before the half, we need to add more details on the outer door and build the right half part which contains the monitor of the machine and the safety knots.
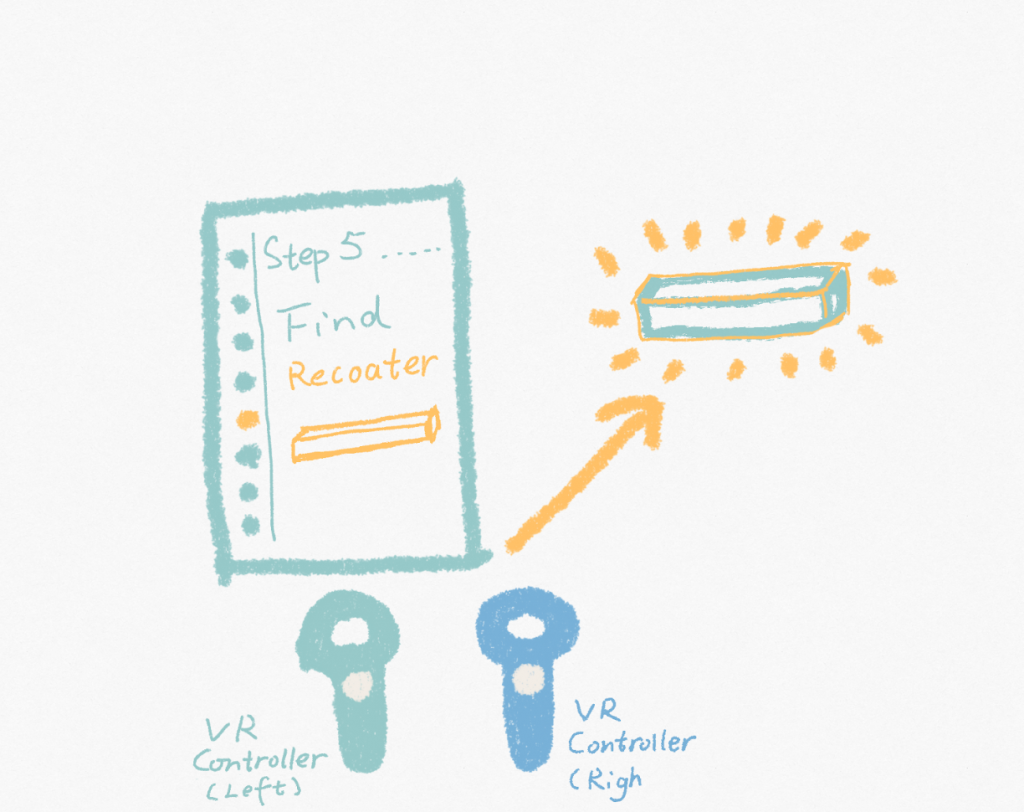
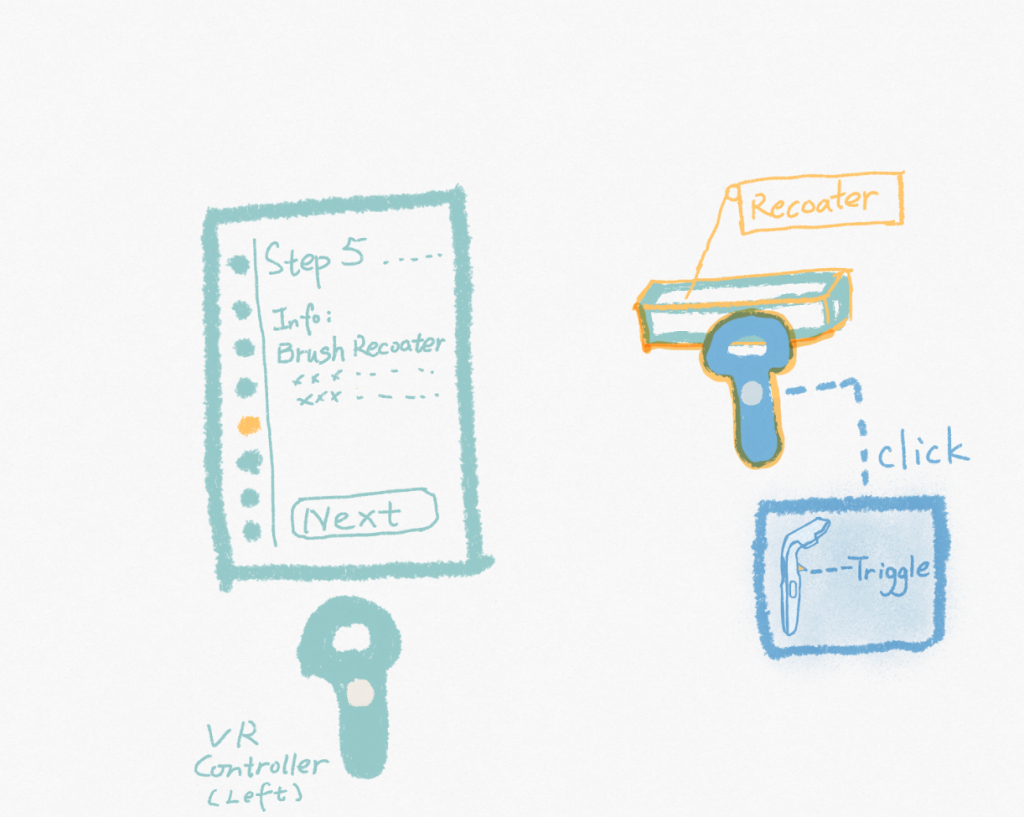
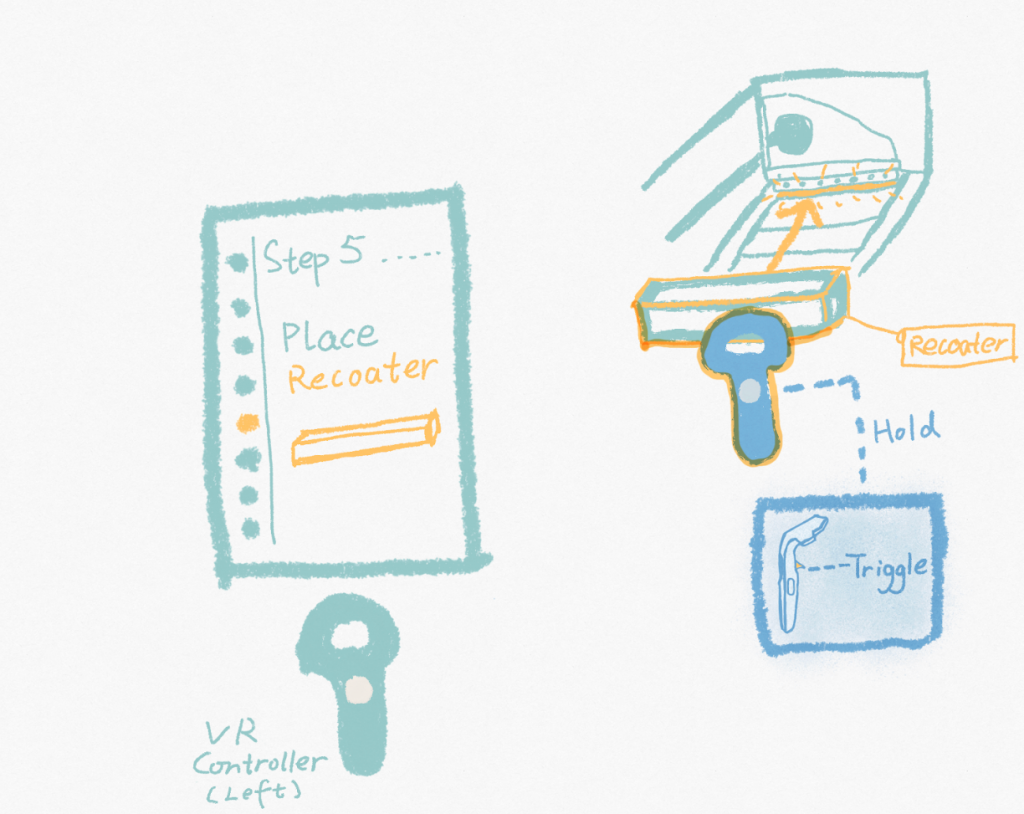
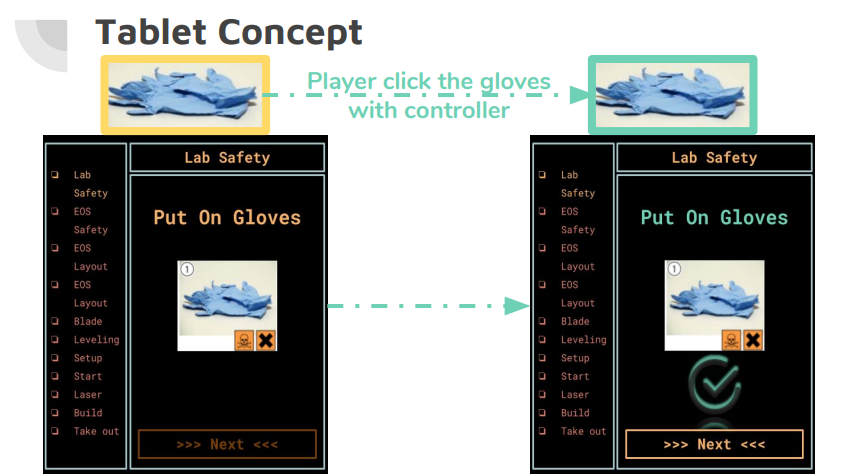
We had a draft UI for the tabletl that the student will hold in their left hand during the VR experience and let’s take a peek:
For
a. The whole interaction experiences including art assets we have. We will use placeholders for the rest.
b. Instructions implemented in the tablet.
c. The tag on each object when the controller hovers over it.
d. Prioritize visual feedback.
e. Sound effect.
Our whole team are excited about what we are going to present in the half.